








Introduction:To make a high-quality espresso, besides equipment, the selection of coffee beans and extraction techniques are equally crucial. This article delves into the unique advantages of espresso blends, helping you understand why beginners are better off starting with blended beans. It also details the key extraction parameters, common issues, and standard steps for making espresso, guiding you to master the skills for consistently producing excellent espresso with outstanding flavor.
To extract an espresso with balanced flavor and a rich mouthfeel, choosing the right coffee beans is essential. Not only should you pay attention to dosage, ratio, water temperature, and pressure, but also grind size and extraction time — every step directly impacts the final cup. While single-origin beans can be used for espresso, for beginners, blend beans are often easier to work with, yielding more stable and layered flavors.
Espresso blends are widely favored by professional baristas and cafés primarily to address the potential instability in flavor that can arise from single-origin beans due to annual variations in climate and terroir. By scientifically blending beans from different regions based on their unique flavor profiles and then medium-to-dark roasting them, blends can effectively enhance a rich base while reducing any harsh or unpleasant notes that might come from a single origin. This results in more consistent and complex espresso profiles.

For example, some blend recipes combine beans with high acidity and pronounced fruity notes with base beans that are low in acidity and full-bodied. This not only highlights layers of flavor but also ensures stable extraction performance. Such blends are usually medium-to-dark roasted, and under pressure extraction, they release abundant crema while delivering diverse flavor notes such as caramel, nuts, chocolate, even wine-like or berry tones.
In practice, due to differences in coffee machine and grinder designs across brands, there is no one-size-fits-all universal standard parameter. However, you can start with general benchmark values and fine-tune based on actual flavor feedback during extraction. For example, with dark-roasted blends, beginners may try using 20 grams of coffee grounds at a 1:2 coffee-to-water ratio (i.e., extracting 40 grams of espresso), under 9 bar pressure, and aim for an extraction time between 25 to 30 seconds. These settings help you grasp the basic balance of espresso, after which you can adjust further according to the resulting body, sweetness, and acidity.
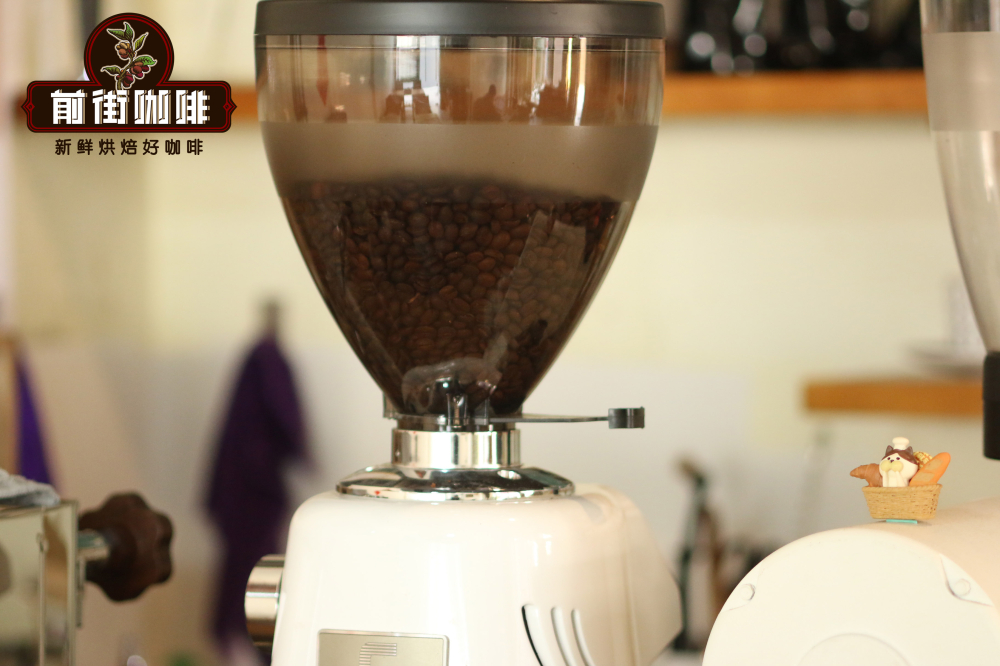
A special reminder: grind size has a huge impact on espresso extraction. If the grind is too coarse, the water flows too quickly, leading to under-extraction, resulting in thin and flat-tasting coffee. Conversely, if the grind is too fine, water flow is restricted, not only prolonging extraction time but also easily causing over-extraction, leading to bitter and astringent flavors. Therefore, it’s recommended to check grind coarseness each time you change beans or adjust parameters, and fine-tune based on actual extraction results to reach optimal conditions.
Below is the standard espresso extraction process. By following the steps, even beginners can gradually master the key techniques:
Step 1: Grinding and Dosing
Before grinding, it’s recommended to run the grinder empty with about 1 gram of coffee beans to clear any residual grounds inside, ensuring pure flavor. Then, clean the portafilter and make sure the basket is dry and free of residue. Start the grinder and distribute the coffee grounds evenly into the portafilter basket. At this point, it’s also advisable to preheat the portafilter and cup to help maintain temperature stability during extraction.

Step 2: Distribution and Tamping
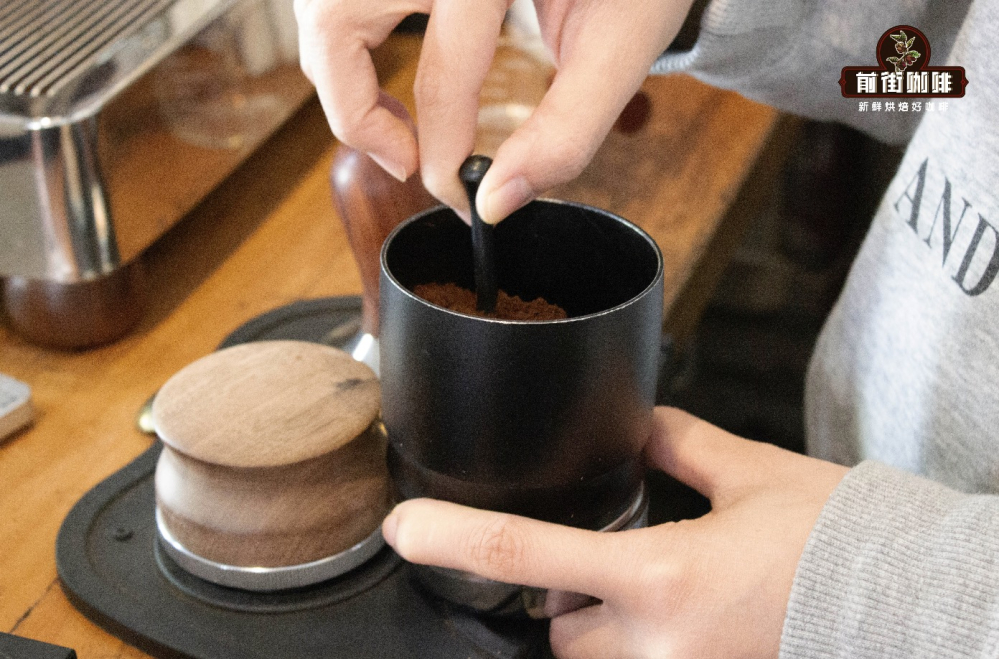
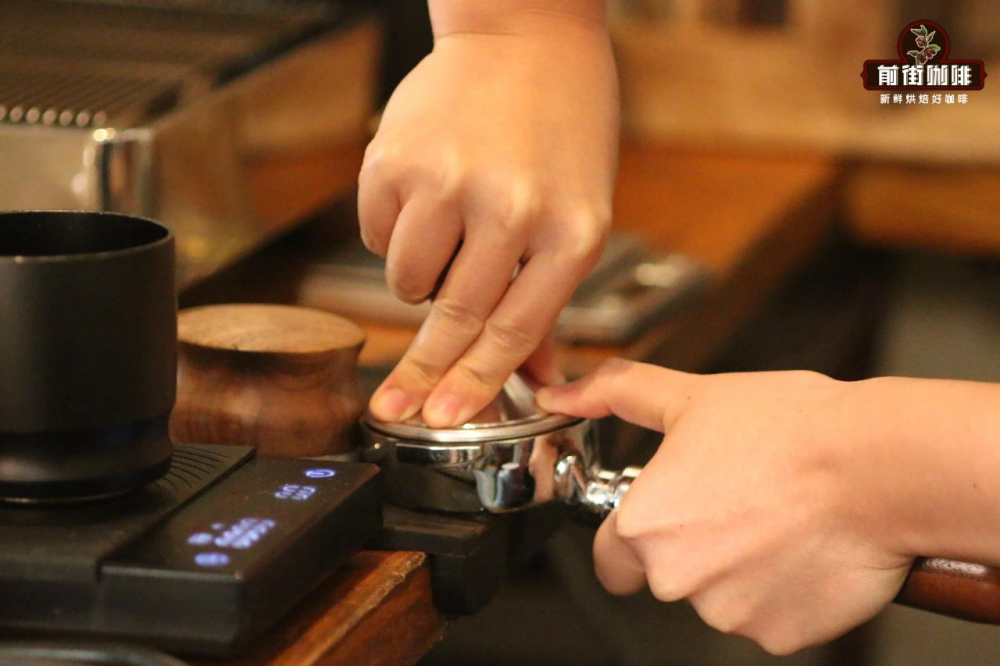
Even distribution is key to ensuring every coffee particle is equally exposed to water pressure. For beginners, using a distribution tool is the simplest and most effective method — just place the distributor flat on top of the basket and rotate it gently a few times to achieve even spreading. Next comes tamping, the goal of which is to form a compact and level coffee puck to withstand the high-pressure water flow. When tamping, keep your arm vertical and apply even pressure, compressing the puck to just below the rim line of the basket. Over-tamping may actually hinder water penetration.

Step 3: Purging the Group Head
Before starting extraction, be sure to open the group head to let out any residual hot water. This helps prevent fluctuations in water temperature from affecting extraction consistency. Though this step may seem simple and is often overlooked, it significantly contributes to the stability of the final flavor.

Step 4: Locking the Portafilter and Starting Extraction
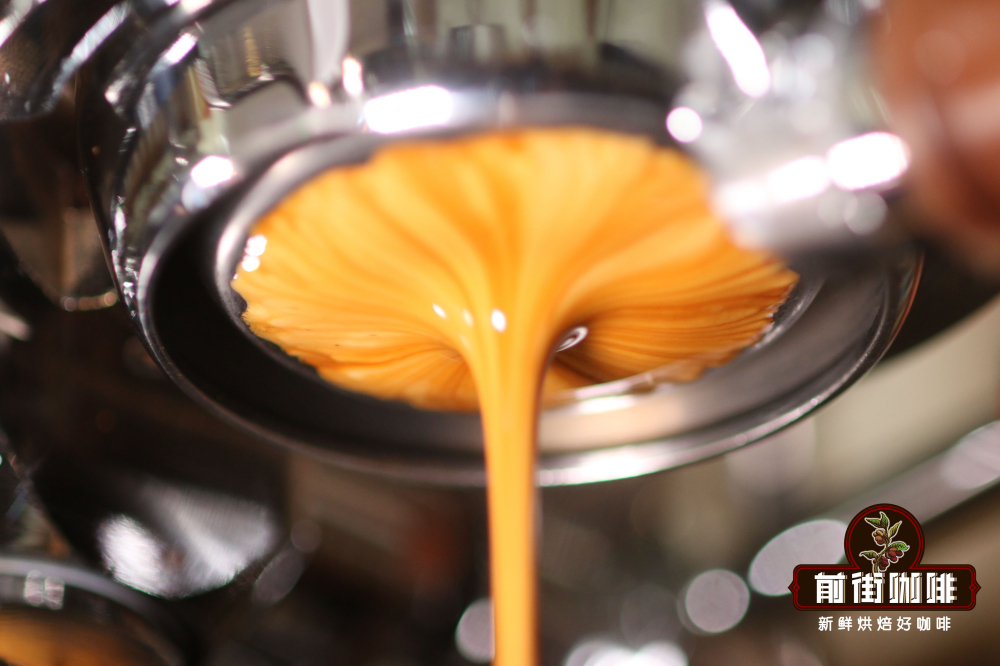
Securely and evenly lock the portafilter into the group head, ensuring there are no leaks. Once locked, press the extraction button immediately to avoid scalding the coffee grounds’ surface with the hot group head, which could negatively impact early-stage extraction flavor. Typically, about 4 seconds after pressing the button, the coffee will begin to flow from the bottom of the basket — starting as a thin, dark stream, then gradually converging into a column and turning into a bright golden color. When the scale shows the target weight is nearly reached (e.g., 40 grams), stop the extraction immediately. You’ll then see a delicate and rich layer of crema form on the surface, releasing intense and captivating aroma.

In summary, crafting a satisfying espresso relies not only on the equipment but also on your understanding and control of the beans’ characteristics, extraction parameters, and detailed processes. Thanks to their stable and well-balanced flavor profile, blends are an ideal choice for espresso beginners. With the correct grind, tamping, and extraction techniques, you can enjoy a professional-grade espresso experience at home or in the workplace.


The above content is compiled by CoffeeHunters, a coffee news website.


