







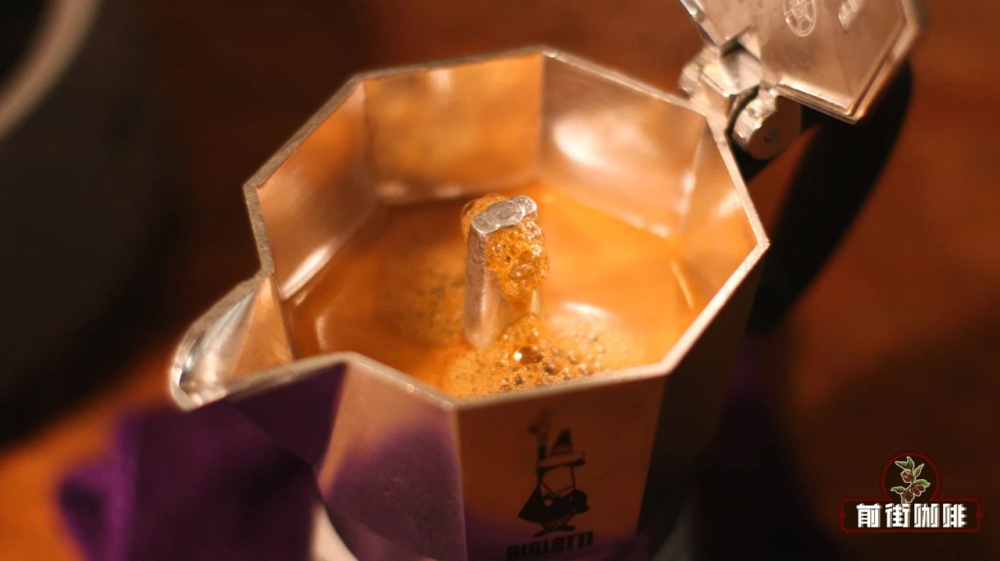
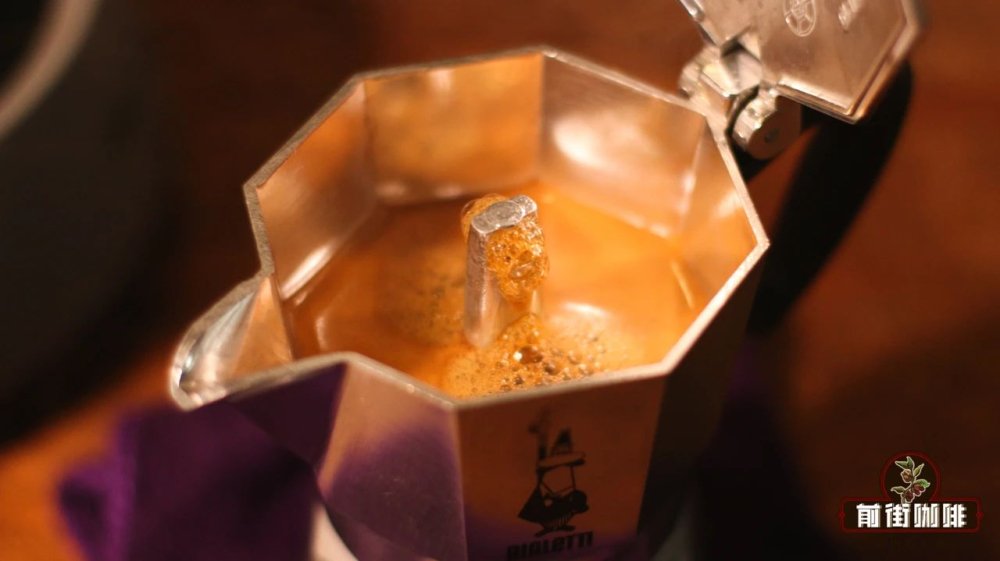
Introduction:To brew coffee with a moka pot that has rich crema and balanced flavors, grind size and operational details are key. This article delves into the ideal coffee grind size, coffee-to-water ratio, and how different roast levels affect the final cup. We also provide clear step-by-step illustrations to help you go from beginner to pro and brew a truly professional-level moka pot coffee.
The moka pot can produce bold, intense coffee, thanks to its fine grind and pressurized brewing method. However, many users are often confused about the right grind size and struggle to find the optimal balance for flavor extraction.
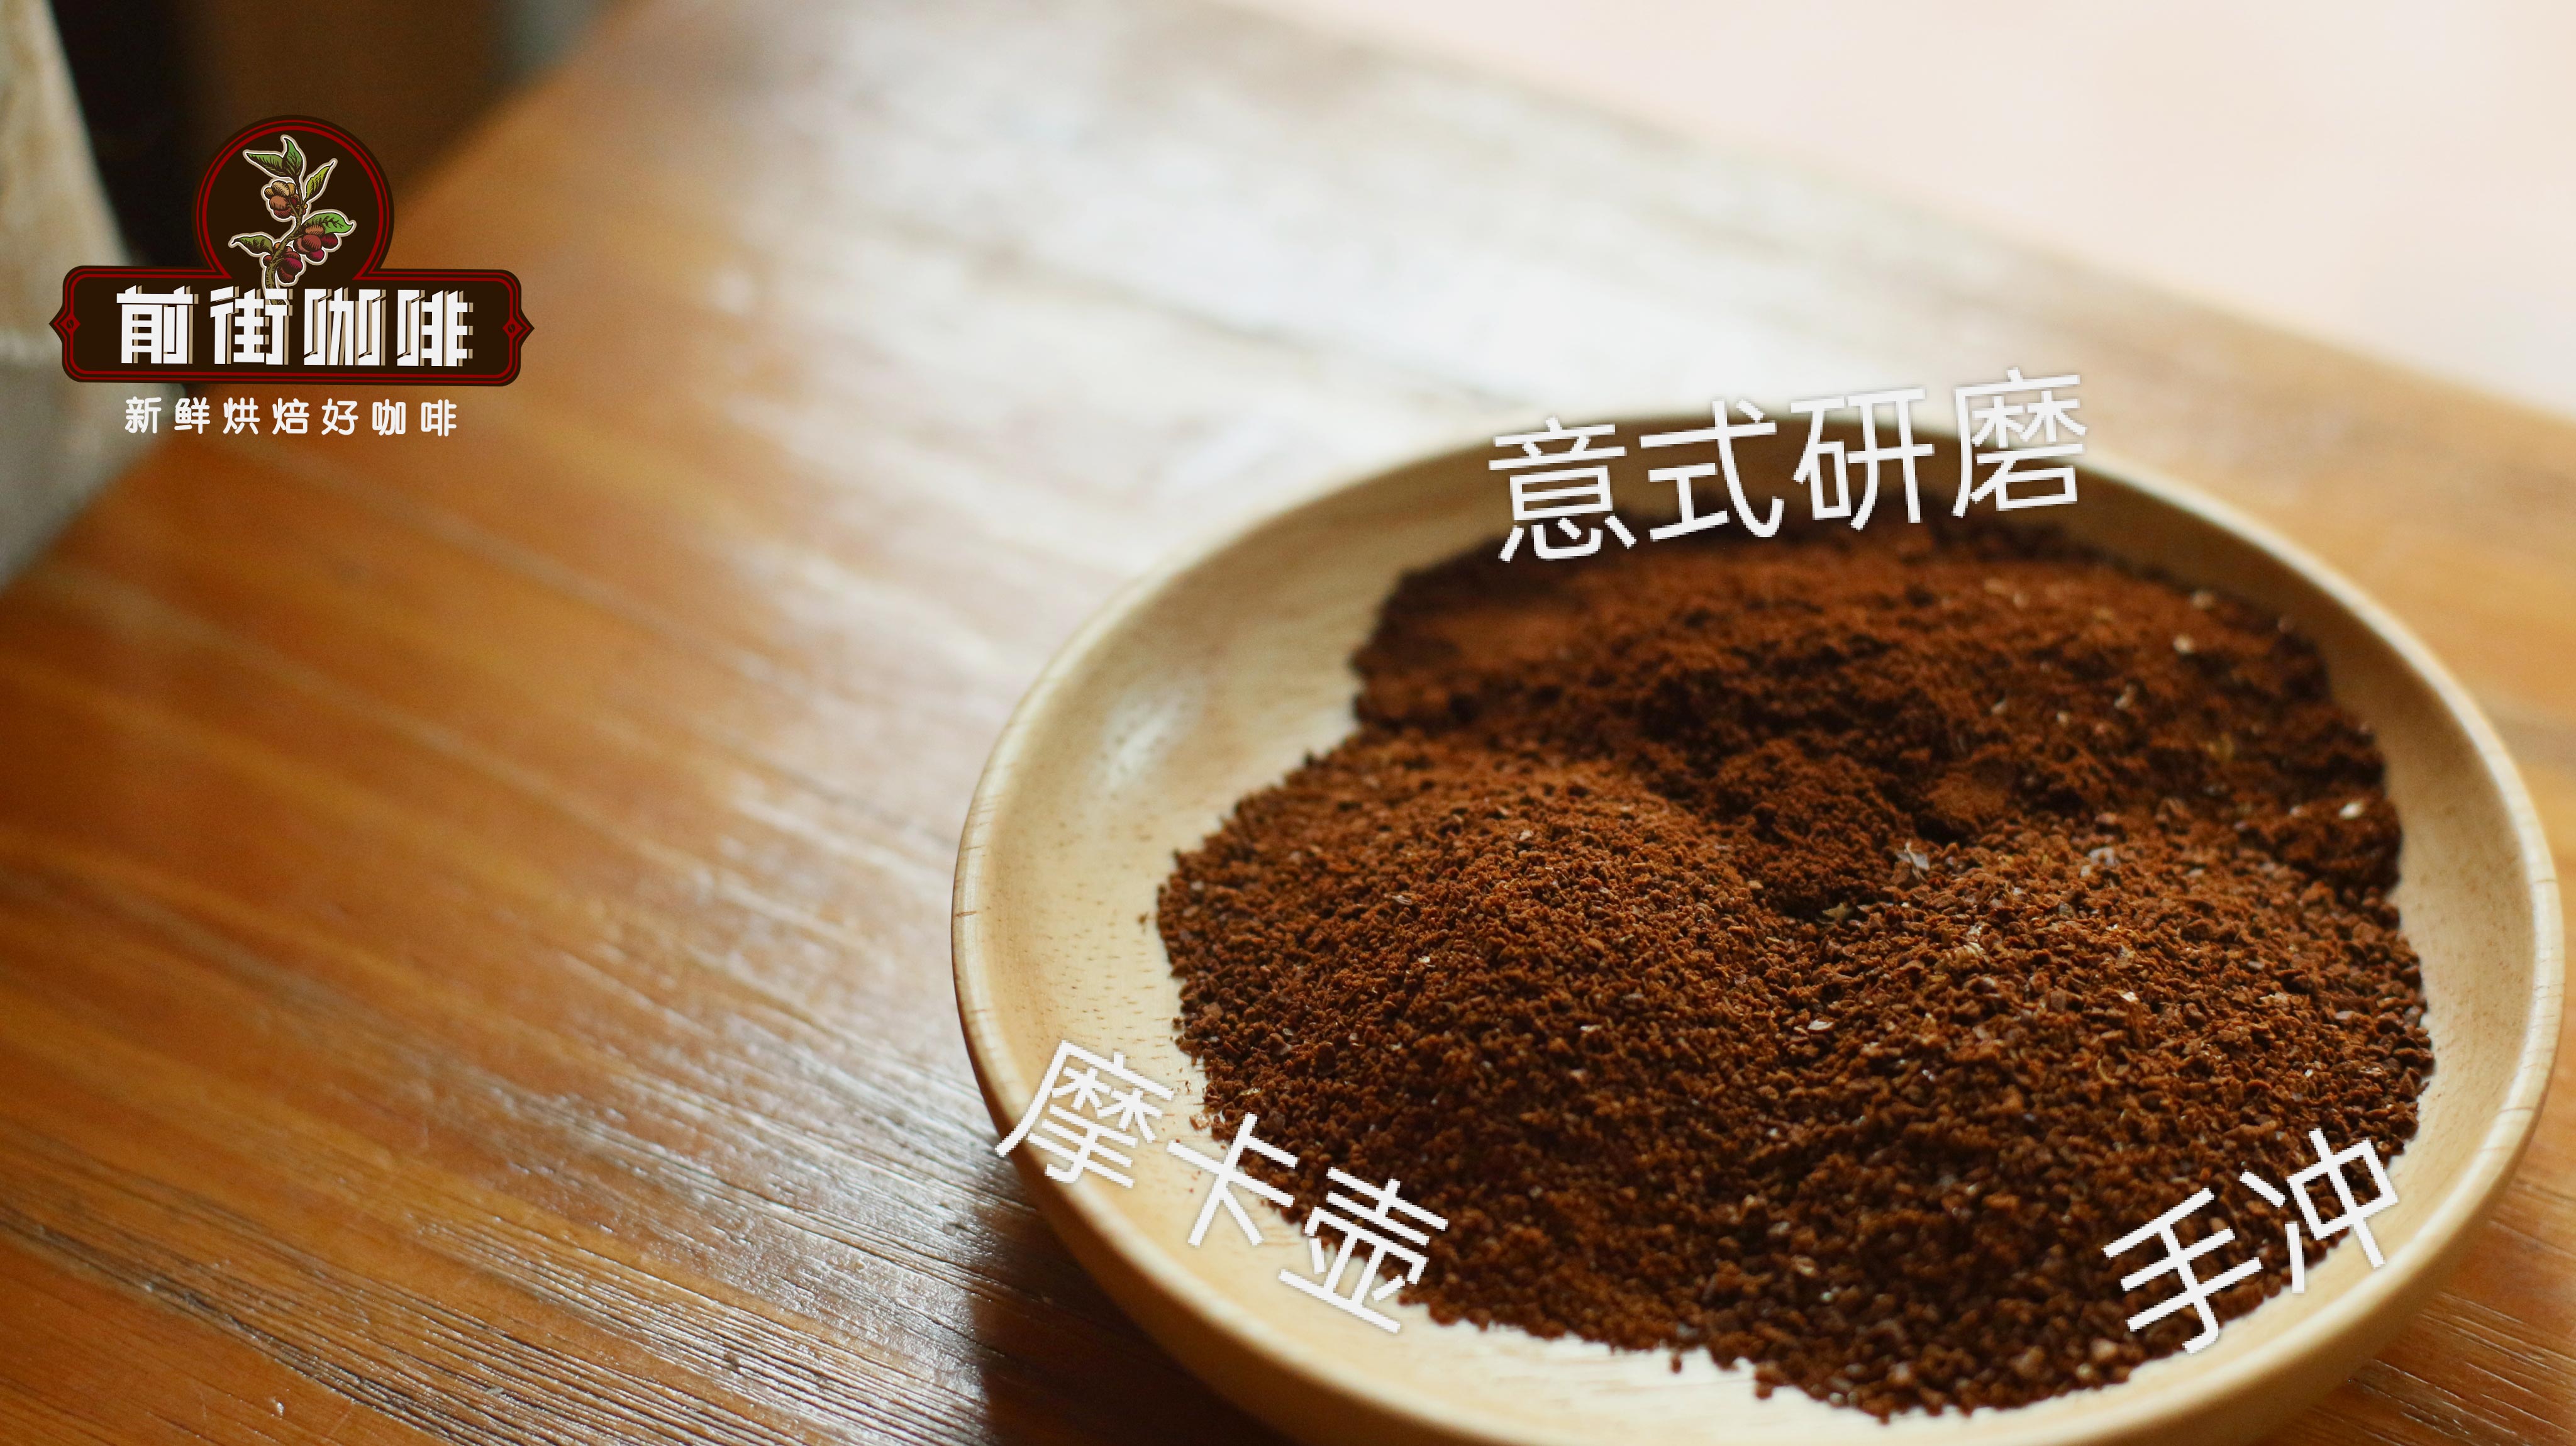
In fact, compared to the extremely fine grind required by espresso machines, moka pot coffee doesn’t need to be ground quite as finely—just about as fine astable salt. Grinds resembling coarse sugar used in pour over or the fine flour used in Turkish coffee are not suitable. If the grind is too coarse, water passes through too quickly, which can lead tounder-extraction, resulting in a weak and flat-tasting coffee. Conversely, if the grind is too fine, water flow is restricted, causing over-extraction and even creating a potentialexplosion riskdue to excessive pressure. If you find that no coffee comes out even after heating for a long time, it’s best to turn off the heat immediately, adjust the grind, and try again.
As for the amount of coffee used, different moka pot models have their own standards, and grind size also affects the volume of coffee. With the same weight,finely ground coffee occupies less volume, which can impact extraction efficiency. Therefore, even if you follow the recommended coffee amount from the manufacturer, using a different grind size may result in suboptimal extraction.
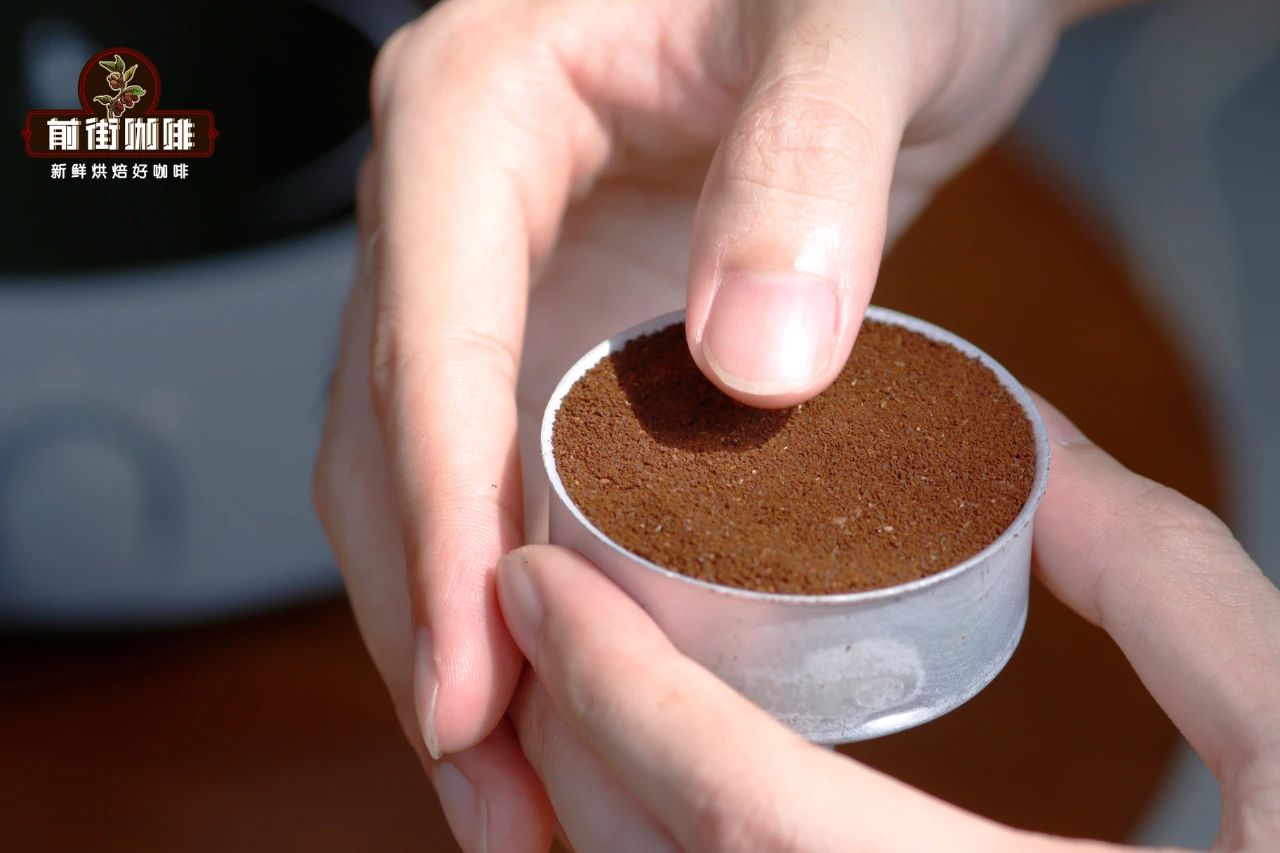
To simplify the process and improve success rates, it’s advised to simplyfill the coffee chamber level with coffee grounds. This ensures a higher margin for error during extraction. The amount of coffee that fills the chamber to the top is typically the optimal dose for that specific moka pot model and your current grind size. Record this amount for easier adjustments in the future.
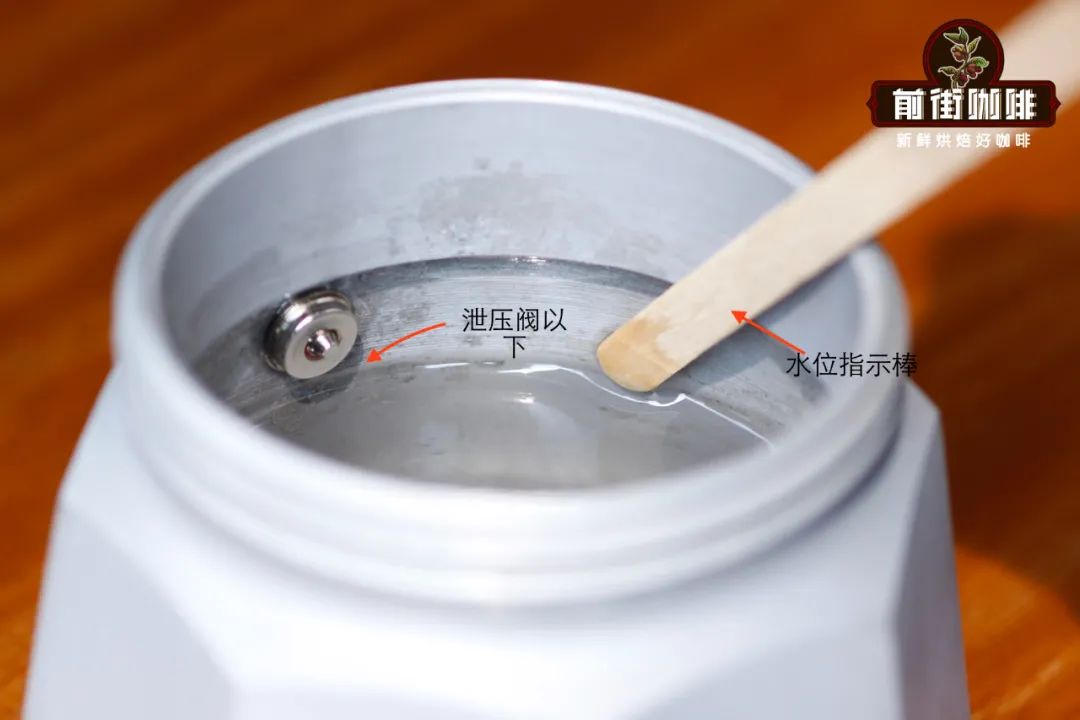
Water level control is another crucial factor. Looking at the bottom chamber of the moka pot, you’ll see a metal valve called thepressure relief valve, which is designed to release excess pressure and prevent the pot from exploding. If the water level goes above the relief valve, it may become ineffective, increasing the risk of danger. Therefore, it’s recommended tokeep the water level below the relief valve. It’s also a good idea to note down the water amount used each time for easier adjustments and reproducibility later.
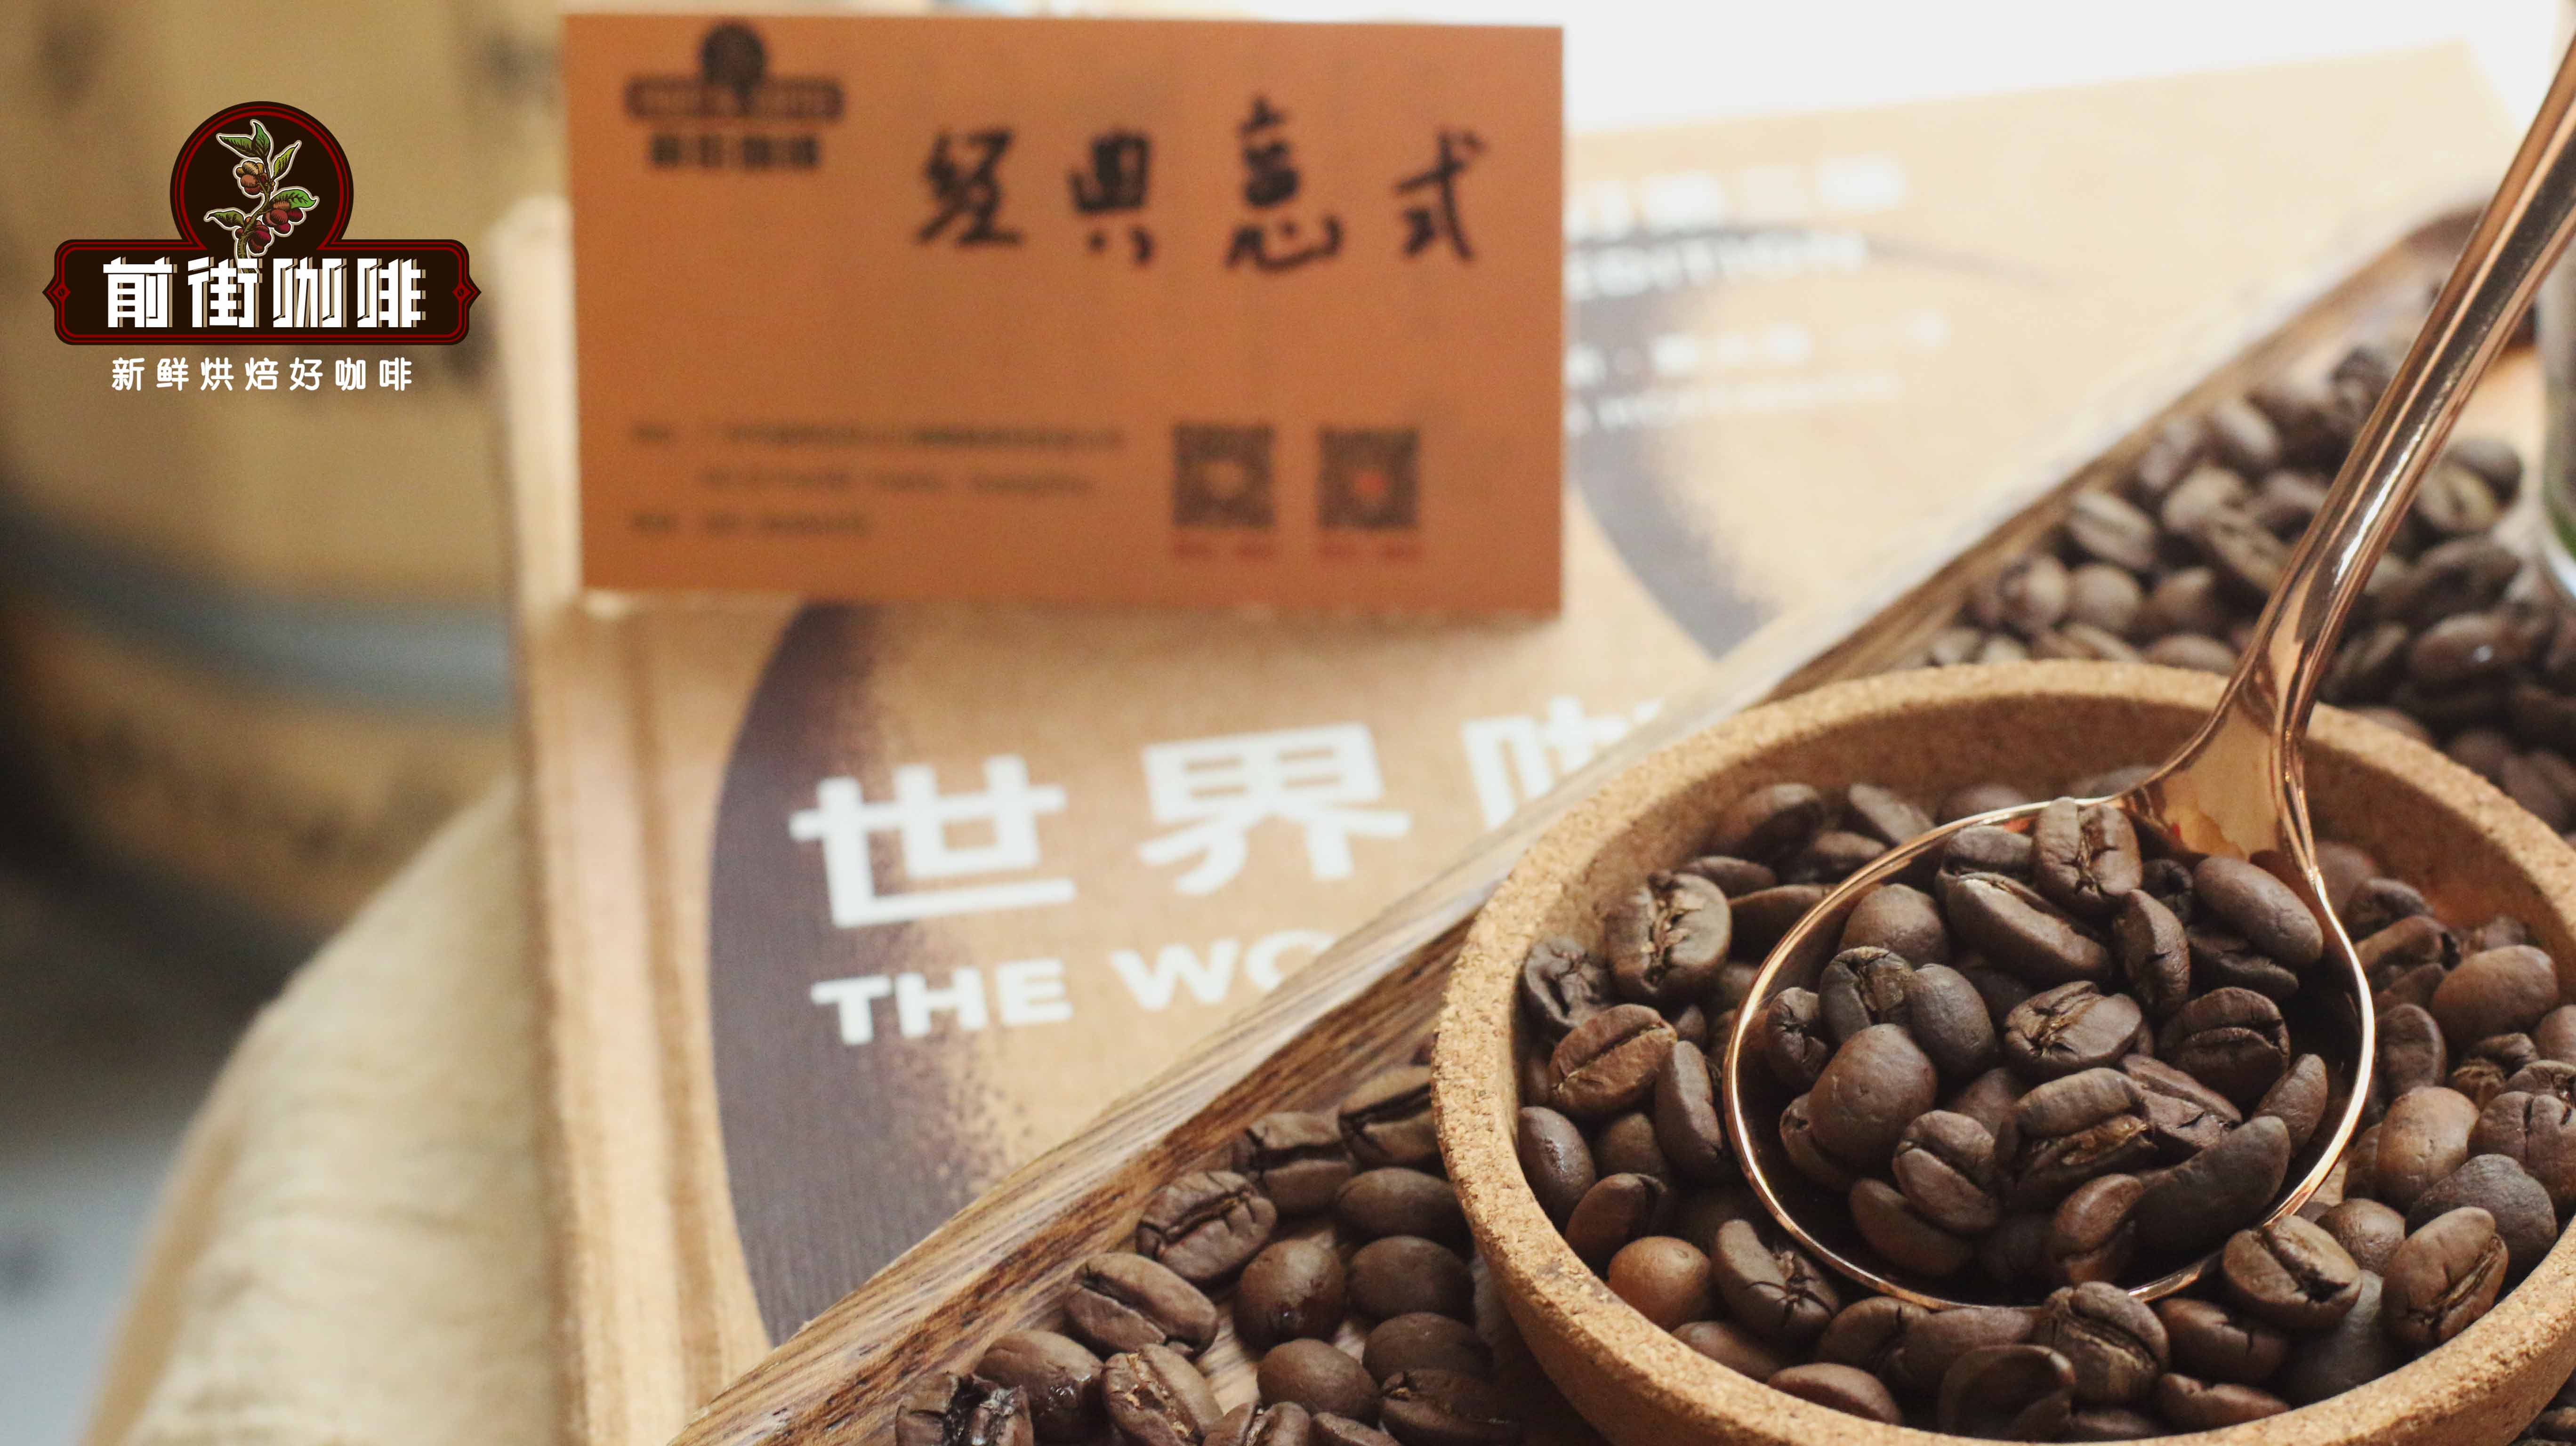
When it comes to coffee beans, the moka pot is actually quite versatile and works well with various types—it all depends on the flavor profile you’re aiming for. If you prefer a bold, crema-rich coffee that can stand up to milk, choosedark roast beans, ideal for making lattes or cappuccinos. For a brighter, fruitier, or floral cup, light roast beans are a better choice, perfect for black coffee.
For example, a dark roast blend made from Brazilian, Indonesian, and Vietnamese beans can deliver rich, bold aromas and plenty of crema, performing excellently whether brewed as Americano or latte, making it suitable for a variety of drinking styles.
Next, let’s walk through the moka pot brewing process—just a few simple steps to brew professional-grade coffee at home.
First, gather your materials: coffee grounds, hot water, a moka pot, and a heat source. Using hot water helps shorten the heating time so you can enjoy your coffee sooner.
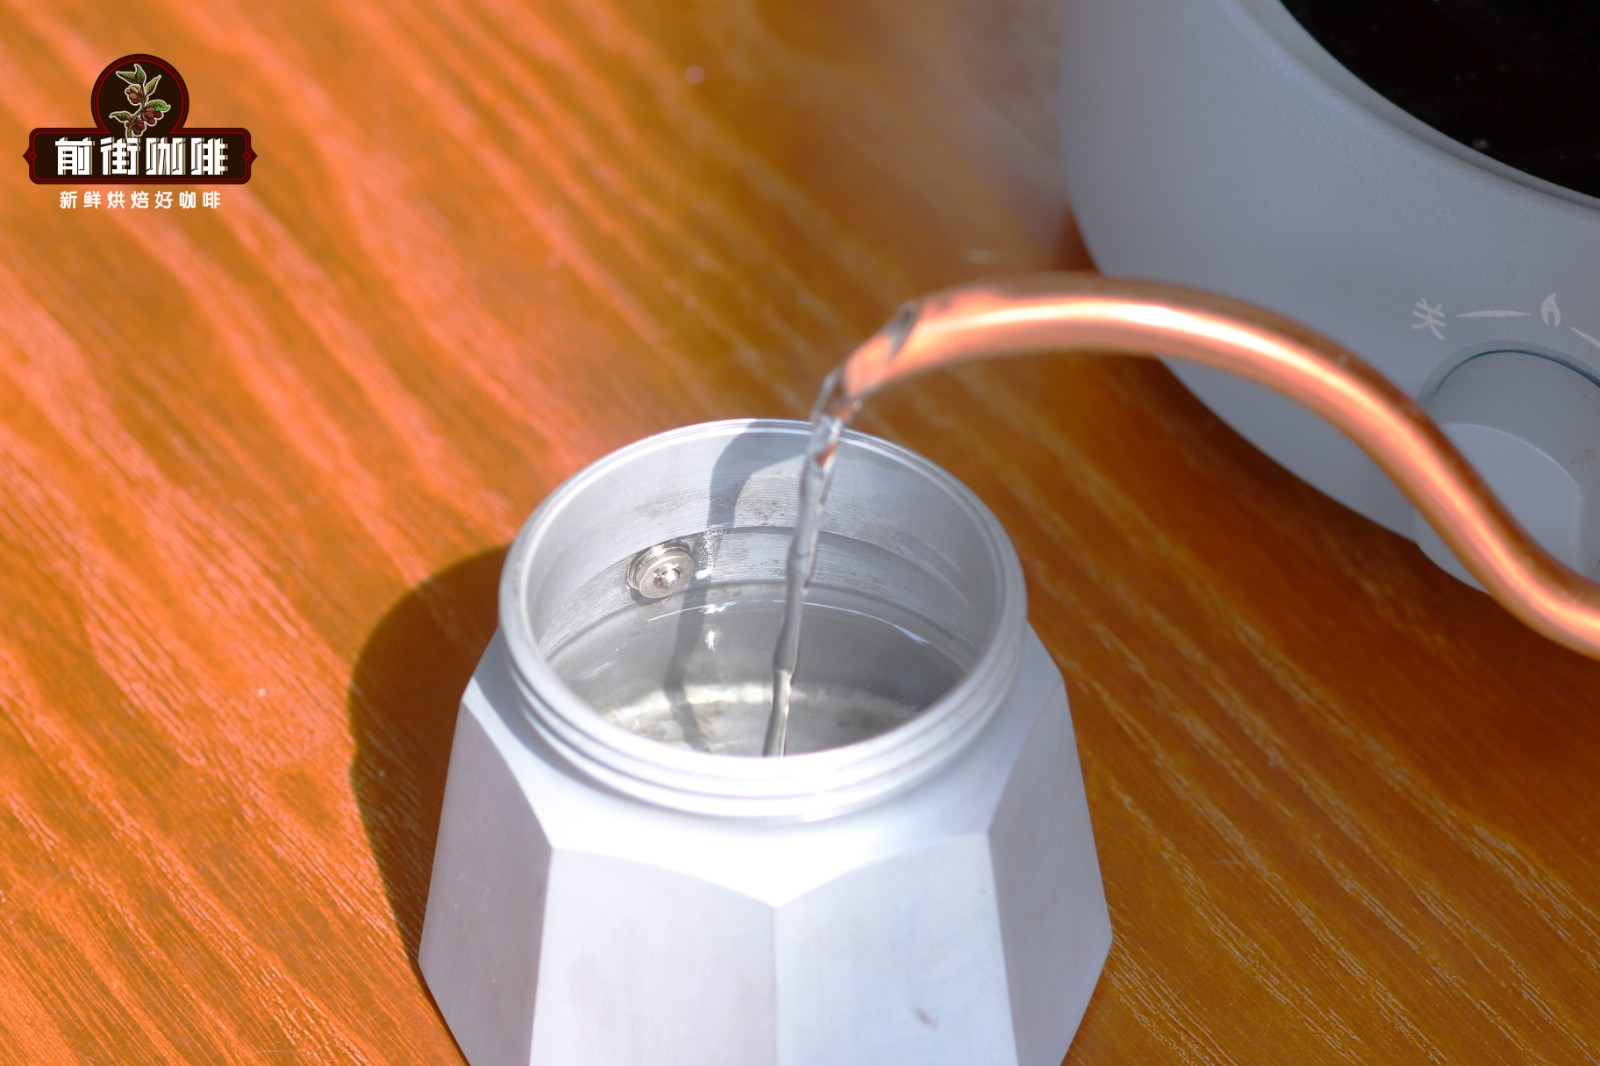
Step 1:Add Water. Pour hot water into the bottom chamber, being careful not to fill above the pressure relief valve.
Step 2:Add Coffee Grounds. Place the appropriate amount of coffee grounds into the filter basket, then insert it into the bottom chamber. After adding the grounds, gently tap the basket to help the coffee settle and fill any gaps, reducing channeling. Then level the surface with your finger. If the grind is fine, avoid tamping to prevent increasing resistance.
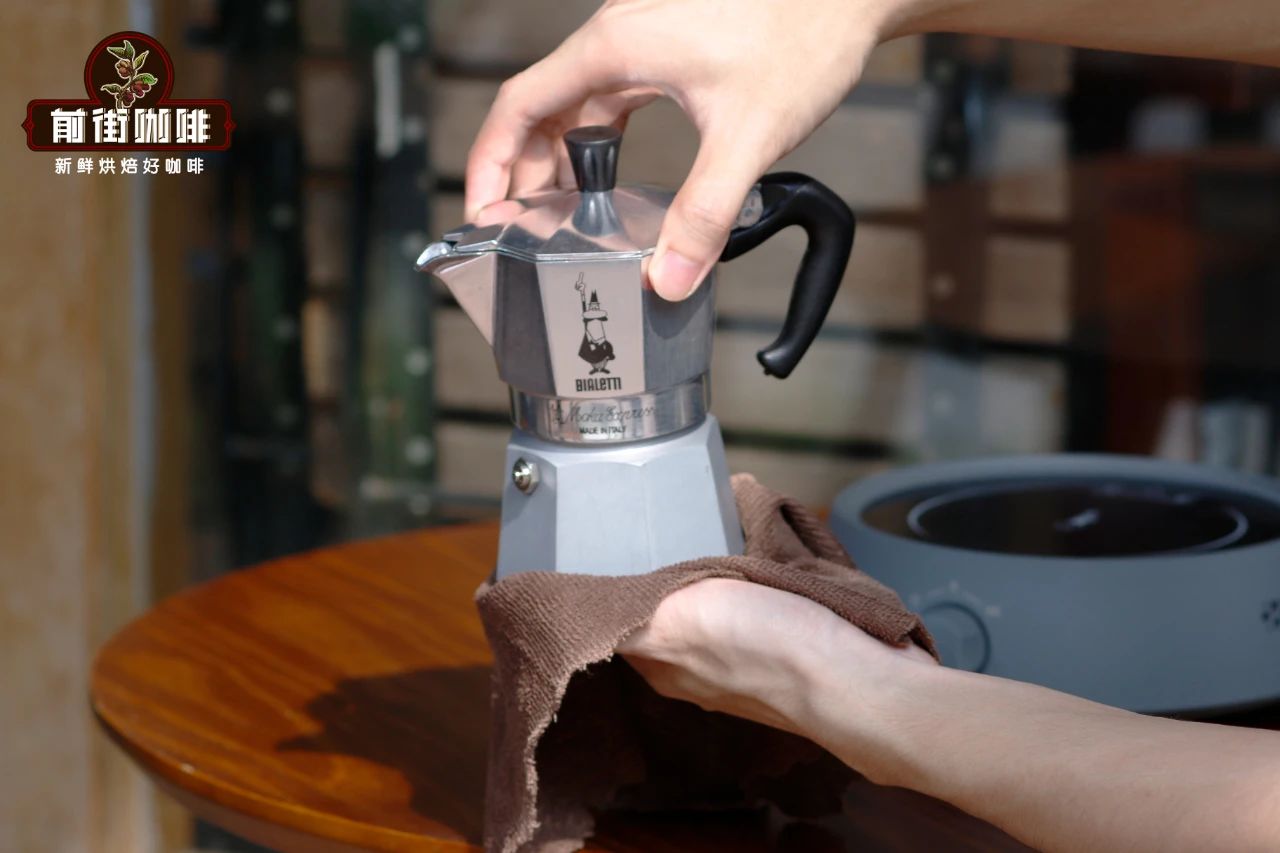
Step 3:Assemble the Pot. Screw the top and bottom chambers together tightly. If using hot water, it’s recommended to use a damp cloth to protect your hands from burns.
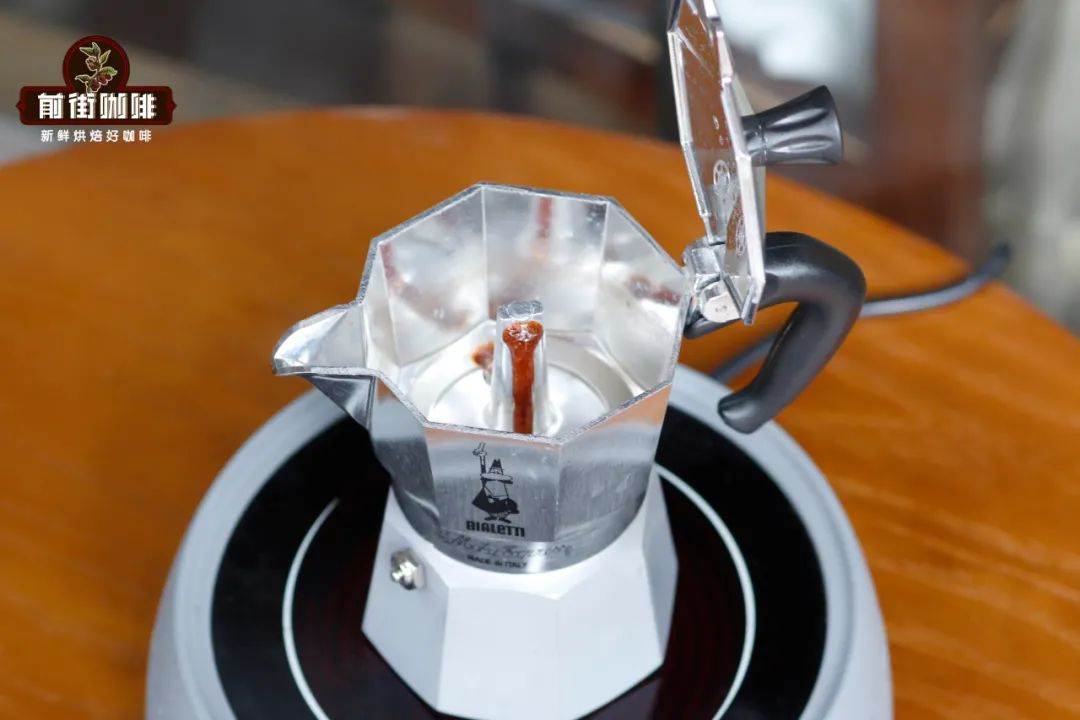
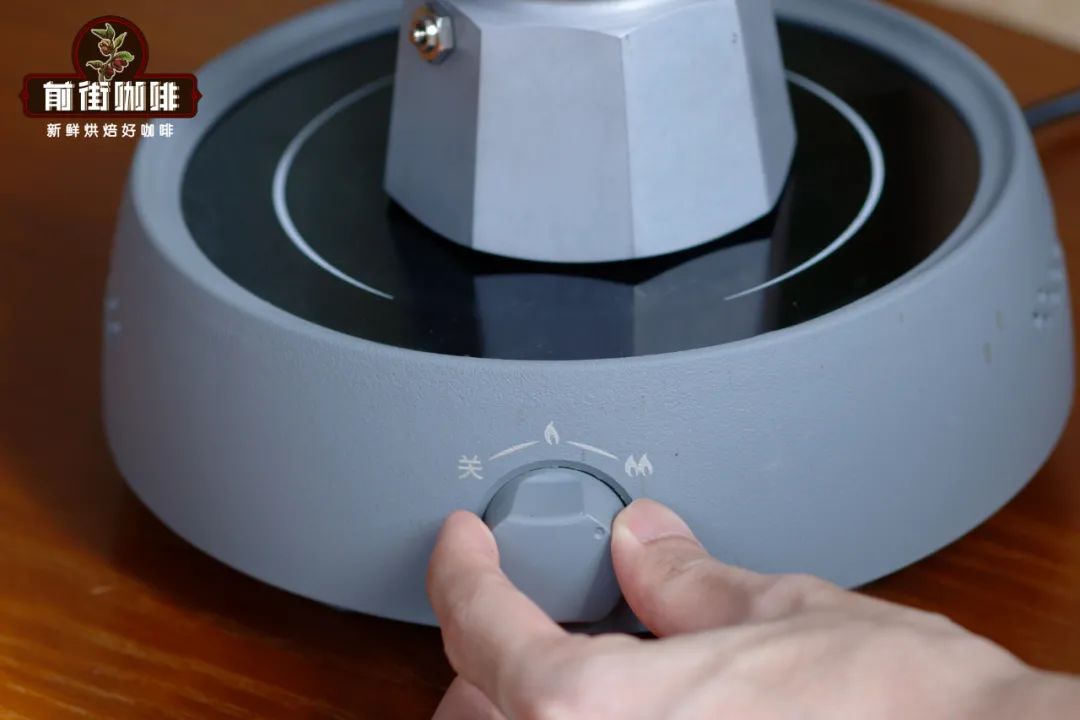
Step 4:Start Heating. Place the moka pot on your heat source and begin heating. It’s best to use low to medium heat to avoid premature boiling.
Step 5:Adjust Heat. When you hear a distinct hissing sound, it means the water is beginning to turn into steam. At this point, you shouldreduce the heatto allow the coffee to extract slowly, preventing over-extraction and flavor dilution caused by excessive pressure.
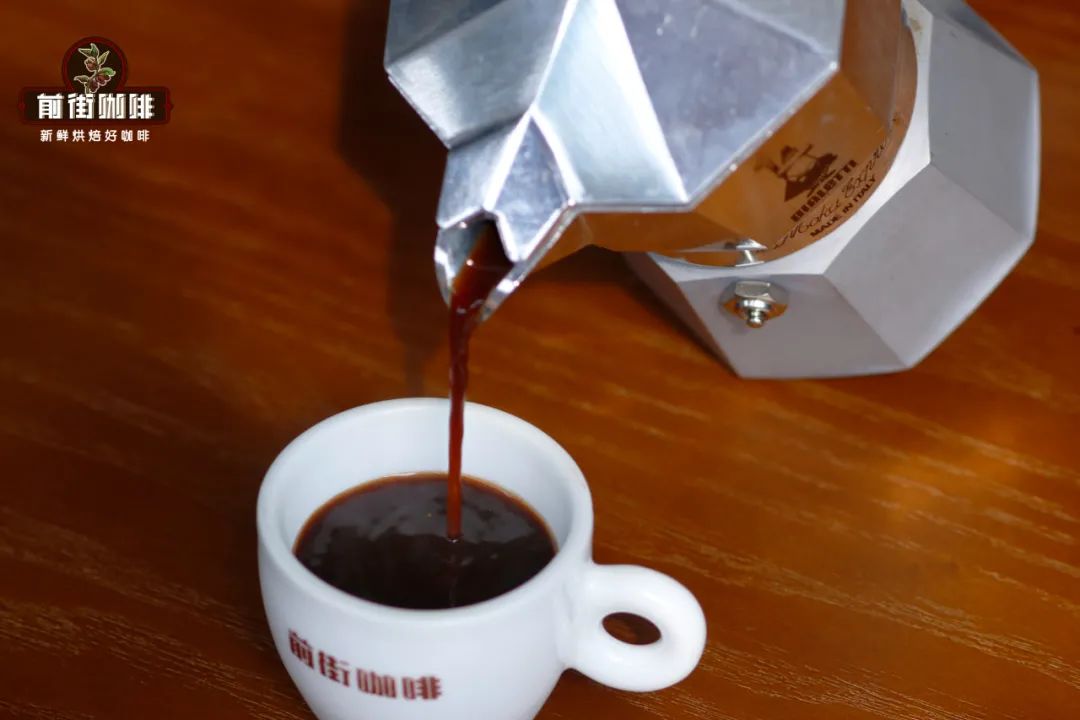
Step 6:Stop Heating. Once about half the coffee has flowed out, turn off the heat and let the remaining brew finish using residual heat.
Step 7:Taste and Adjust. If the coffee tastes too bitter, it may be over-extracted—try ending the brew earlier next time. If it’s too sour or has off-flavors, the grind might be too coarse or extraction too short—you can adjust the grind or slightly extend the brewing time.
The above content is compiled by CoffeeHunters, a coffee news website.


