







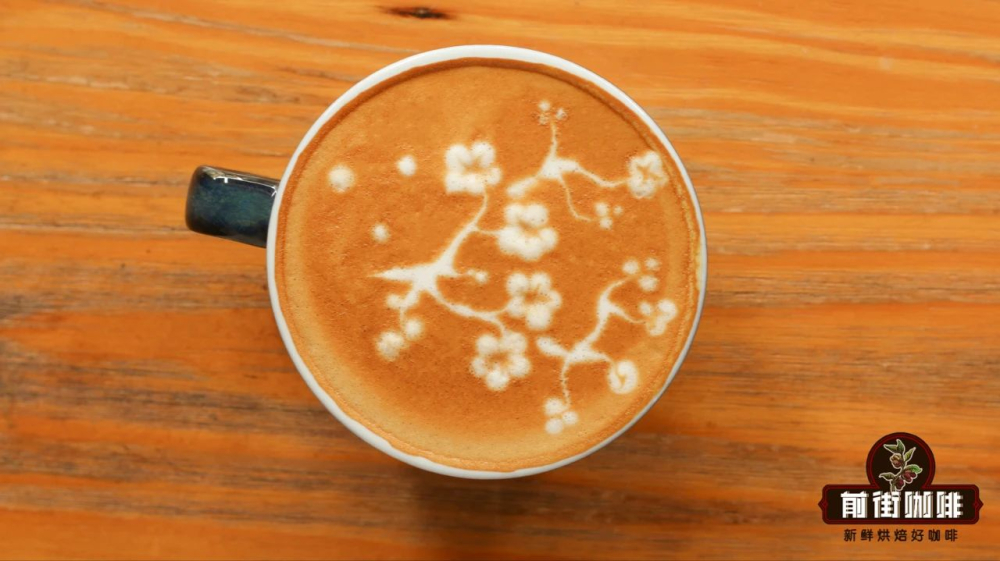
Introduction:Want to master professional-level latte art? This article explains everything from selecting basic tools to the operational process of classic patterns like tulips and leaves, including milk flow rate control, pitcher and cup angle adjustments, etc.Practical details, along with a five-step learning path and solutions to common problems, to help coffee beginners break through latte art bottlenecks and create aesthetically pleasing latte art pieces on par with those in cafés.
Fancy coffee art is mainly divided into three major categories: latte art, etching, and stamping. Among them,latte art (Latte Art)is the technique of forming patterns directly on espresso by manipulating the wrist while pouring hot milk, whereas etching involves using additional materials like chocolate syrup along with tools for detailed decoration. These two techniques complement each other—latte art lays the foundation, while etching adds creativity. Both require precise control over the texture and fluidity of milk foam.
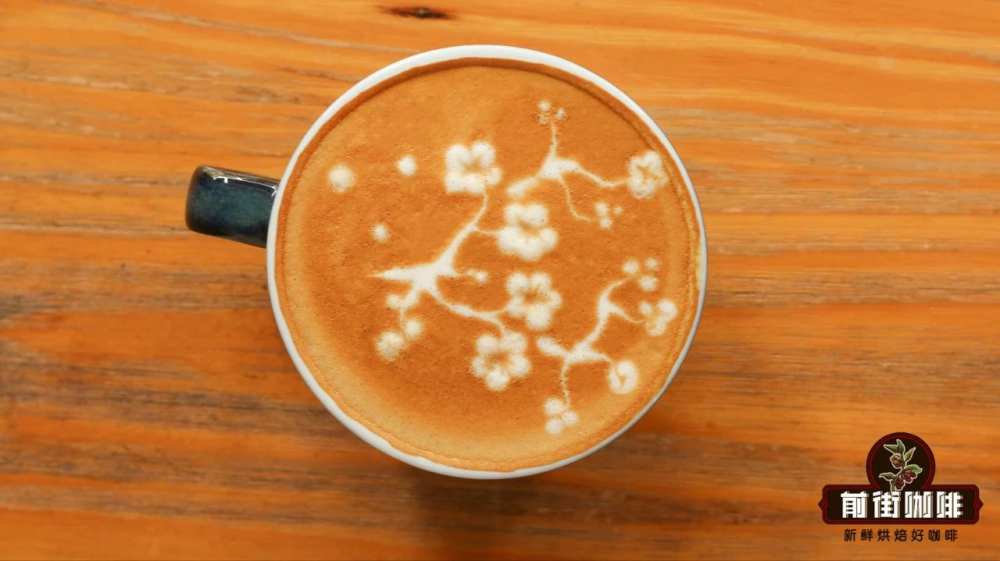
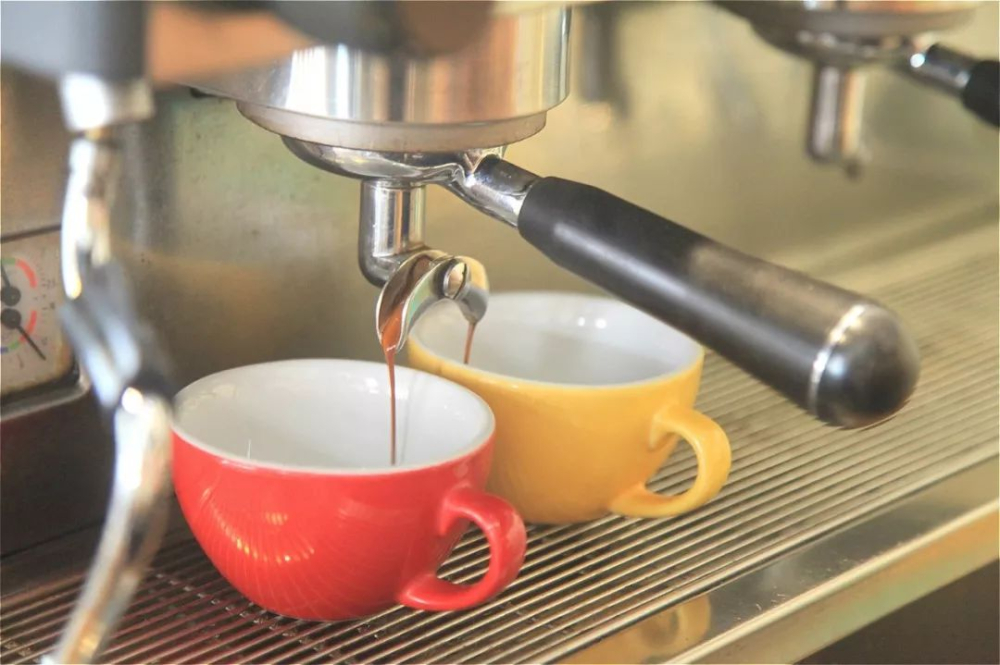
Learning milk latte art can be divided into five progressive steps: first, prepare a latte art pitcher with a slender spout and a wide-mouthed coffee cup. It’s recommended to use a professional espresso machine to extract espresso with rich crema, which is a key element for forming clear patterns. At the same time, practice steaming milk to achieve dense and stable microfoam, which will directly affect the three-dimensional presentation of the final pattern.
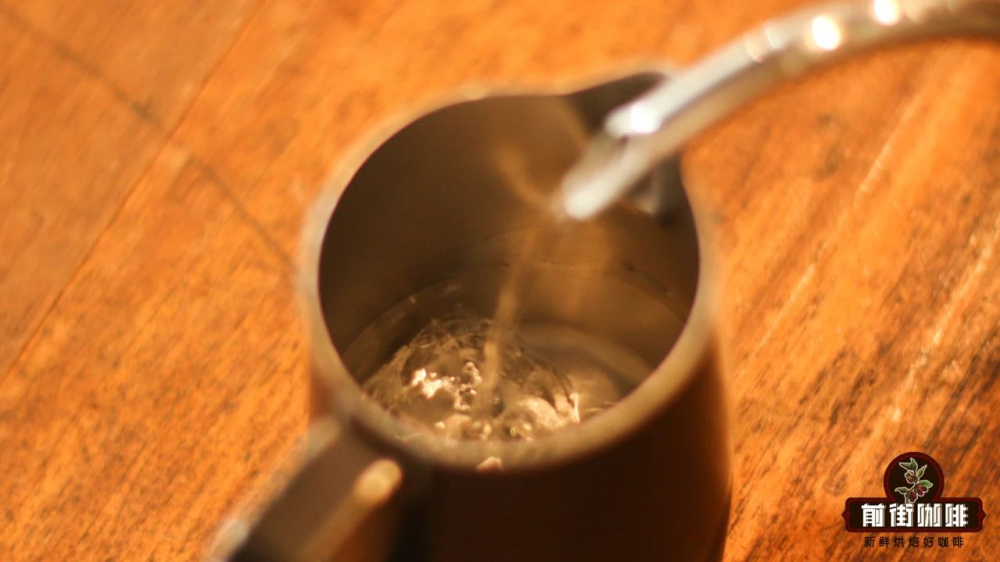
In the initial stage of practice, you can start by using water to familiarize yourself with water flow control. Advanced practitioners can mix dish soap or soy sauce to simulate the viscosity of coffee. A more precise training method is to use coffee grounds to make a paste, which can perfectly replicate the texture and flow characteristics of espresso.

After mastering the basics, it is recommended to start practicing with two classic foundational patterns: the tulip and the leaf. Once proficient, proceed to the actual fusion of milk and coffee, and finally, enhance the overall aesthetics and fluidity by continuously adjusting fine parameters.
During actual operation, hold the pitcher at a specific angle—the pitcher tilted about 10 cm high, with the spout aimed directly at the center of the coffee cup. It is suggested to slightly tilt the cup inward with the left hand while controlling the milk flow rate with the right hand. This posture ensures perfect integration of milk and coffee.
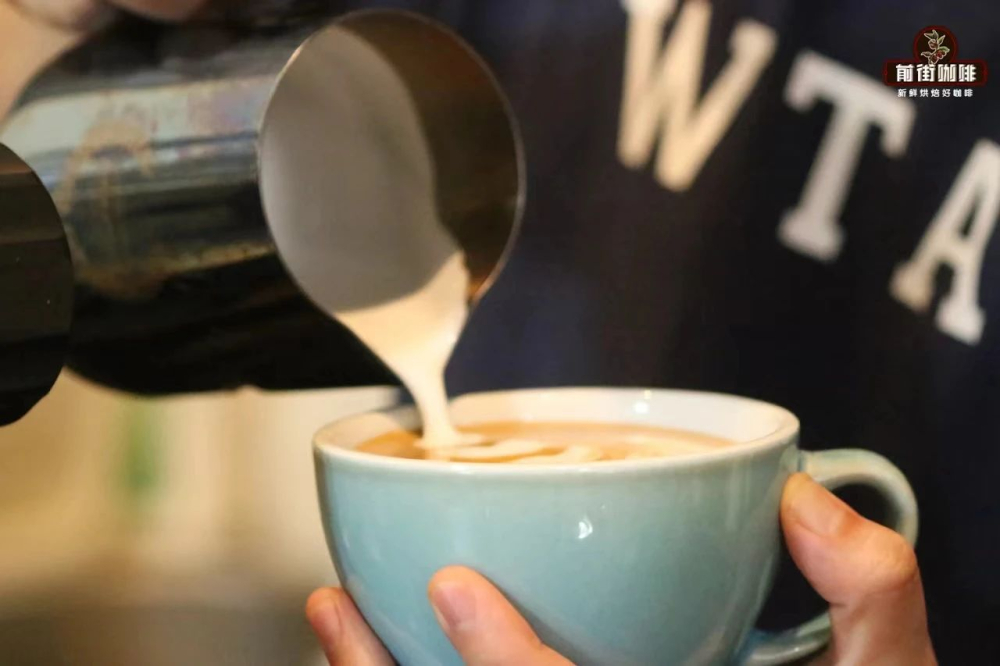
Detailed steps for tulip latte art:
1. First, evenly integrate the milk and espresso.
2. Move the pitcher to the center point of the cup, get close and increase the flow rate until the first white dot forms, then stop immediately.
3. The second pour point should be adjusted slightly backward, using a large flow rate again to form a second white dot.
4. Repeat this motion multiple times to layer and form a complete tulip shape.
5. Finally, finish with an extremely small flow rate to pull out a straight line extending the pattern.
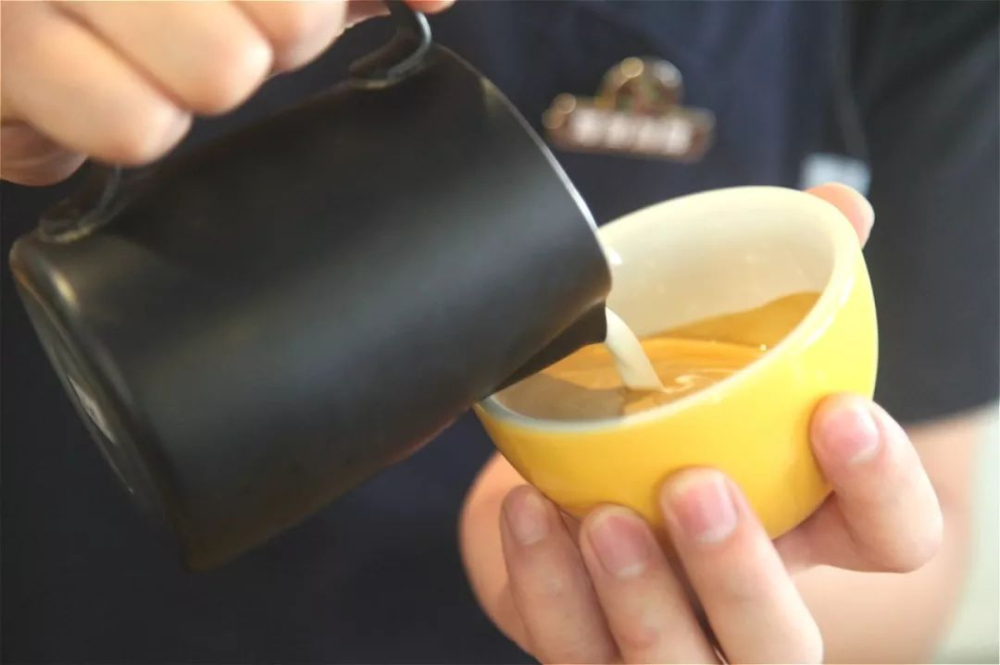
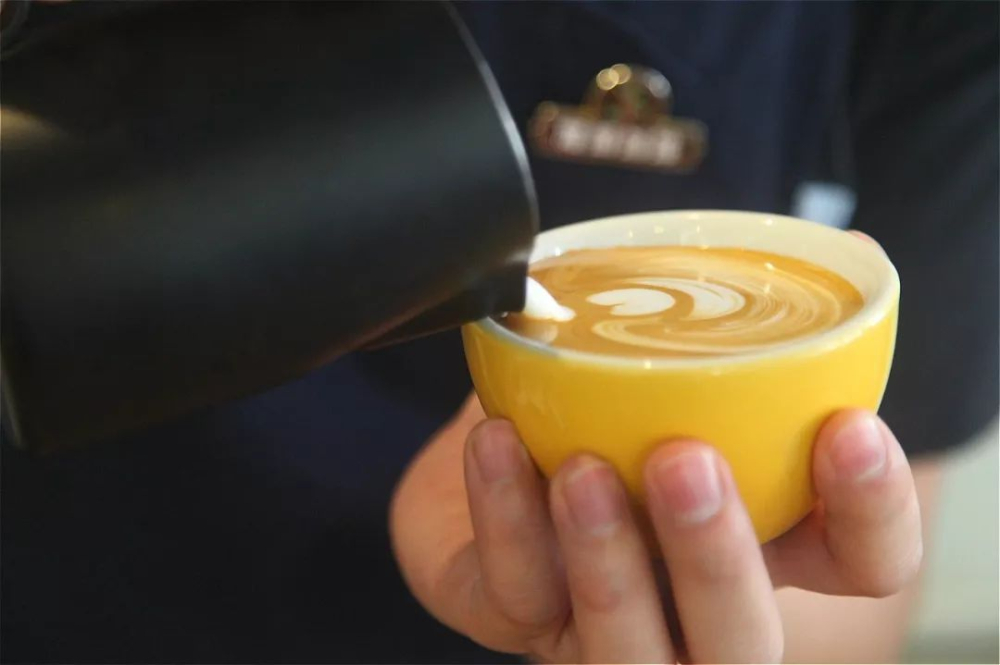
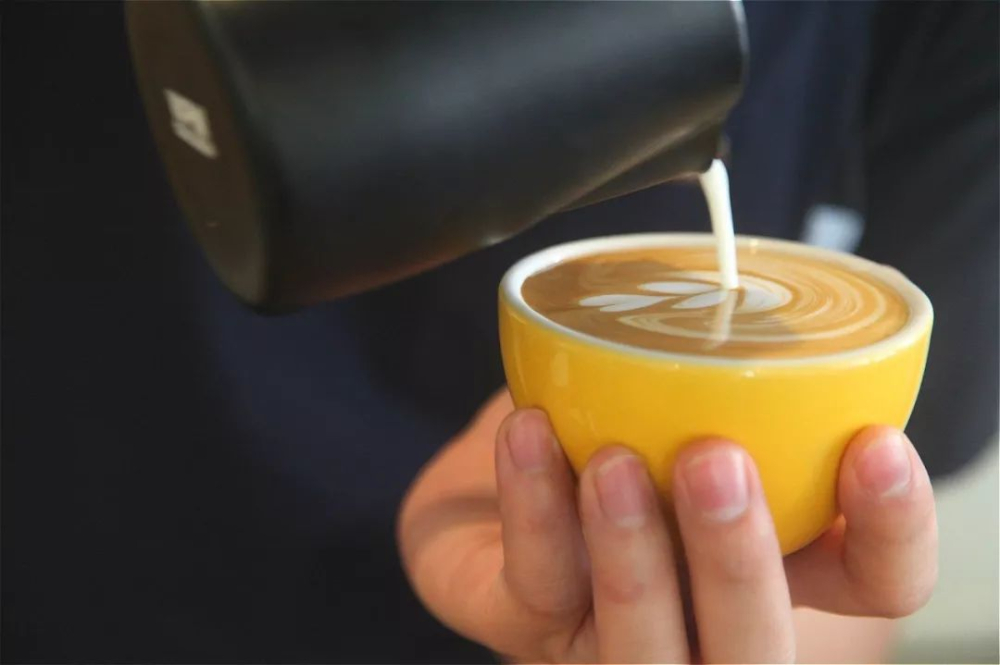
When practicing the tulip pattern, be mindful not to swing too widely. Beginners are advised to first master the basic forward push rhythm, and once familiar, gradually add textured layers. The key lies in mastering thepause timingand flow rate transition rhythm for each pour, which will determine the layering and three-dimensionality of the pattern.
Basic tutorial for the leaf pattern:
1. Tilt the cup and start pouring milk from the back of the center point to avoid milk foam surfacing directly.
2. When whitening signs appear on the coffee surface, increase the flow rate and gently rock the pitcher to create texture.
3. Continue moving the pitcher backward, maintaining steady shaking and flow control.
4. After completing the leaf, lift the pitcher about 5 cm and reduce the flow rate to draw out a slender leaf stem as a finishing touch.
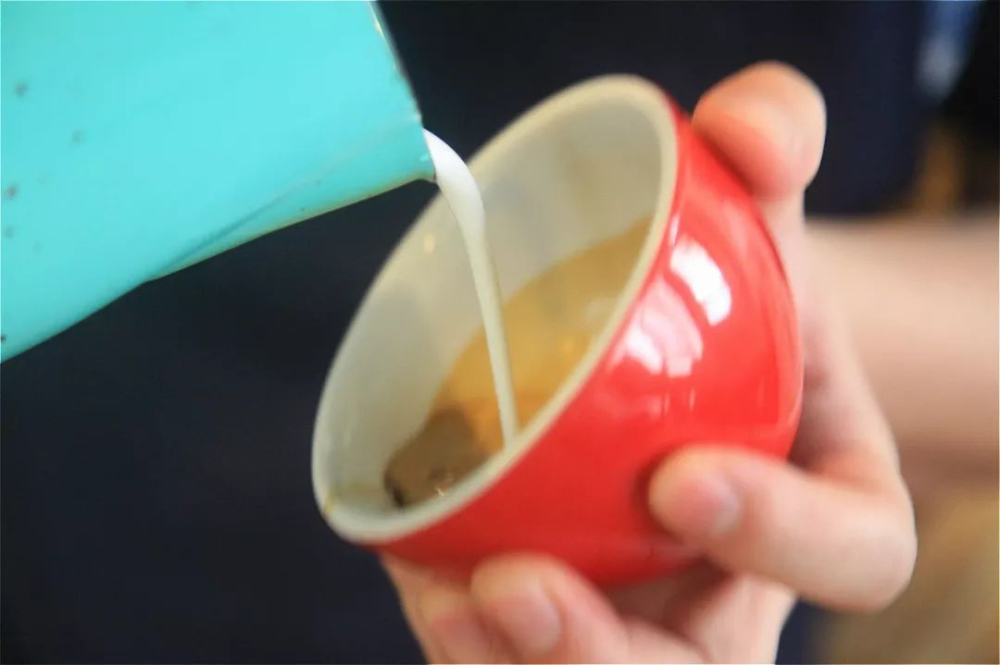
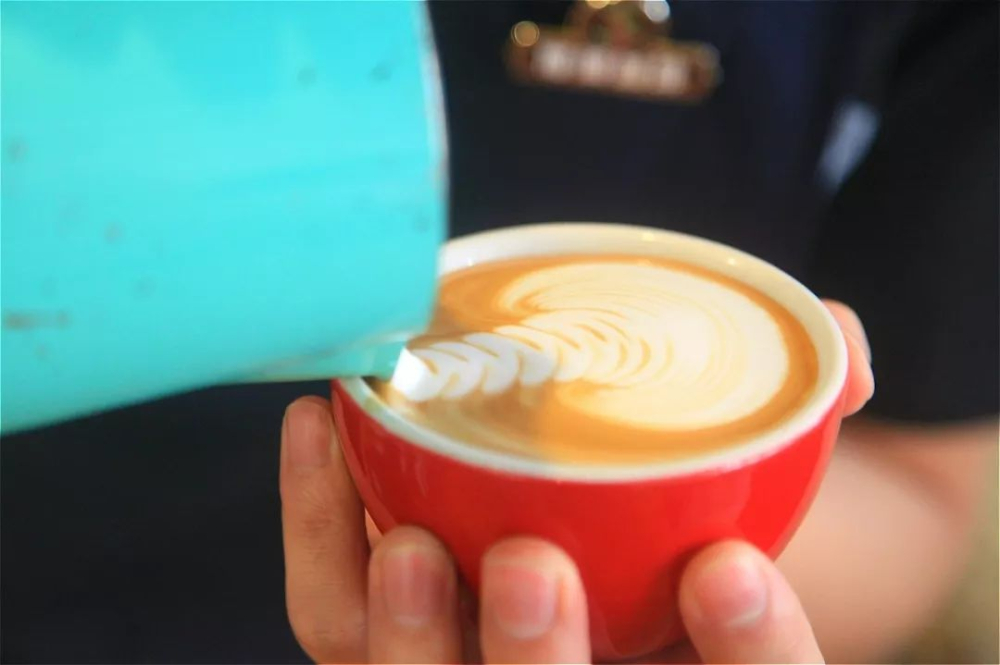
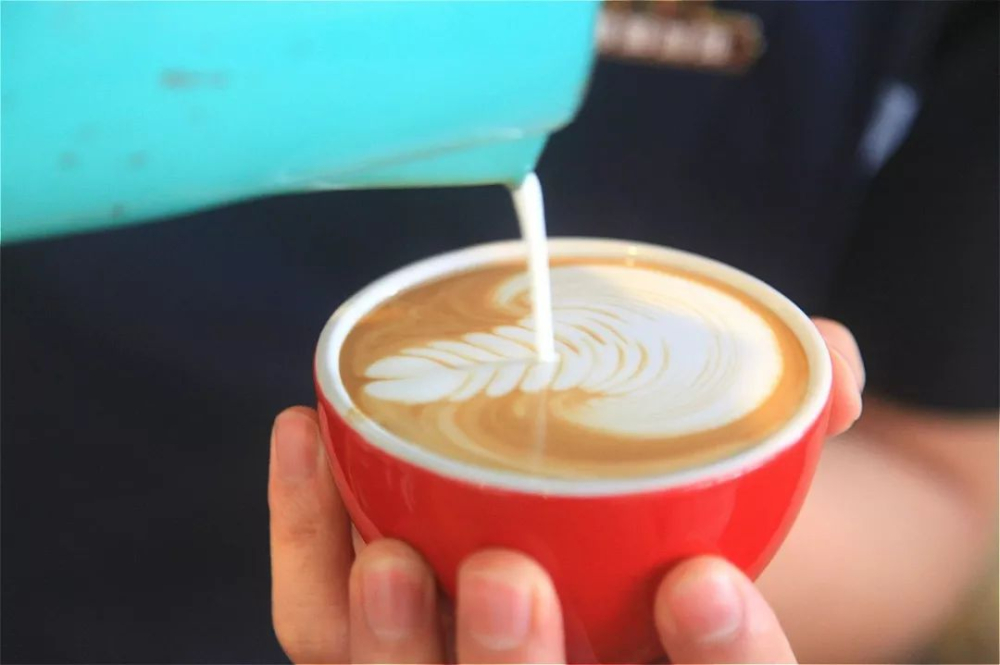
Many baristas were initially drawn to this field by the art of latte art. Exceptional latte art skills not only bring visual enjoyment but also require a delicate mastery of the texture of milk foam and the perfect balance of fusion with coffee. Though seemingly complex, latte art techniques can be mastered by anyone who understands the basic principles and practices diligently—every coffee enthusiast can create professional-grade aesthetic works.
The above content is compiled by CoffeeHunters, a coffee news website.


