







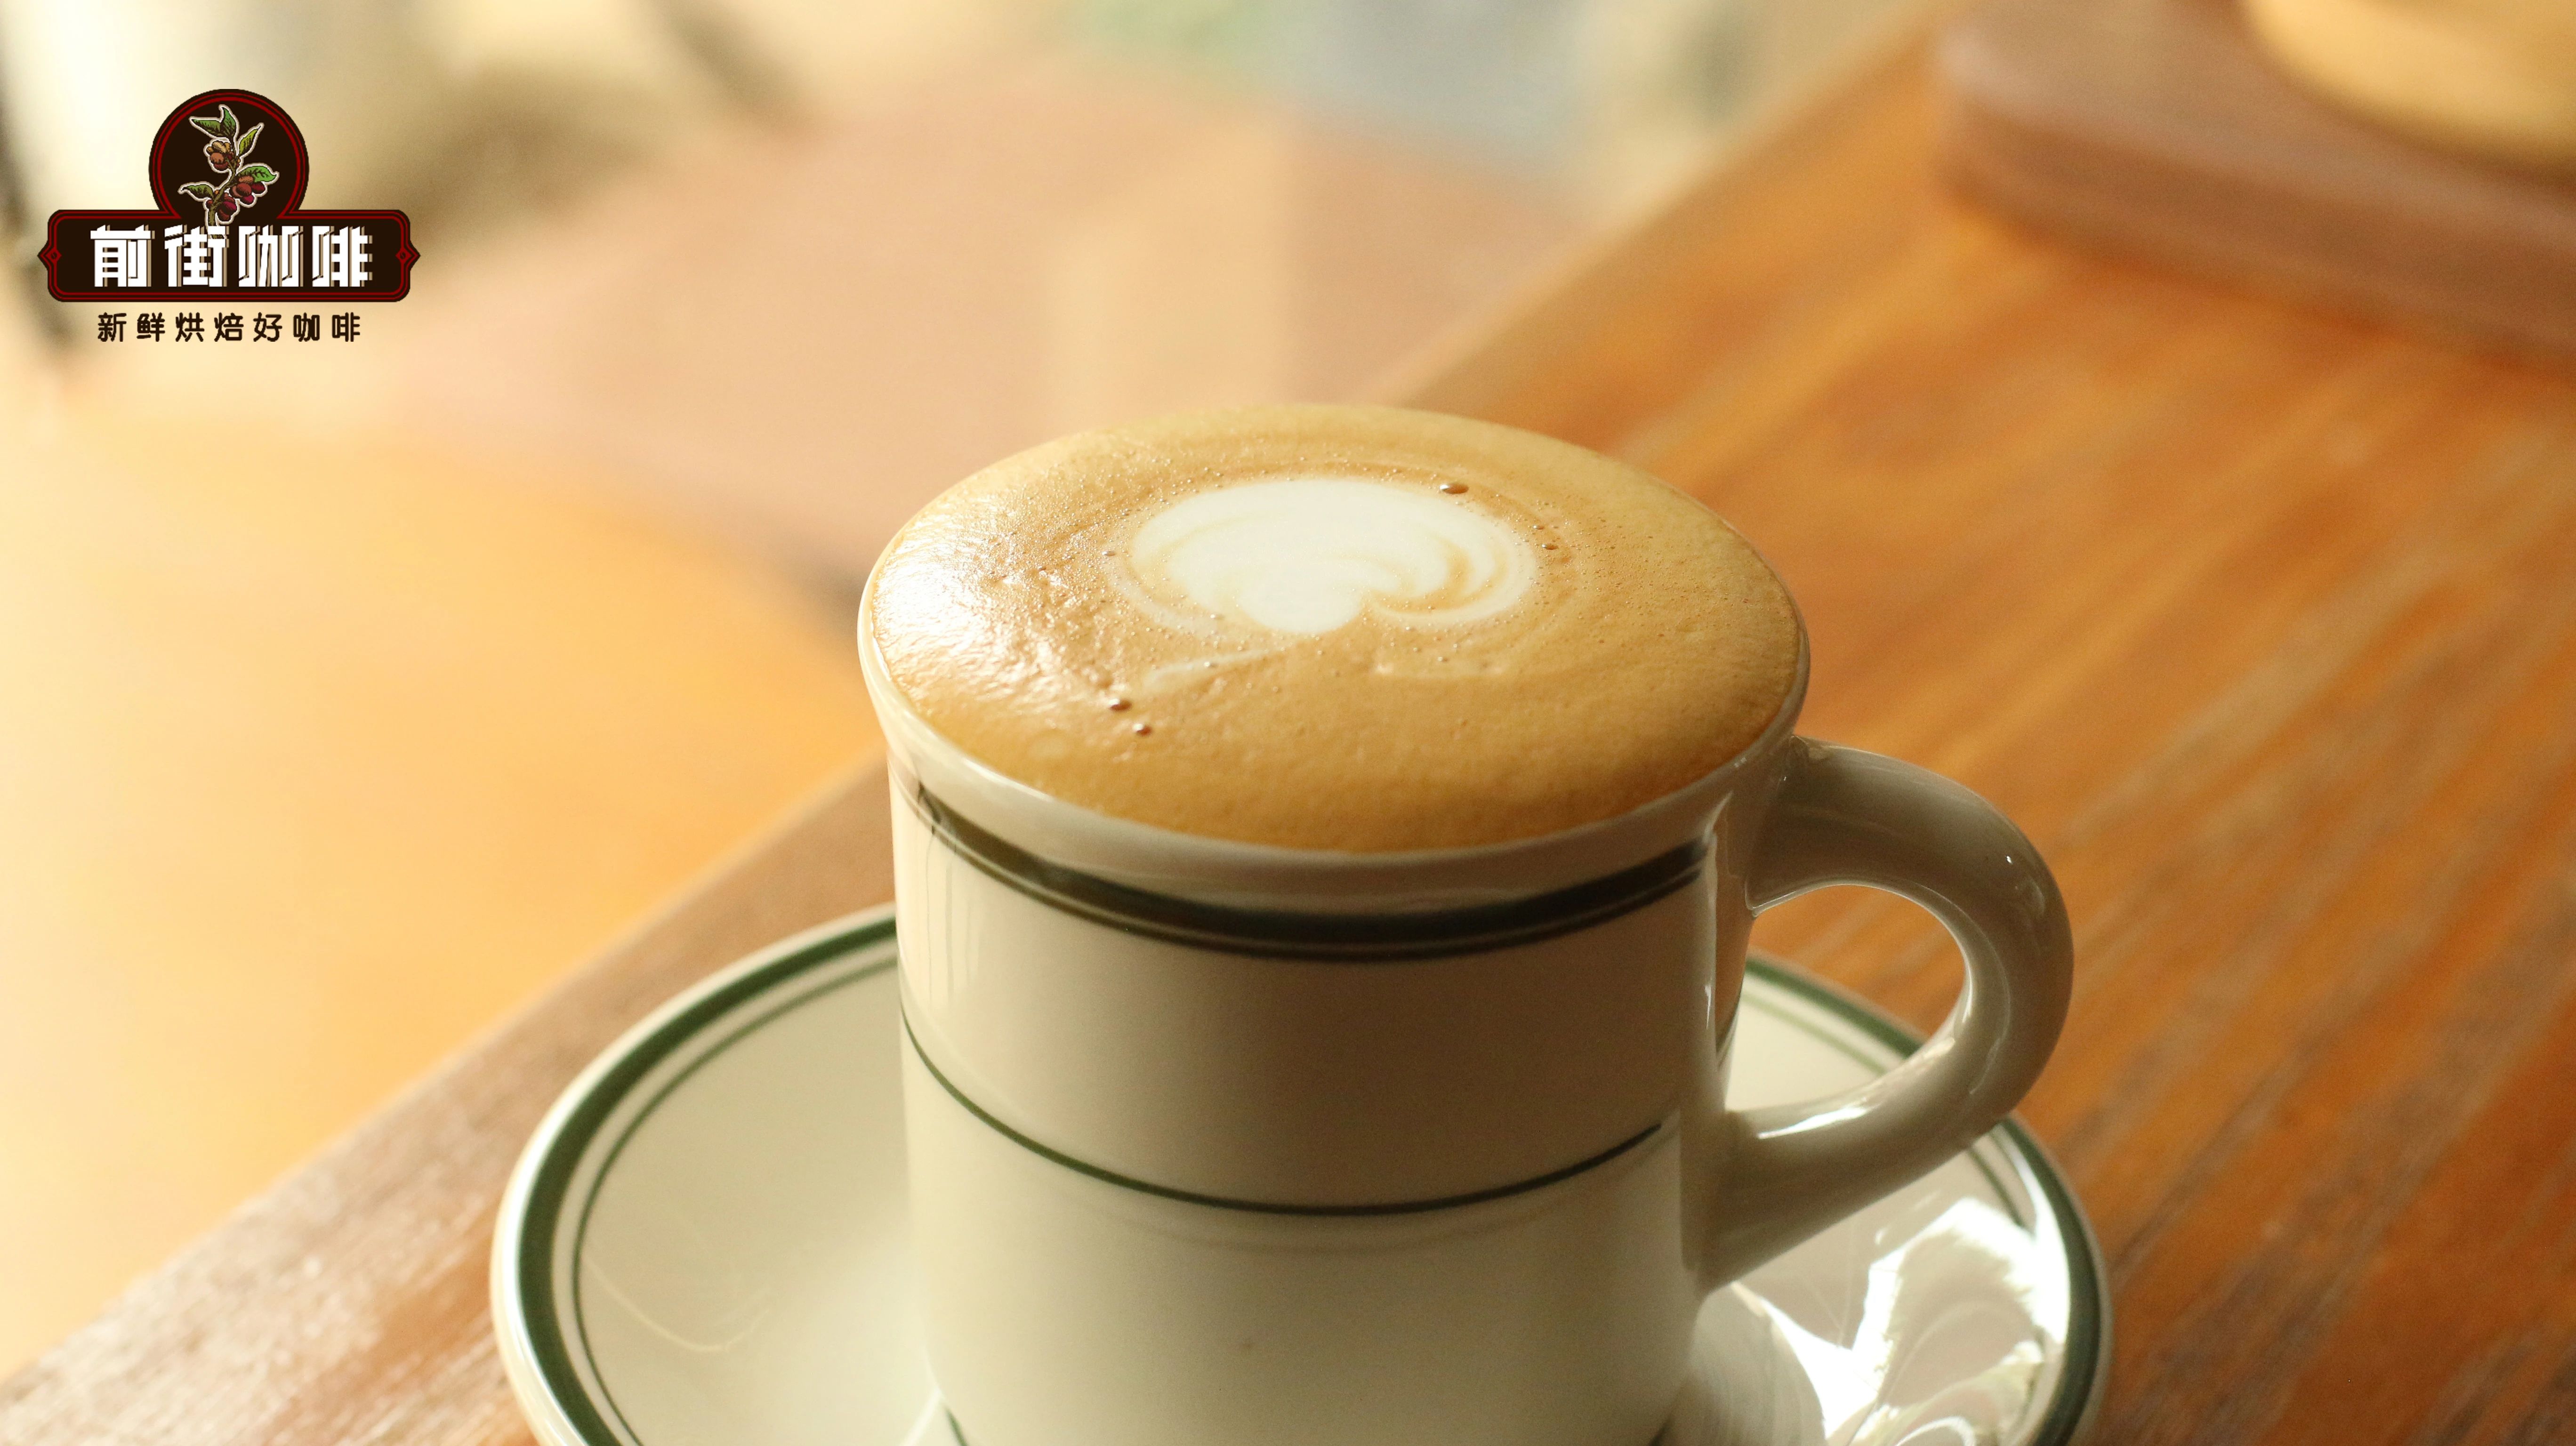
Introduction:Struggling to create fine microfoam for latte art? This article breaks down the correct technique for steaming milk for latte, addressing common beginner issues such as no foam, overly coarse foam, or foam that dissipates too quickly during pouring. By mastering steam wand angle, vortex control, and depth adjustment, you can develop barista-level microfoam skills right at home.
Many coffee beginners face various challenges when steaming milk, such as failing to produce foam, ending up with overly coarse bubbles, or seeing the foam collapse too soon during latte art. In fact, with just a few key techniques, you can easily create the fine, stable foam needed for a great latte. Below, we’ll step through common problems and their solutions to help you consistently produce professional-quality microfoam for latte art.
Common Issue 1: No foam after steaming?
This usually happens when the steam wand is inserted too deep into the milk. The steam wand releases high-temperature steam, and if it doesn’t come into contact with air at all, it will only heat the milk without creating any foam. Proper foam formation requires the steam to draw air into the milk — you’ll hear a distinct “hissing” sound, which indicates that air is being pulled in. Foam is essentially made up of tiny air bubbles surrounded by milk proteins.
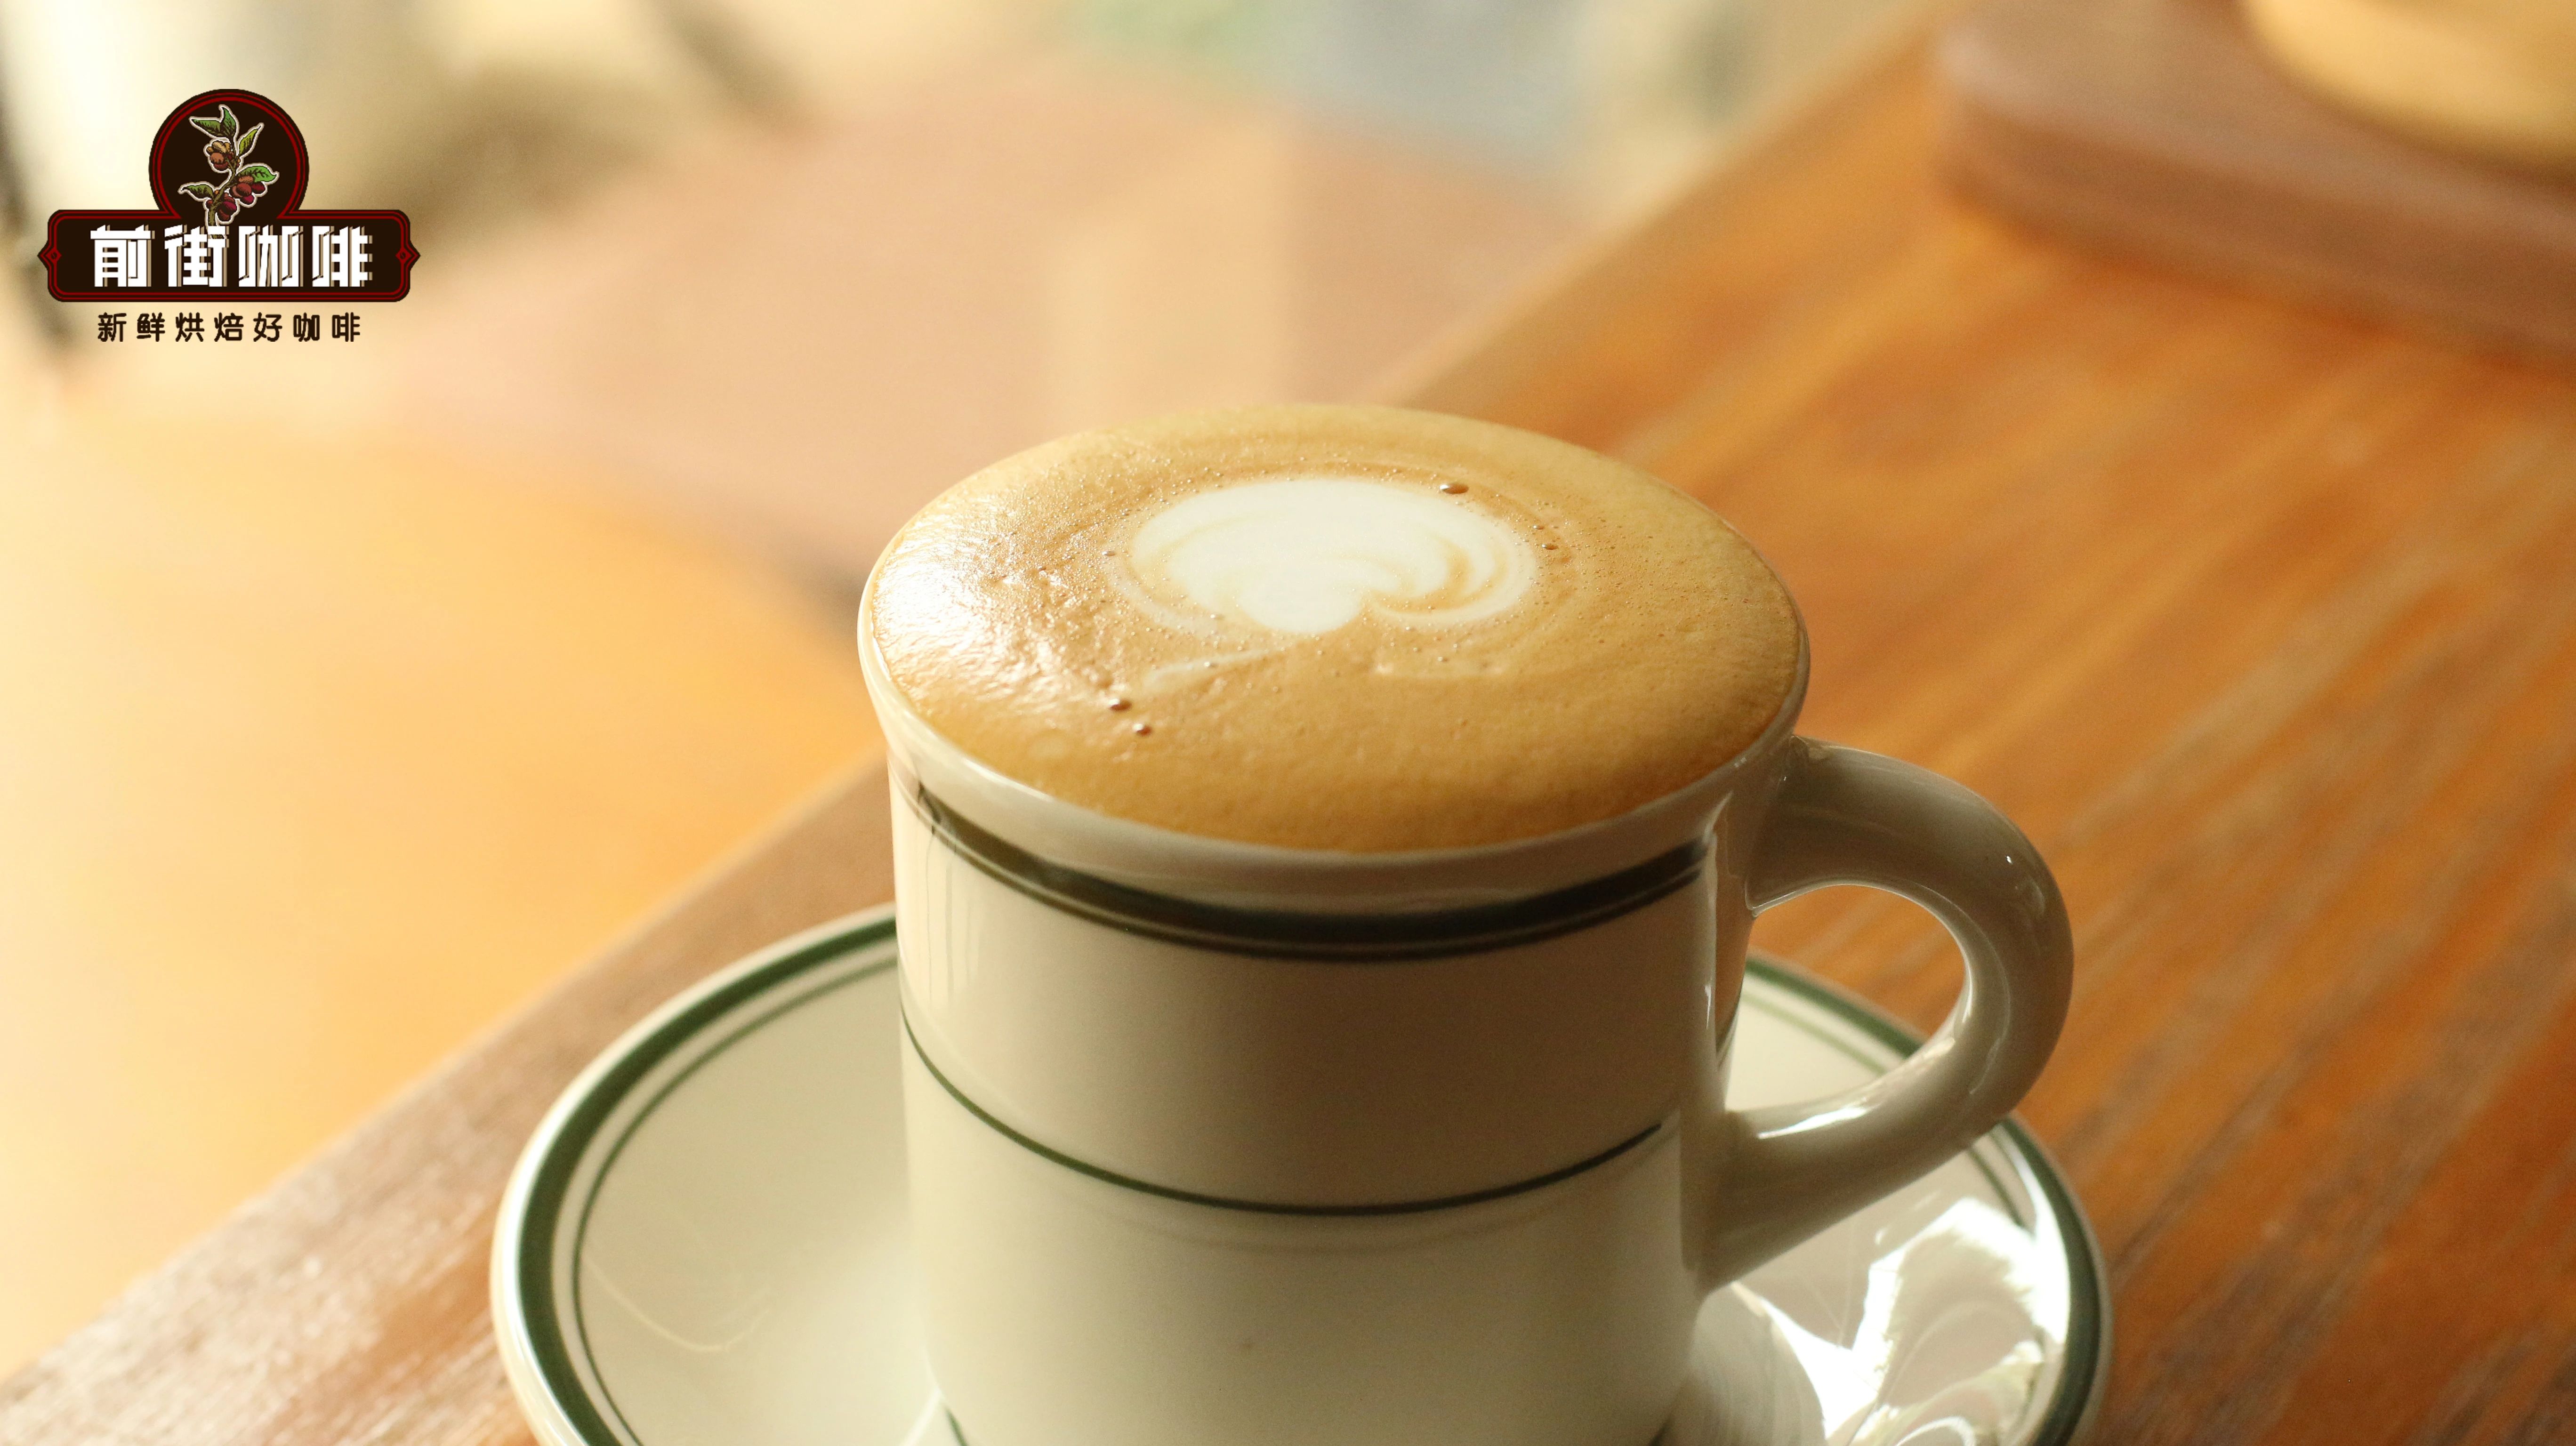
To create foam, the steam wand’s holes must not be fully submerged in the milk. But if the holes are completely exposed, it may cause the foam to expand excessively, become rough, or even be blown out of the pitcher. Therefore, it’s recommended topartially insert the steam wand into the milk. If it has multiple holes, just ensure at least one hole is exposed — this balances safety and foam quality.
Common Issue 2: Foam is too coarse for latte art?
Even if you successfully create foam, without further “stretching” or “texturing,” you won’t achieve a fine, stable foam layer. In fact, the steps of “stretching” (creating foam) and “texturing” (refining it) can be done simultaneously, which greatly reduces difficulty and results in more even, delicate foam.
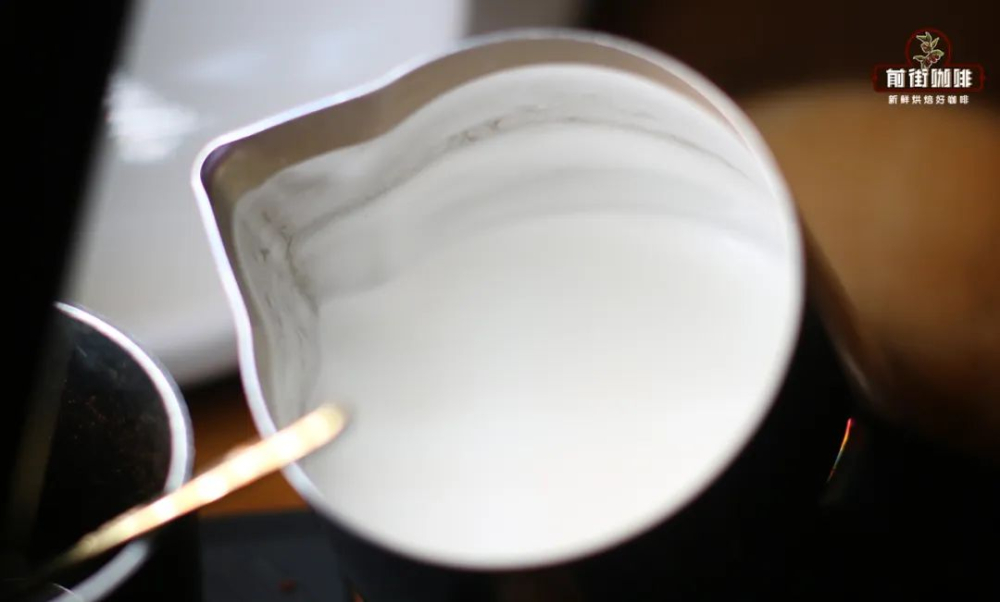
The key to texturing lies in “creating a vortex.” By rotating the milk surface, the kinetic energy of the steam breaks larger bubbles into smaller ones, increasing the overall stability of the foam. A foam layer formed from these tiny bubbles is not only smoother but also holds its shape better — ideal for latte art.
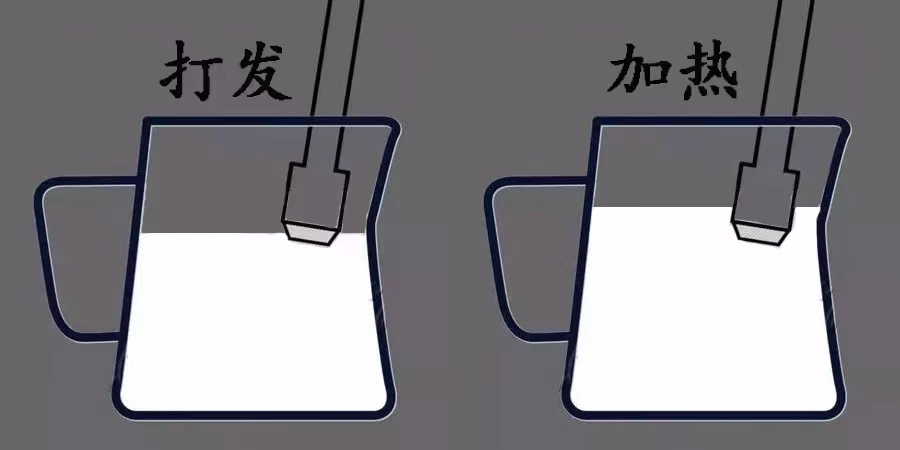
How to create an effective vortex? Focus on these two points:
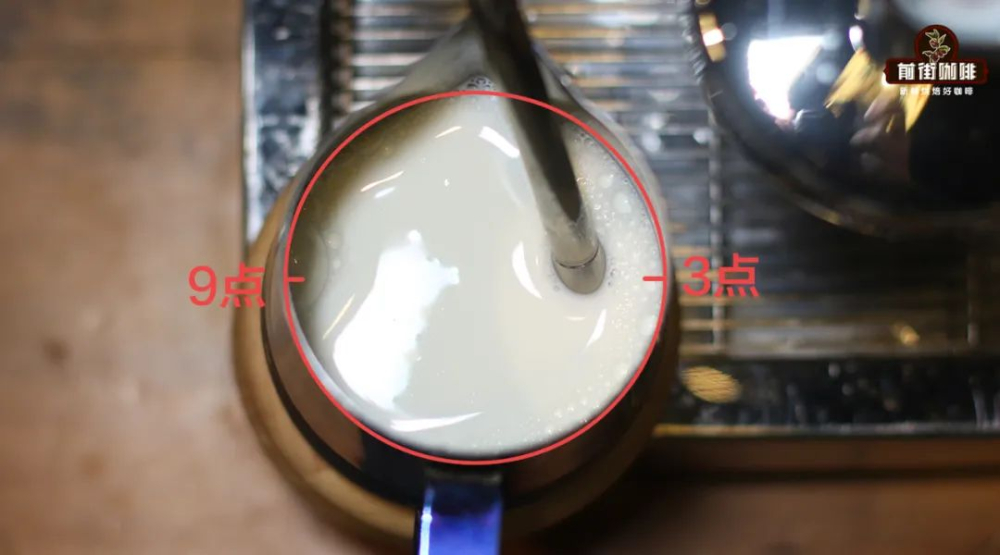
First is theangle and position of the steam wand. It’s recommended to place the steam wand at the3 o’clock or 9 o’clock positionon the milk surface, forming about a60-degree anglewith the surface. This helps generate horizontal rotational force, aiding in the formation of a stable vortex. If the angle is too shallow, it becomes difficult to rotate the milk surface, making proper texturing ineffective.
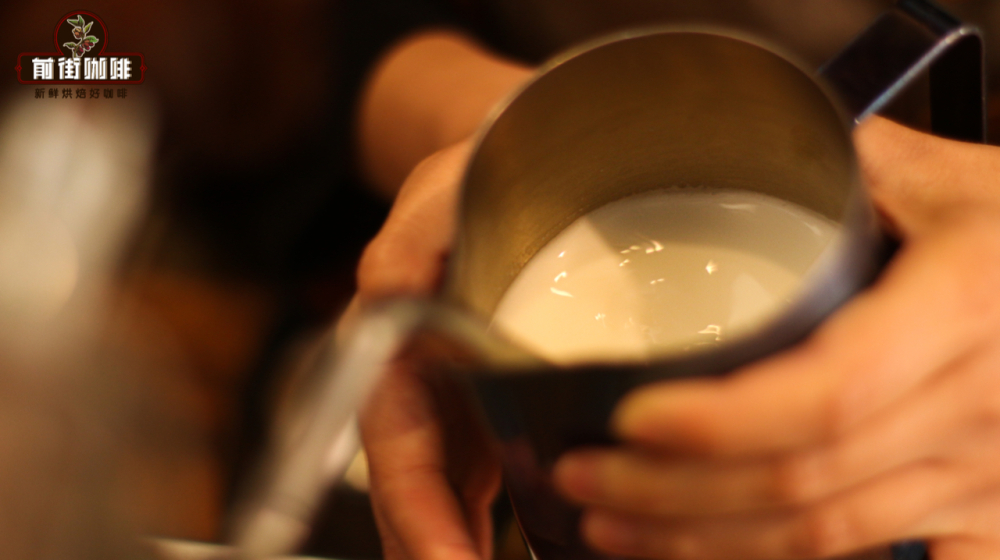
Second isexpanding the milk surface. A larger surface area helps form a vortex and results in a thinner, more controllable foam layer. Many baristas tilt the pitcher slightly to create a larger contact area. If unsure how to do this, practice with water first to find the most comfortable surface angle and position for your hand.
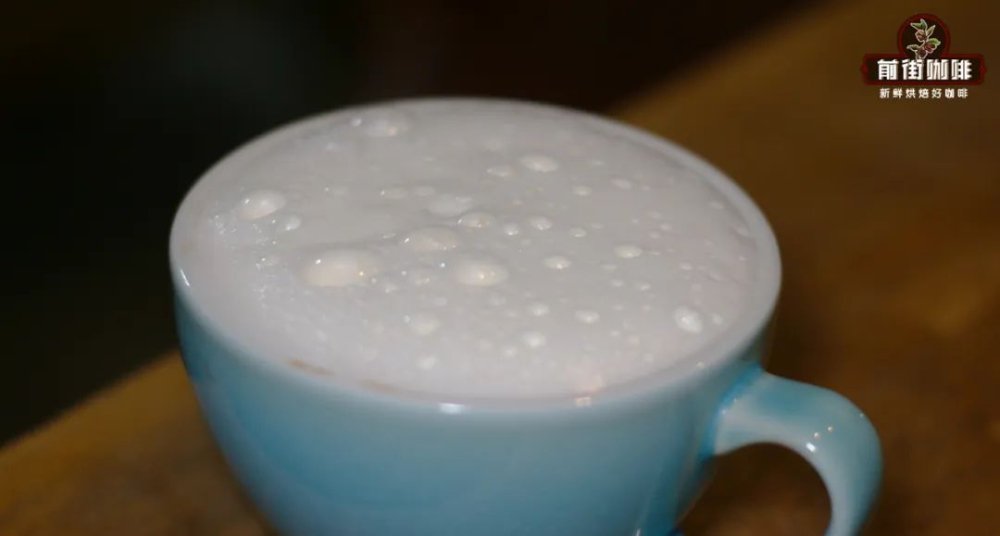
Note: The vortex must be created within the foam layer to be effective!
Some learners manage to create a vortex, yet the foam remains coarse — likely because the vortex forms beneath the foam layer, known as “under-vortexing” or “dark flow.” Truly effective texturing requires positioning the steam wand’s holes within the foam layer to break up large bubbles. If you hear the “hissing” sound again as you lift the wand, it means the angle is too shallow. Adjust to at least45 degrees or moreto ensure proper texturing.
Advanced technique: Combining stretching and texturing
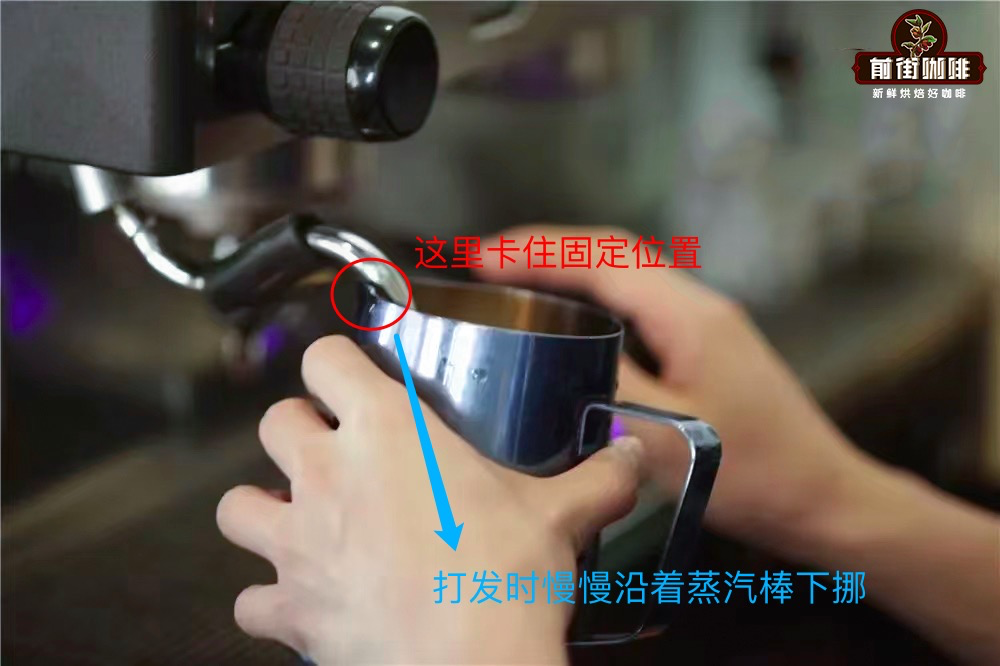
A more advanced method is to start by fully submerging the steam wand in the milk to first heat it and initiate rotation, then slowly lower the pitcher so the steam holes gradually emerge above the milk surface to begin stretching the foam. This process requires fine control, aiming to create fine foam from the beginning and then continue texturing to achieve a stable, uniform texture throughout.
The key to executing this technique isstable control of the pitcher height. It’s recommended to use the spout of the pitcher to steady the steam wand, improving overall stability for smooth downward adjustments. Beginners can practice with water first to get a feel for it, then apply the technique to actual milk steaming.
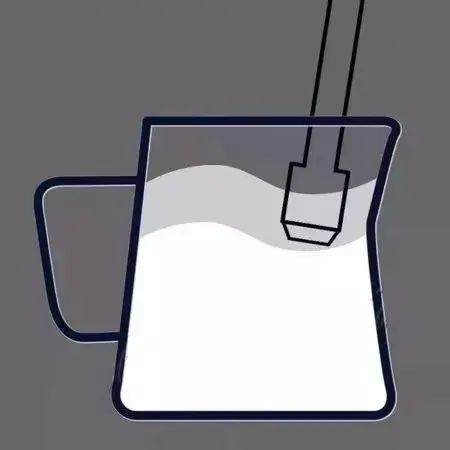
By doing this, you gain more precise control over the texture and thickness of the foam, avoiding overly coarse or thick foam, and achieving a velvety-smooth milk surface — the perfect foundation for latte art.
In summary, the keys to creating perfect microfoam for a latte are:proper steam wand depth, correct vortex angle, stable milk surface control, and simultaneous stretching and texturing. With practice, even beginners can gradually master professional-grade microfoam, ensuring every latte achieves excellent latte art and flavor.

The above content is compiled by CoffeeHunters, a coffee news website.


