







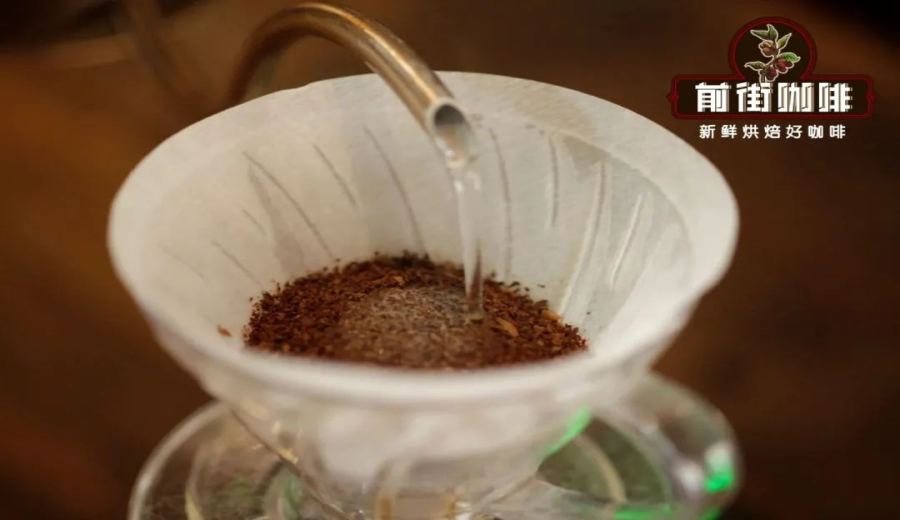
Introduction:Blooming is a frequently overlooked yet extremely important step in pour over brewing. It not only affects the release of coffee flavors but also directly impacts the overall extraction efficiency. This article delves into the principles of blooming, the correct techniques, water volume and time control, and teaches you how to judge the optimal blooming state through observation — helping you improve the quality and consistency of every pour over brew.
In freshly roasted and brewed coffee, there is a key step that is often emphasized yet easily neglected — “blooming.” Many baristas believe that “a good bloom makes brewing worry-free,” and this is not without reason. In fact, blooming is closely and positively correlated with the quality of subsequent extraction; it determines whether the coffee can fully release its aroma and flavors.
So, what exactly is blooming? Simply put, blooming involves pouring a small amount of hot water to allow the carbon dioxide gas trapped in the coffee grounds to escape, while evenly wetting the coffee bed. This lays a solid foundation for the subsequent main pour, thereby extracting richer flavor compounds. However, evenly wetting every single coffee particle is actually not easy, which is why the method and technique of pouring become especially crucial.
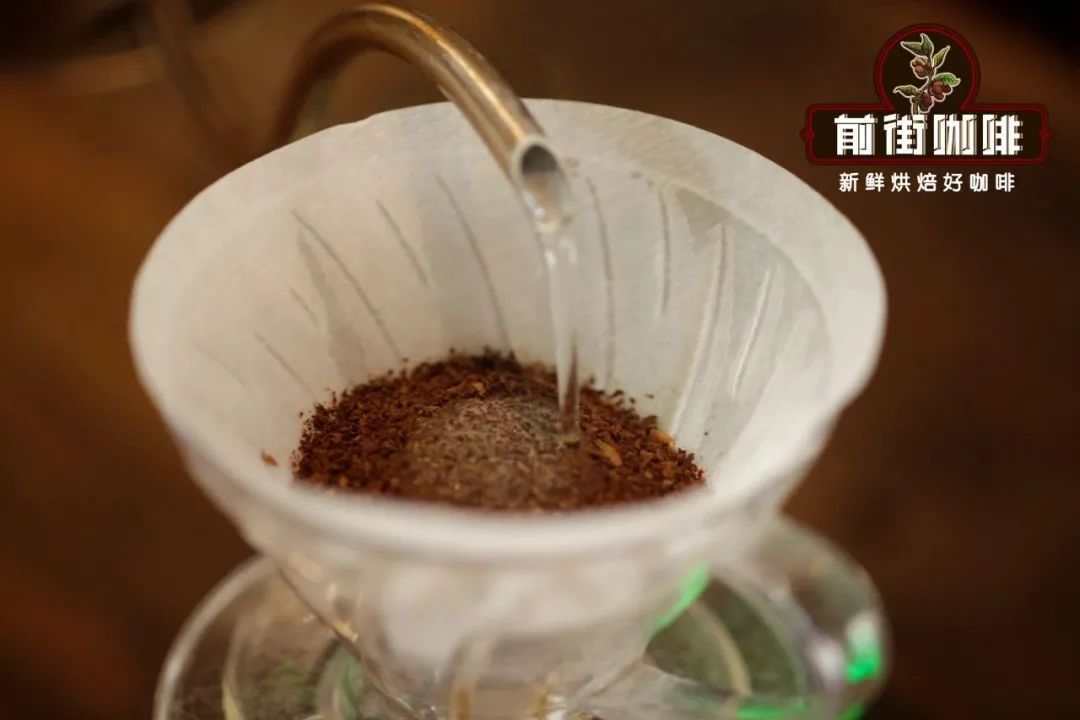
Below are several common blooming pouring techniques, each with its own applicable scenarios and pros and cons. You can choose the most suitable method based on the characteristics of the coffee beans you’re using and your personal preferences.
1. Quick small circles around the center
This method involves pouring water in quick small circles around the center of the coffee grounds using a small stream, giving the appearance of evenly spreading the water across the surface. The wetted coffee grounds will gradually expand and spread outward, achieving an even blooming effect. This approach is suitable for finely ground, fresh coffee beans with high gas content. However, it requires relatively high pouring skill; if not done properly, it can lead to water concentrating on one side, causing uneven blooming.
2. Pouring from the center outward in circles
This is one of the most common blooming pouring methods — starting from the center and slowly circling outward until the entire coffee surface is evenly wet. This method has a wide range of applications, is relatively easy to perform, and suits most coffee beans. However, because the coffee bed is thicker in the middle and thinner at the edges in a cone-shaped filter, water may pass through the filter too early and flow into the brewer, affecting the blooming effect.
3. Pouring from the outer edge inward in circles
Opposite to the previous method, this involves pouring in circles starting from the outer edge and moving inward. This technique addresses the issue of premature drainage from the edges that may occur with center pouring. However, it is less suitable for overly fresh or dark roasted coffee beans, as it may inhibit the degassing of the central coffee particles, affecting overall flavor release.
4. Digging a small hole in the center then pouring around it
This method is particularly suitable for deeply roasted and fresh coffee beans. These beans are typically more fluffy and show noticeable expansion during blooming. By digging a small hole in the center and pouring water around it, not only can the thickness of the central coffee layer be reduced, but the degree of expansion can also be better controlled — helping stabilize degassing and flavor extraction.
So, how do you know when blooming is complete? Many people tend to use formulaic standards, such as using twice the weight of coffee grounds in water or blooming for 30 seconds. For beginners, such standardized steps are indeed easier to follow. But we must understand that the core purpose of blooming is to release gases trapped in the coffee grounds — and the gas content varies depending on the freshness, roast level, and texture of the beans, so there’s no one-size-fits-all rule.
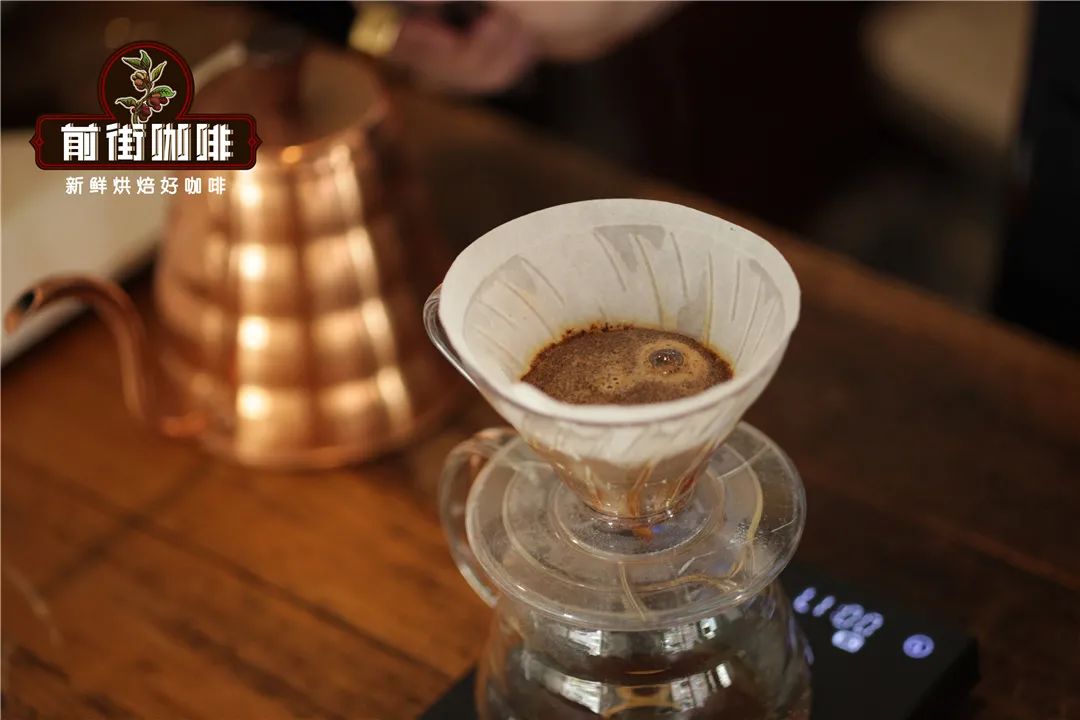
Observation is the best way to judge the blooming state. When using very fresh coffee beans, you might see bubbles emerging from the puffed-up coffee bed — this is because excessive internal gases cause the bed to expand and release air. In contrast, coffee beans that have been rested appropriately won’t react as dramatically. Additionally, softer beans tend to expand more, allowing for slightly shorter blooming times; whereas harder beans show less obvious expansion, and it takes longer for water to penetrate to the center, so the blooming time can be moderately extended.
A practical guideline is: when the coffee grounds are fully wet and the bed stops expanding (no more bubbling or puffing), it indicates that blooming is complete and you can begin the subsequent main pour. This time doesn’t have to be exactly 30 seconds — it could be 25 or 35 seconds. The key lies in observation and perception.
The above content is compiled by CoffeeHunters, a coffee news website.


