








Introduction:To make silky and delicate lattes and cappuccinos, mastering milk frothing and blending techniques is key. This article delves into the science behind milk frothing, explores common issues such as poor milk integration and foam separation during latte art, and through practical testing of different heating temperatures on milk foam stability, provides a useful guide suitable for beginners to advanced baristas to help you improve your latte art and flavor performance.
When making lattes or cappuccinos, milk foam is not just decoration—it’s the soul that affects taste and flavor. A high-quality latte requires the milk foam to be fine, smooth, glossy, easy on the palate, and perfectly integrated with the coffee. This article will start with the basic principles of milk frothing, help you understand how to produce ideal milk foam, answer common questions such as milk foam not integrating with coffee or foam separating during latte art, and through actual testing of milk foam stability at different temperatures, help you find the most suitable heating temperature range to avoid the issue of rapid foam collapse after exceeding 70°C.

To produce high-quality milk foam, you first need to understand the core principles of steaming milk. Milk can produce foam because high-temperature steam injects air into the liquid milk, and relies on the surface tension of milk proteins to form tiny bubbles, causing the milk to expand in volume and transform into a delicate foamy state. This process not only changes the physical state of the milk but also affects its final mouthfeel and aroma release. As the milk heats up, lactose gradually dissolves and becomes encapsulated within the foam, while milk fat helps stabilize these tiny bubbles. When these bubbles burst in the mouth, they can release more aroma and flavor, making the milk taste sweeter and creamier, and when blended with coffee, it can present a richer layering of flavors.
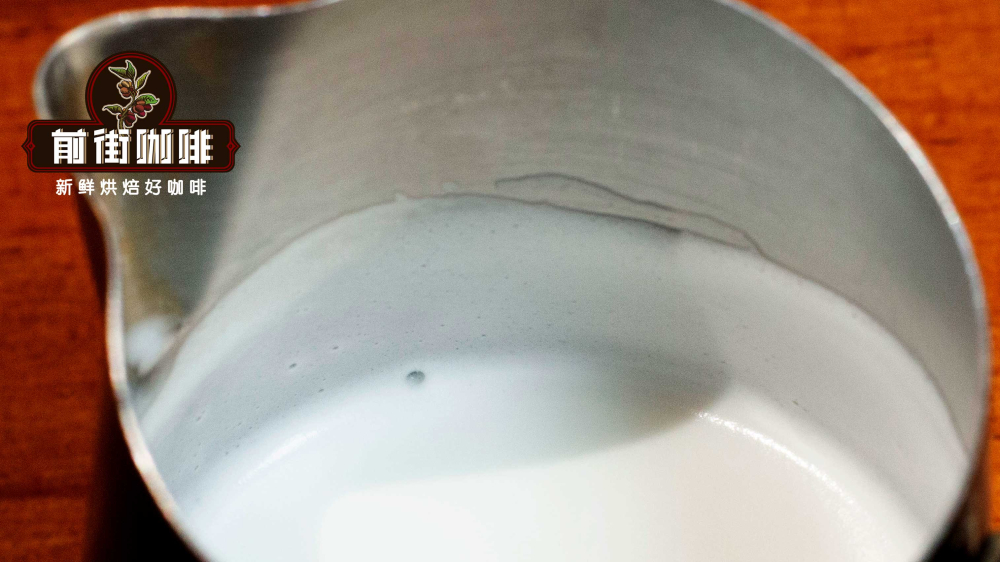
Many people, when first trying to froth milk, often encounter the issue of the milk foam not integrating with the espresso. This could be because the coffee beans used are not fresh enough, resulting in an espresso lacking sufficient crema and unable to bond well with the milk foam. Beginners are advised to choose medium to dark roasted blends, such as those with flavors of spice, dark chocolate, and roasted hazelnuts, which not only have low acidity but also provide enough crema to facilitate better integration. In addition, if the milk foam is too thin or there isn’t enough froth, pouring it into the coffee can cause it to disperse easily, making it difficult to form a stable pattern. In this case, you should moderately increase the amount of froth to achieve a more balanced ratio between milk foam and milk. Another common scenario is that the integration seems normal during pouring, but during latte art, the milk foam floats on the surface and clumps together—this is usually due to poor integration between the milk foam and milk, resulting in obvious layering. To improve this, you need to increase the steam pressure and refine the fineness of the milk foam during the frothing process.
The integration of milk foam and milk is mainly determined by two factors. The first is the steam pressure from the steam wand; higher pressure encourages more turbulence during the frothing process, helping air and milk mix more evenly and improving integration. The second is the fineness of the milk foam itself—finer foam contains less air, has higher density, lower buoyancy, and therefore is less likely to rise quickly, resulting in better integration. In contrast, coarser foam contains more air, has lower density and higher buoyancy, making it prone to quickly rising to the surface and reducing integration. Good integration not only makes latte art patterns clearer and more delicate but also improves the overall consistency of the drink’s mouthfeel.
How can you judge the integration of milk foam? A simple method is to pour the frothed milk foam into a clear glass and observe it as it sits. If obvious layering appears within 30 seconds, the integration is poor; if layering occurs between 30 to 60 seconds, it is moderate; if it remains unlayered for over 60 seconds, the integration is excellent. It’s important to note that frothed milk foam should not sit for too long, as it will naturally separate over time. It’s best to use it as soon as possible to ensure optimal condition.
Next, let’s discuss why the heating temperature of milk foam is so important. It is generally recommended to heat milk to around 60°C, but remember not to exceed 70°C, because once it goes above this temperature, the protein structure in the milk will begin to break down, affecting the stability of the foam. According to practical tests, when milk is heated to 90°C, even without intentional frothing, the foam will rapidly expand due to the high temperature and may even overflow the pitcher; whereas at around 60°C, the stability and longevity of the milk foam perform best. Experimental data shows that at various starting temperatures ranging from 30°C to 12°C, the rate of foam collapse also varies significantly, with milk foam in the 50–70°C range, whether just milk or mixed with coffee, demonstrating excellent stability and endurance. This is because this temperature range ensures sufficient mixing time between the milk foam and milk, while the milk has not yet entered an irreversible denaturation stage, maintaining higher stability.
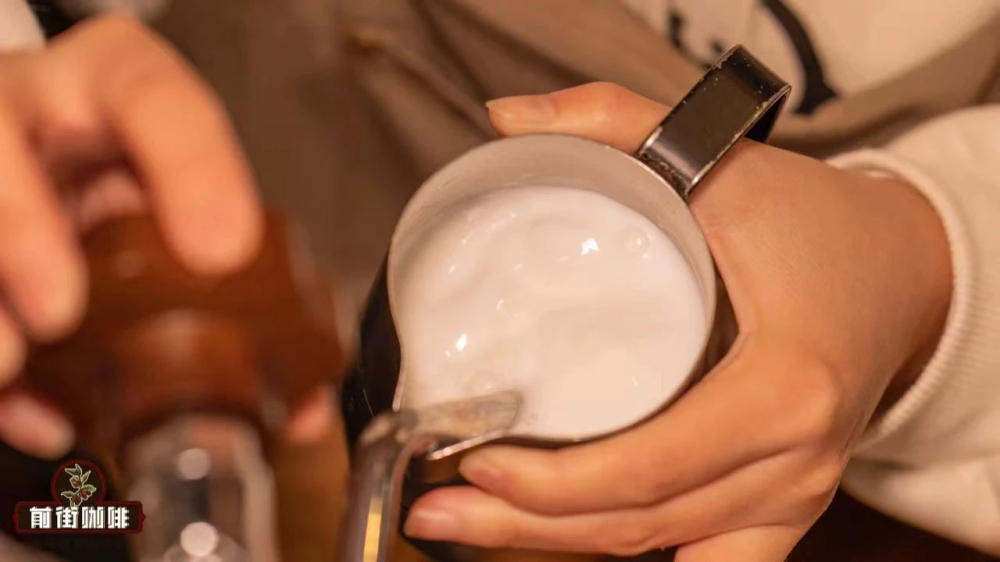
Further analysis shows that when milk foam is heated to 80–90°C, the whey proteins in the milk begin to denature above 60°C, leading to a decline in protein elasticity and causing the foam to dissipate quickly. When the temperature is below 30–40°C, the lack of sufficient mixing and stretching time between the milk foam and milk results in poor integration, and the foam also tends to dissipate easily. Additionally, if using cold milk (such as directly from the fridge) and frothing manually, the mixing is not as effective as with a steam wand, resulting in inherently lower integration. Moreover, as the milk warms from a low temperature to room temperature, internal gases expand due to heat, which can also lead to rapid foam collapse. Therefore, mastering the appropriate heating temperature and frothing technique is the surefire way to produce fine, stable, and long-lasting milk foam.
The above content is compiled by CoffeeHunters, a coffee news website.


