







Introduction:The clever dripper combines the features of a French press and a pour over dripper. With its simple operation and stable extraction performance, it has become a popular brewing device for both home and office use. This article delves into its working principle and, based on a 15g coffee dose, 1:15 coffee-to-water ratio, and 93°C water temperature, guides you step-by-step through the entire process—from folding the filter paper to filtering the coffee. By mastering the three key variables—grind size, water temperature, and brew time—you can brew a coffee with clear layers and a clean flavor.
Among the many pour over drippers, the clever dripper stands out with its ease of use and consistent extraction quality. It has not only been recognized in international barista competitions but is also widely used in daily brewing at specialty coffee shops. For those new to pour over brewing, it requires no precise control over water flow rate—just attention to grind coarseness, water temperature, and brew time—to produce flavorful coffee at home or in the office.
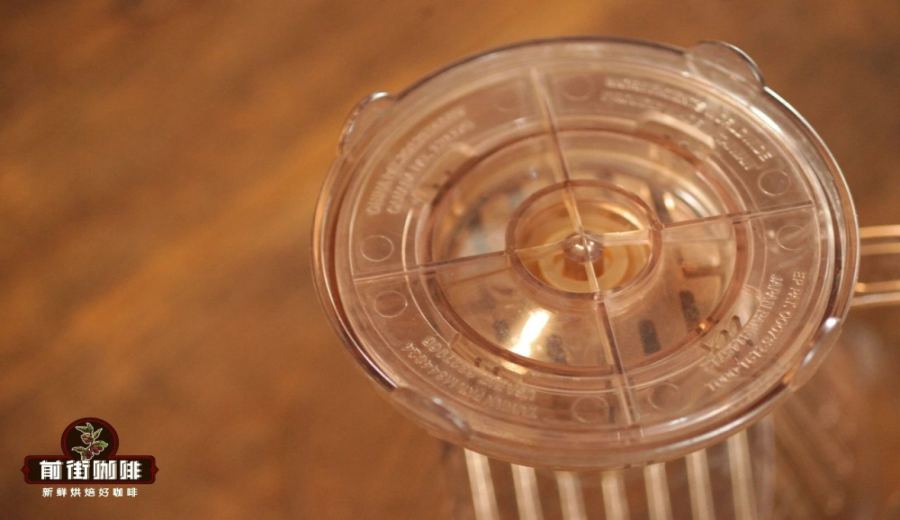
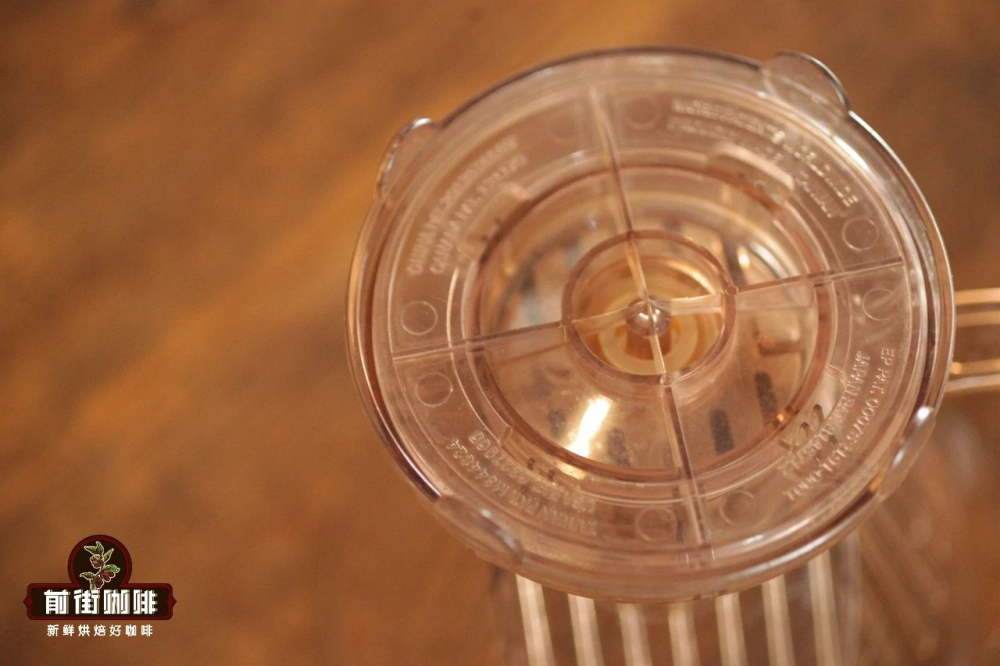
The core design of the clever dripper lies in the piston valve at the bottom of the dripper.When hot water is poured in, internal water pressure causes the piston to automatically seal, allowing the coffee grounds to fully steep in the dripper—achieving an immersion effect similar to that of a French press. Once the steeping is complete and the dripper is placed on a cup, gently pressing the base opens the piston, letting the coffee liquid drip smoothly. This design combines the filtration function of a pour over dripper with the flavor integrity of immersion brewing.
This guide uses 15g of coffee grounds, a 1:15 coffee-to-water ratio, and a water temperature of 93°C as the brewing foundation, featuring Ethiopian Yirgacheffe “Red Cherry” beans processed with natural sun-drying. We’ll walk through ten practical steps—from preparing the filter paper to enjoying the coffee—to help you get started easily and consistently brew coffee with clear flavors and distinct layers.
The coffee beans used this time come from the Aletaland Estate in Ethiopia’s Yirgacheffe region, grown at an altitude of about 1700 to 2200 meters. They are cultivated from local heirloom varieties and processed using the natural (sun-dried) method. With a medium-light roast level, these beans exhibit bright citrus notes and floral aromas. They are well-suited for medium-fine grinding and immersion brewing to highlight their rich fruitiness and balanced acidity.
Recommended brewing parameters are as follows: 15g of coffee grounds, a 1:15 coffee-to-water ratio, a grind size similar to that of fine sugar granules, and a water temperature controlled at 93°C. If using coffee beans from other regions or with different processing methods, you may slightly adjust the water temperature according to the bean characteristics, generally within a range of 85°C to 94°C.
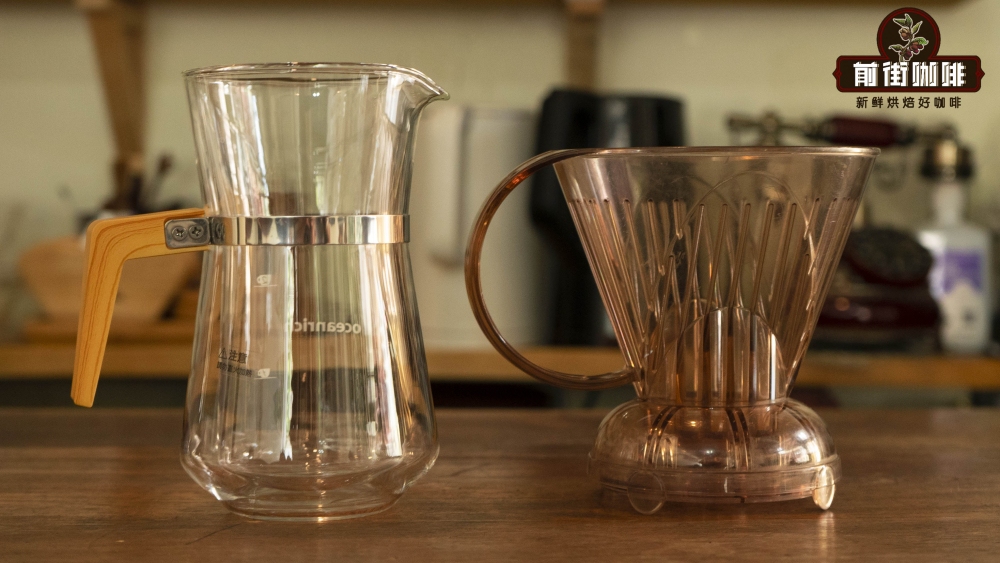
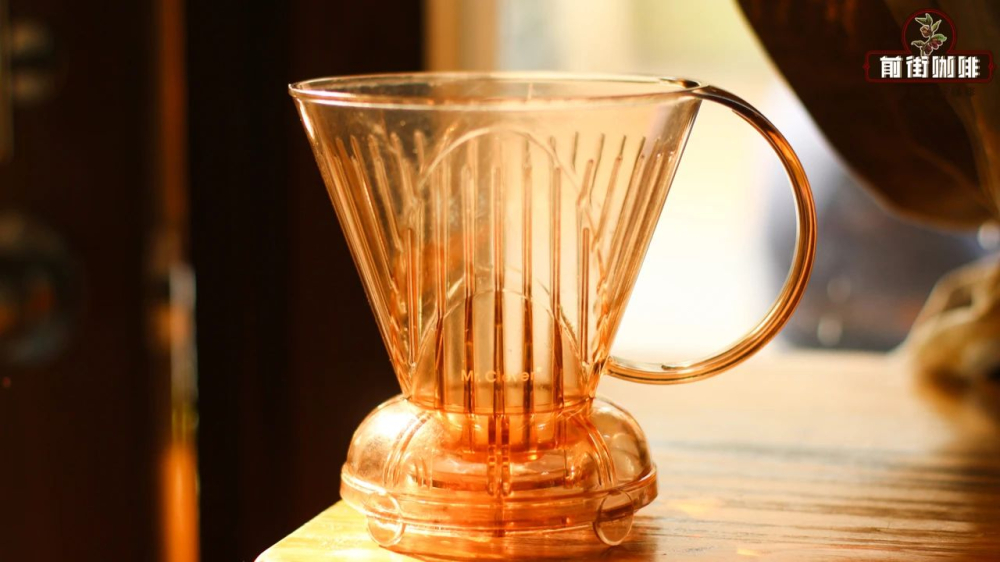
Required equipment includes: a large-sized clever dripper (it’s recommended to choose a model with sufficient capacity), large fan-shaped filter paper (bleached filter paper helps reduce off-flavors), a digital scale (or you can estimate by experience if one is unavailable), a timer (a smartphone can be used as a substitute), a coffee cup or mug, as well as freshly ground coffee or pre-measured coffee grounds, along with appropriately heated water.
Once everything is ready, follow the ten steps below to complete the brew:
① Fold the filter paper: Fold the fan-shaped filter paper along one side, then the other in alternating directions. After unfolding, pinch the bottom two corners lightly to add dimension, helping it fit snugly against the inner wall of the dripper.
② Wet the filter paper: Place the folded filter paper into the dripper and rinse it evenly with hot water. Then discard the preheating water. This step not only removes the papery taste of the filter but also helps it adhere tightly to the dripper, preventing channeling during coffee extraction.
③ Grind the coffee beans: Grind the coffee beans to a consistency similar to fine sugar. For lighter roasted beans, you may grind slightly finer; for darker roasts, a slightly coarser grind is appropriate. This affects the extraction rate and flavor profile.
④ Add the coffee grounds: Pour the ground coffee into the dripper. Lightly tap or pat the outside of the dripper to even out the coffee bed, which helps ensure consistent extraction.
⑤ Tare the scale: Place the clever dripper with the filter paper and coffee grounds on the scale and press tare to zero, preparing to measure the total weight of coffee and water.
⑥ Start the timer: Begin pouring water and start the timer simultaneously to accurately track each stage of the brew time.
⑦ Pour water quickly: Pour hot water evenly and quickly into the dripper, aiming for a 1:15 coffee-to-water ratio. You may cover the dripper with its lid to retain heat after pouring.
⑧ Stir halfway: At 1 minute and 15 seconds, open the lid and use a spoon or stir stick to gently press the floating coffee grounds down into the water, ensuring all grounds are saturated. Then replace the lid.
⑨ Release pressure by opening the lid: At the 3-minute mark, open the dripper lid and gently stir the coffee bed again to promote even extraction in the final stage.
⑩ Filter the coffee: Place the clever dripper on your coffee cup. The coffee will slowly drip through by gravity. Once all the liquid has filtered through, remove the dripper and enjoy a clean, well-layered pour over coffee.
After brewing, cleaning the clever dripper is very simple—just discard the filter paper and coffee grounds together, rinse the dripper body with water, and let it dry for next use. The whole process is straightforward, and the equipment is easy to maintain, making it a practical choice for home and office coffee brewing.
The above content is compiled by CoffeeHunters, a coffee news website.


