







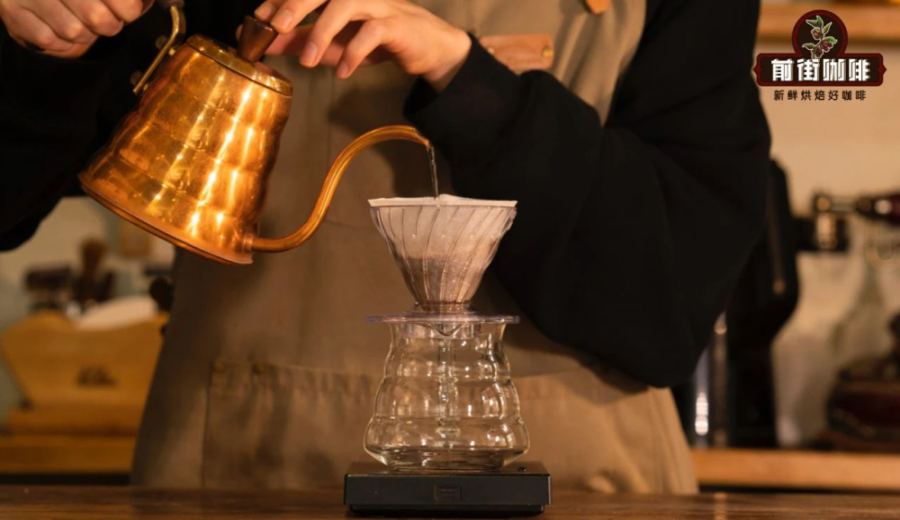
Introduction:The flavor performance of pour over coffee hinges on the precise coordination between pouring techniques and parameters. This article delves into the three-stage pouring technique, breaking down key points of water flow control from blooming to fractional extraction. Using the Yirgacheffe Gu Ding Ding as an example, it provides complete practical parameters—1:15 coffee-to-water ratio and 91–92°C water temperature—to help coffee enthusiasts grasp the core logic behind stable extraction.
Many beginners, even after watching countless tutorial videos and memorizing standard procedures, often end up with only one piece of advice: "Just practice more." In reality, the core logic of pour over is not complicated: using a fixed amount of coffee at an appropriate water temperature, pour a set volume of water within a specified time frame. As long as these parameters are tested and validated, the same beans can consistently yield similar flavors. The key lies in whether the water and coffee grounds fully interact within those two minutes, and whether all the water passes through the coffee bed into the brewer.
Without a clear goal, emphasizing techniques without explaining methods, tricks, or step-by-step progressions can easily turn pour over into something mystical. Some people complain that their coffee has no flavor, only to find out upon inspecting their brewing dripper that all the water flowed directly through the V60’s channels into the cup—water that never passed through the coffee bed cannot possibly extract any flavor.
Pour over is inseparable from pouring practice, yet few explain how to practice or what techniques and steps can accelerate improvement. As a result, beginners may watch others brew over and over, often only picking up surface-level knowledge, and their final extractions still fall short of expectations.
Regarding water flow rate, some say to use a thin stream, others a thick one—so which should you choose? In fact, pour over pouring can be divided into three stages: the blooming pour, the pour that displaces air, and the pour after the coffee grounds have settled. Each stage involves different considerations for water flow control.
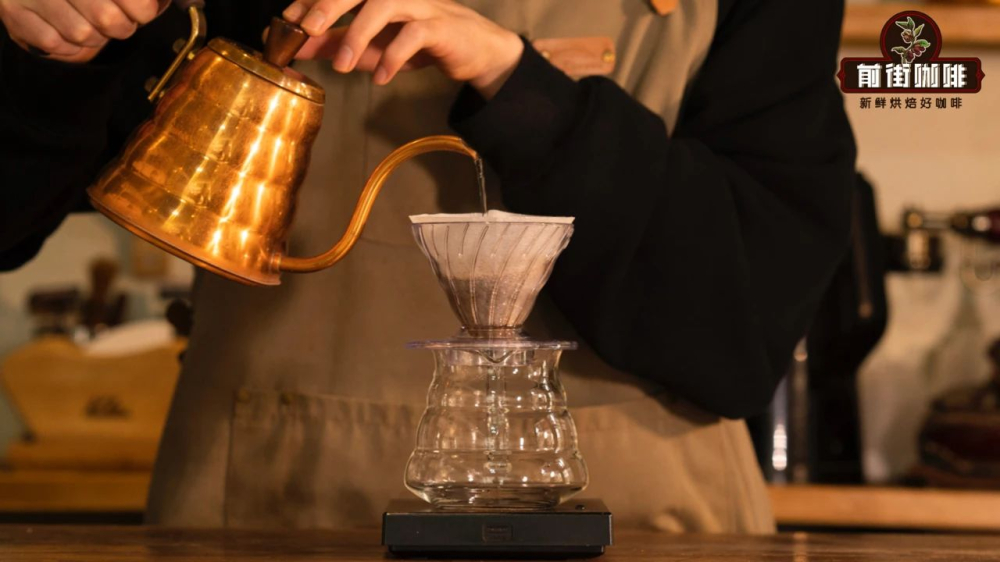
Let’s first look at the blooming pour: to keep water around the coffee grounds and allow the coffee bed to fully absorb moisture, a gentler, thinner stream is usually used—like gently placing hot water on the grounds, letting it slowly seep in. If the flow is too strong or forceful, the hot water will bypass the unabsorbed coffee layer and run straight into the brewer, diluting the concentration of the subsequently extracted coffee.
After blooming, the duration of the thin stream depends on the state of the coffee bed’s expansion. At this point, residual air might remain in the coffee grounds, and the second pour may produce foam—the coarseness of which reflects the air content. Excess air can cause the coffee grounds to float on the surface. In such cases, a gentle and fine stream should be used to agitate the coffee bed and help expel the air. If the stream is too strong, water will bypass the grounds and flow directly into the bottom filter, resulting in a weak flavor. If there’s too much air, with large and stubborn bubbles, you can pause the pour and wait for the air to dissipate before continuing.
Another method is to pour in increments, each time not exceeding the height of the coffee bed, making multiple pours. In this case, using a large or strong stream can cause the coffee grounds to float on the surface, leaving the bottom without a filtering layer to impede water flow—hot water flows directly into the brewer, not only diluting the flavor but also easily creating a deep “V” shape in the coffee bed.
If the bloom is not pronounced (e.g., while others get a “small hill,” yours looks like a “flat plain”), or if the foam produced during the second pour is fine, quickly turns pale, and dissipates rapidly—this often occurs with light roasts, low-temperature brewing, stale beans, or overly fine grind sizes, such as Geisha, Flower Butterfly, or Hua Kui.

Here’s a practical example of three-stage pouring: A coffee shop’s Yirgacheffe Gu Ding Ding coffee beans, graded G1, of the Heirloom variety, grown at an altitude of 1650–1800 meters, processed via washed method. Washed processing consumes more water compared to natural drying, which is why this bean features white floral notes and citrus tones, making it suitable for beginners to try.
Brewing parameters are as follows: V60 dripper, 15 grams of coffee, 1:15 coffee-to-water ratio, 91–92°C water temperature, grind size akin to fine sugar (approximately 80% of particles passing through a #20 sieve).
Detailed brewing procedure:
1. Bloom with 30 grams of water for 30 seconds;
2. First pour: use a low water level, small stream, and moderate-intensity stirring (around 40 seconds, about 90 grams of water), then pause pouring for 5 seconds;
3. Second pour: increase the stream height and agitation, aiming to highlight sweetness (35 seconds, about 80 grams of water);
4. Subsequent pours: reduce stream height and agitation to adjust concentration and bring out desirable bitterness to balance the flavor, while extending the aftertaste (about 15 seconds, about 25 grams of water);
5. Before all the water in the dripper has completely dripped through, quickly remove the dripper to avoid over-extraction and bitterness entering the cup.
If you change the segmentation method (e.g., using one-pour or three-stage extraction), you’ll need to adjust your technique at the appropriate times. Finding the most suitable “combination” based on the flavor characteristics of different coffees is essential for every coffee enthusiast.
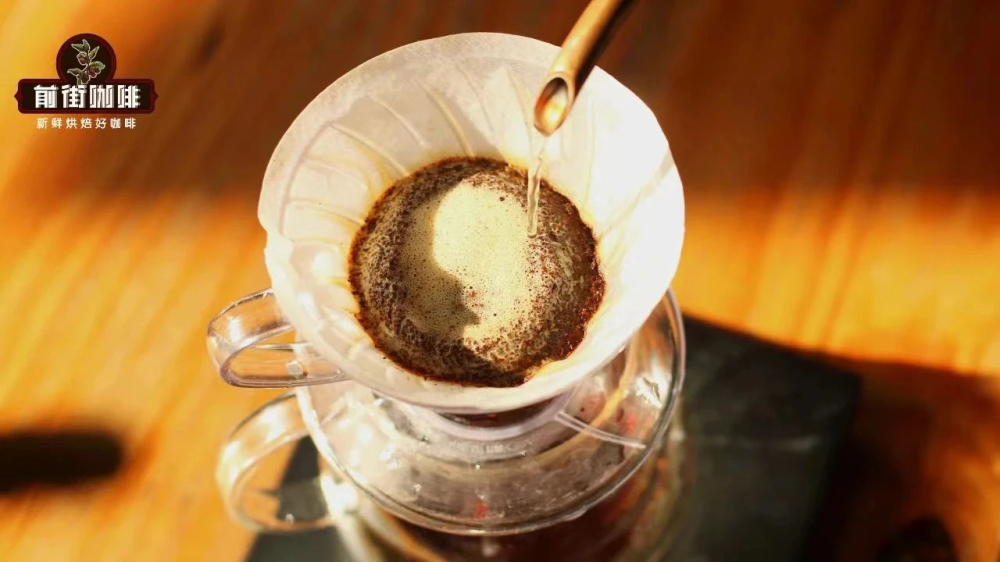
In summary, adjust your water stream thickness based on the condition of the coffee foam: when the foam is rich, use a gentle stream to prolong degassing time; when the foam diminishes or disappears, switch to a slightly stronger stream to agitate the bottom layer of coffee grounds, preventing channeling and ensuring even extraction.
The above content is compiled by CoffeeHunters, a coffee news website.


