







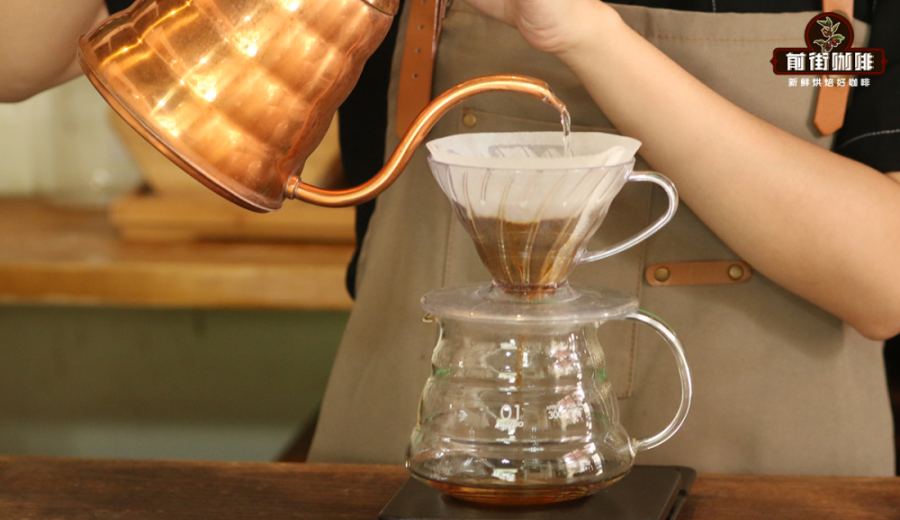
Introduction:The flavor expression of pour over coffee largely depends on pouring technique and extraction control. This article delves into the classic three-pour method, covering everything from bloom to segmented pours—operation details, water flow control tips, adjustments for different roast levels—as well as tested parameters and flavor descriptions to help coffee enthusiasts master a stable and layered pour over method.
The charm of pour over coffee lies in bringing out the bean's inherent regional flavors and processing characteristics through precise pouring and extraction. Among these, the "three-pour method" is the most commonly used and easiest to start with. It not only clearly distinguishes layers of coffee flavor but also helps brewers grasp the interplay between water flow, time, and changes in the coffee bed.
As the name suggests, the three-pour method divides the total water volume into three stages, each with a distinct purpose: the first stage is typically the bloom, aiming to awaken the coffee grounds and release trapped CO₂; the second stage focuses on initial extraction, requiring gentle water control to avoid extracting unwanted compounds too early; the third stage enhances stirring and agitation to ensure even release of soluble substances, thereby highlighting full sweetness and aftertaste.
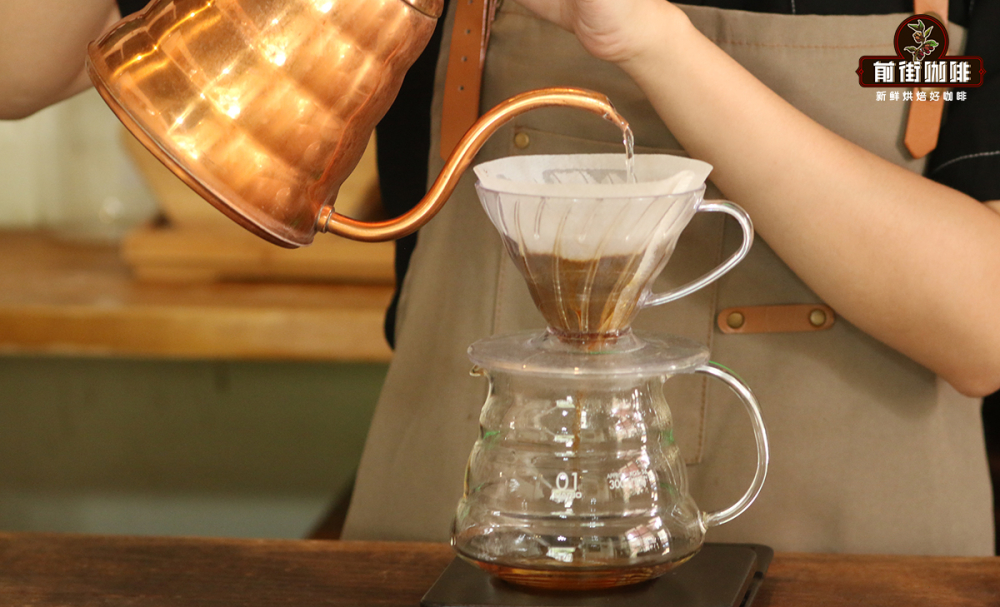
In practice, the three-pour method emphasizes a gradual adjustment from small to medium to large water flow. It demands not only control over the amount of water poured but also stability of the flow and an understanding of how it interacts with the coffee bed. This method is especially suited to medium roast beans, whose balanced acidity, sweetness, bitterness, and moderate density can be best expressed under this pouring logic. However, whether light or dark roast, with appropriate adjustments to water temperature and flow rate, the three-pour method remains effective.
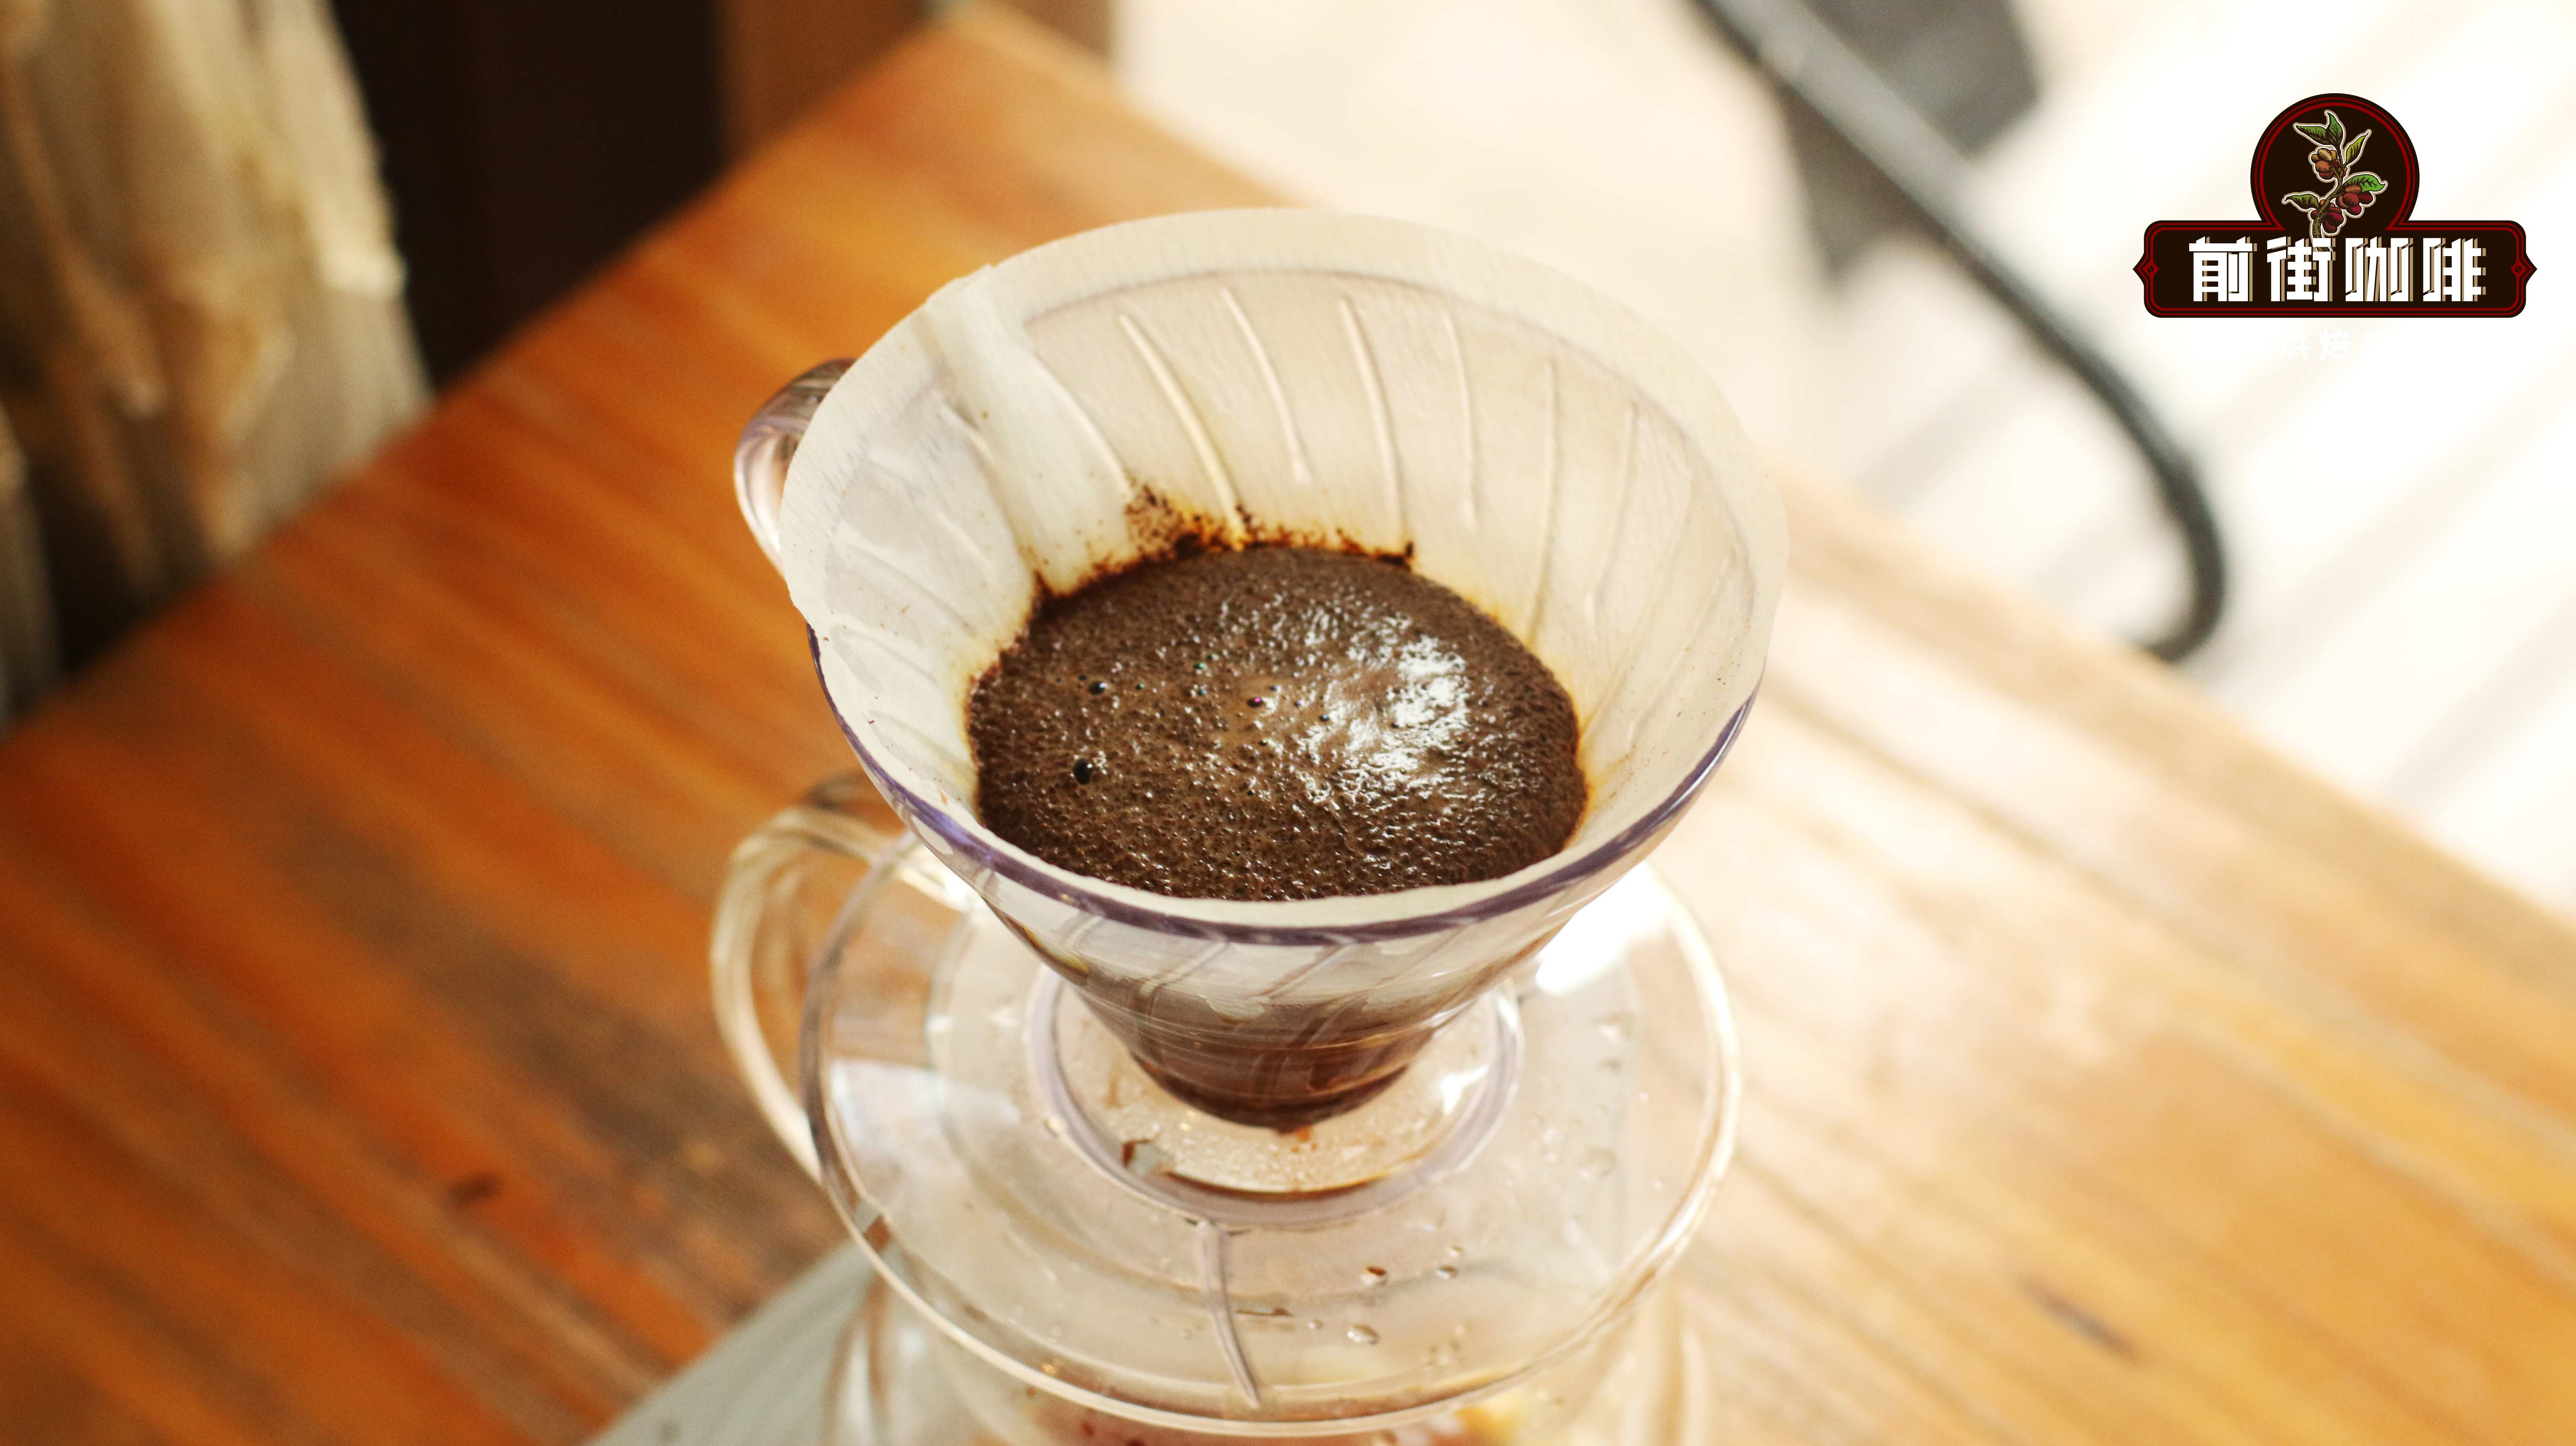
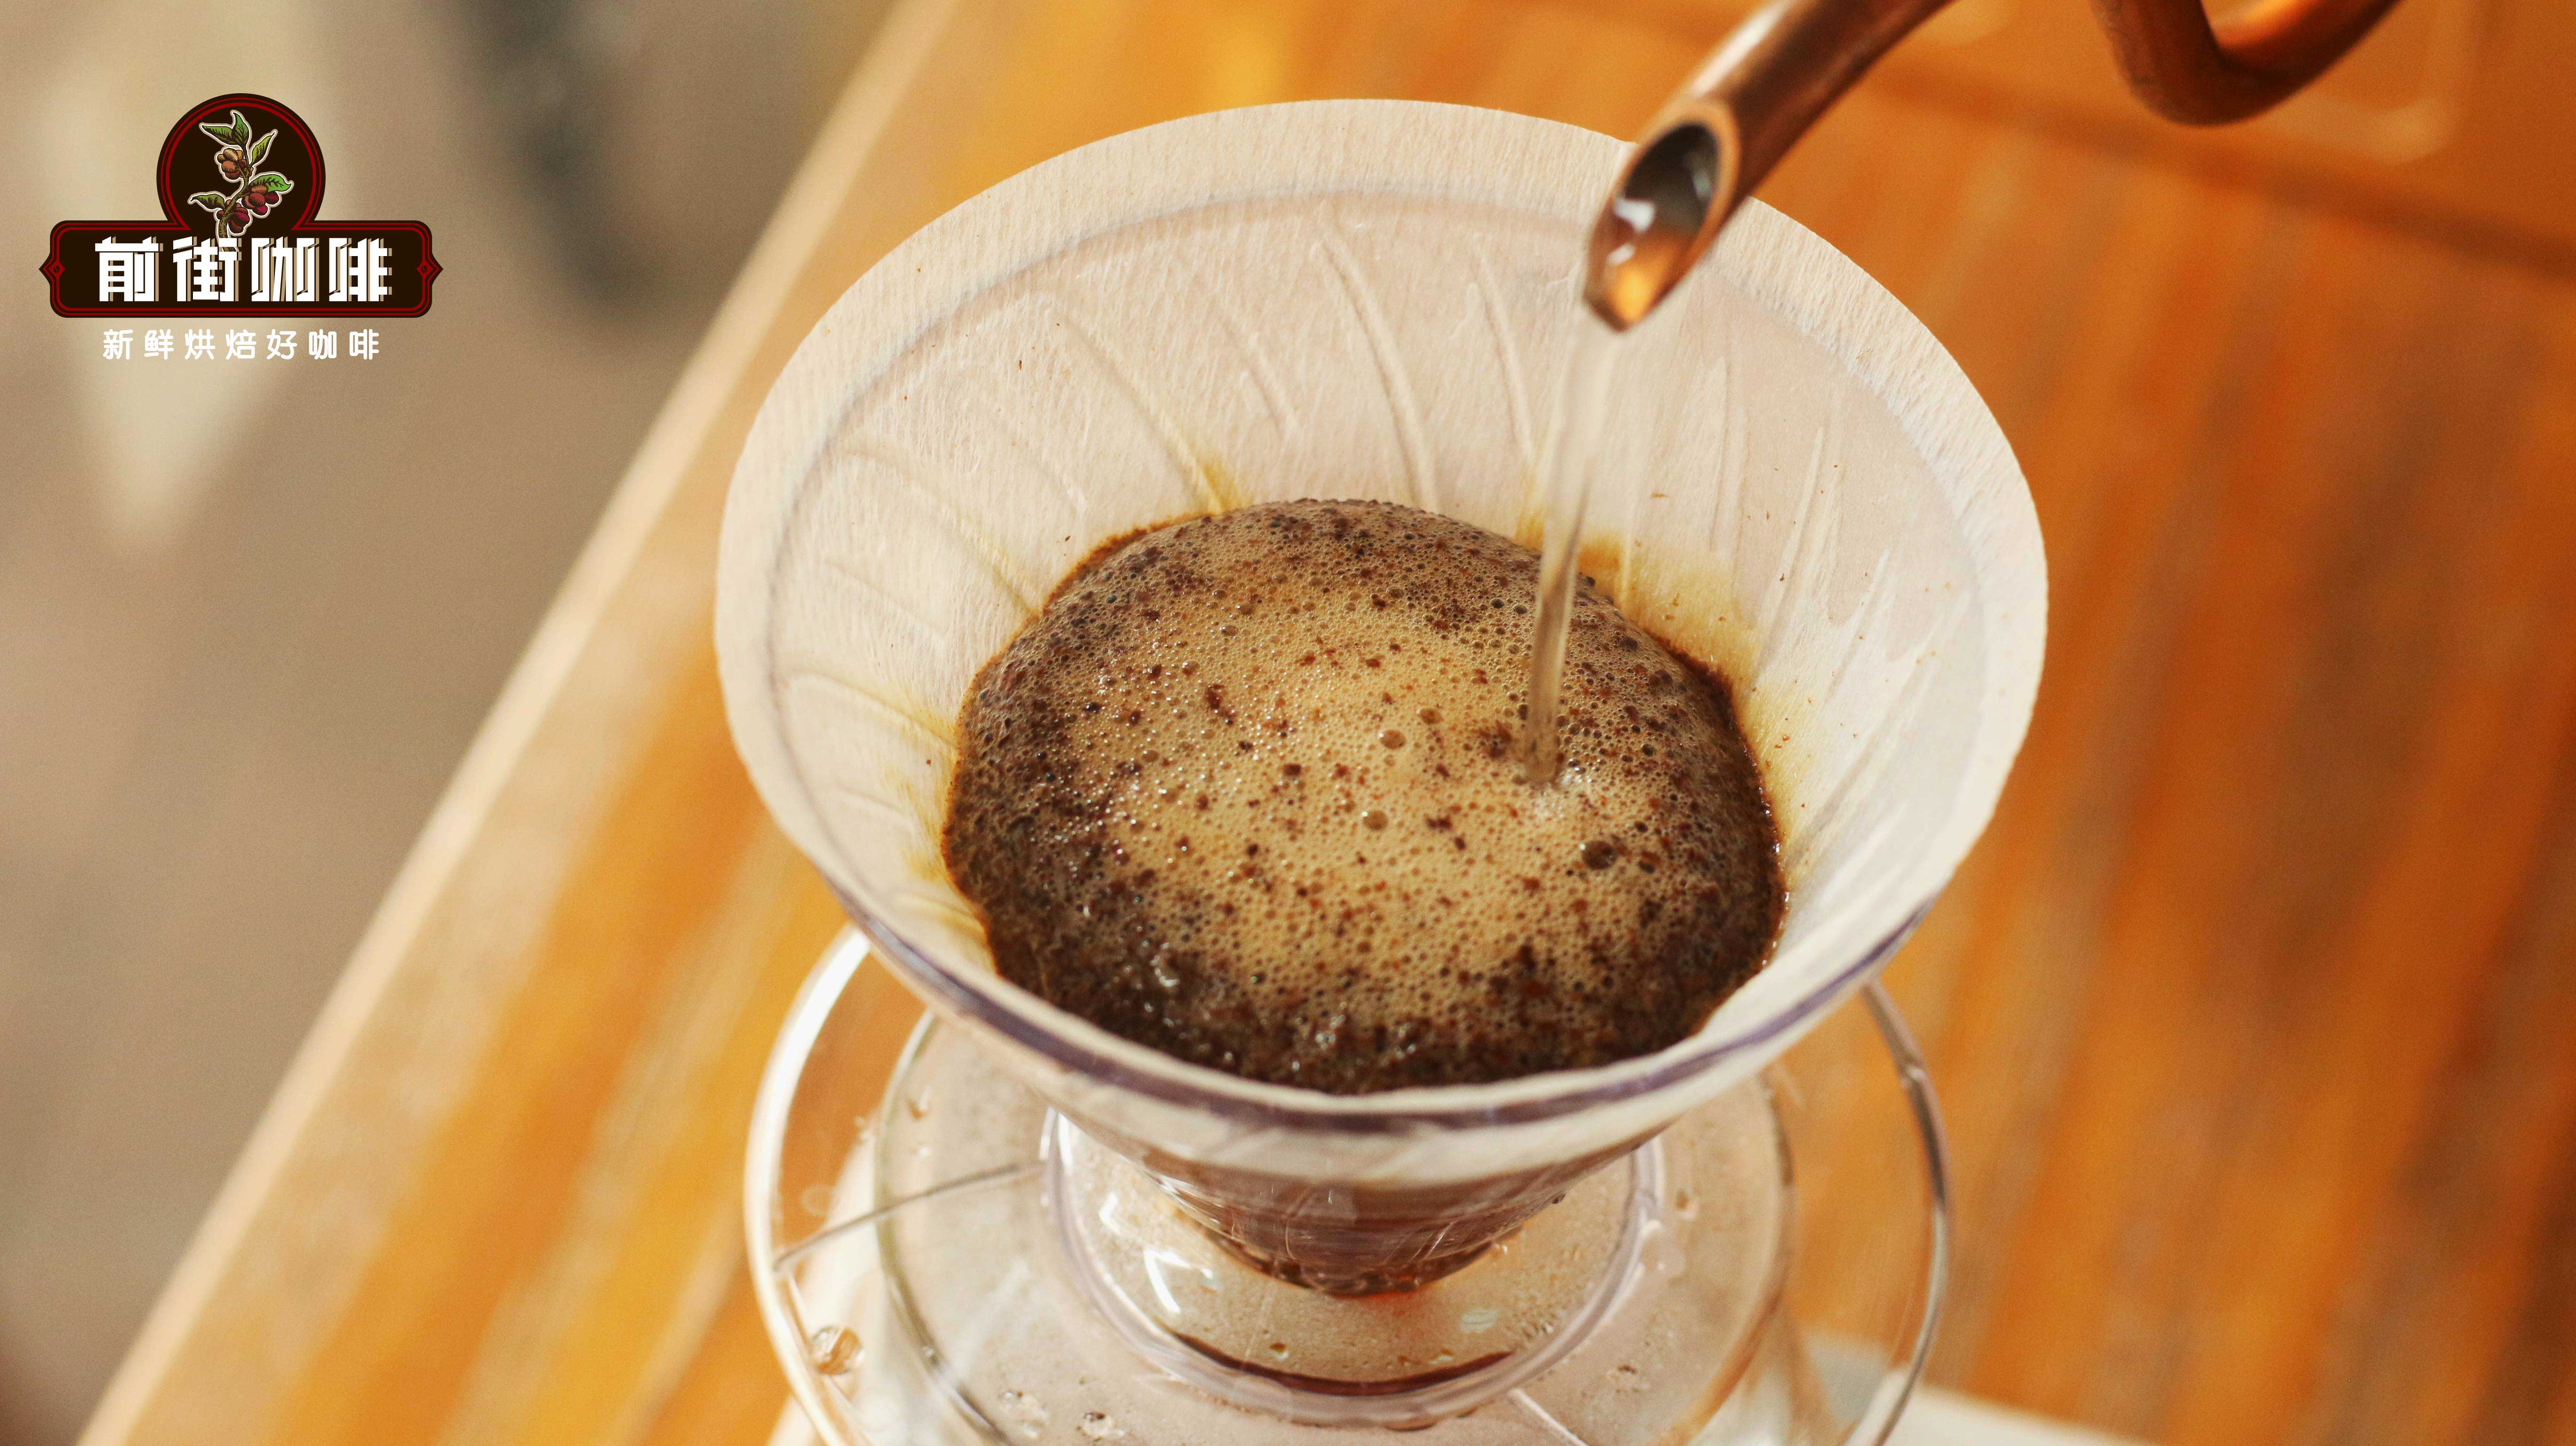
First comes the “bloom.” Though this step doesn’t involve pouring the main brewing water, it is crucial.Freshly roasted coffee beans contain a large amount of carbon dioxide.Especially those roasted more recently are more prone to vigorous bubbling reactions when water is added. Darker roasts usually release more gas than lighter ones, so bloom time and water volume may need slight adjustments.
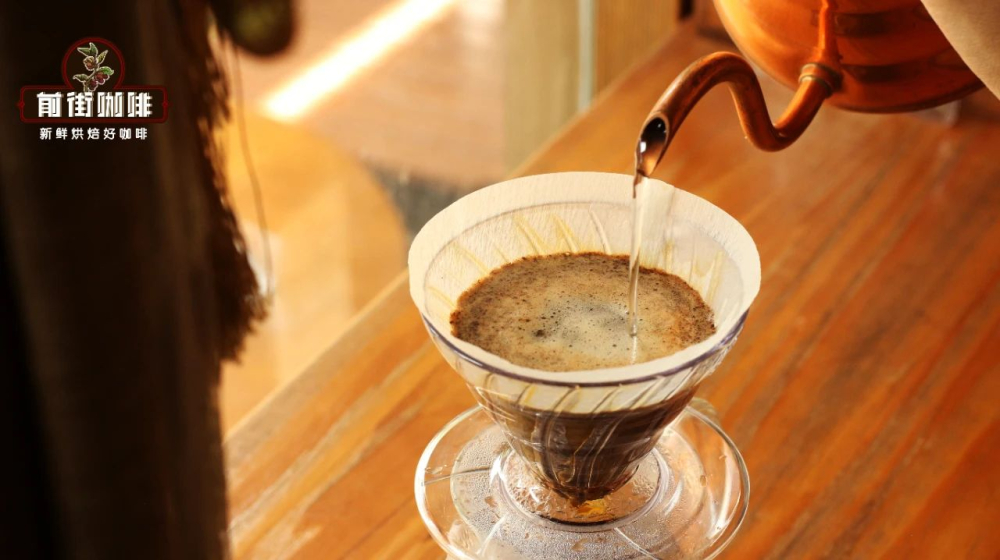
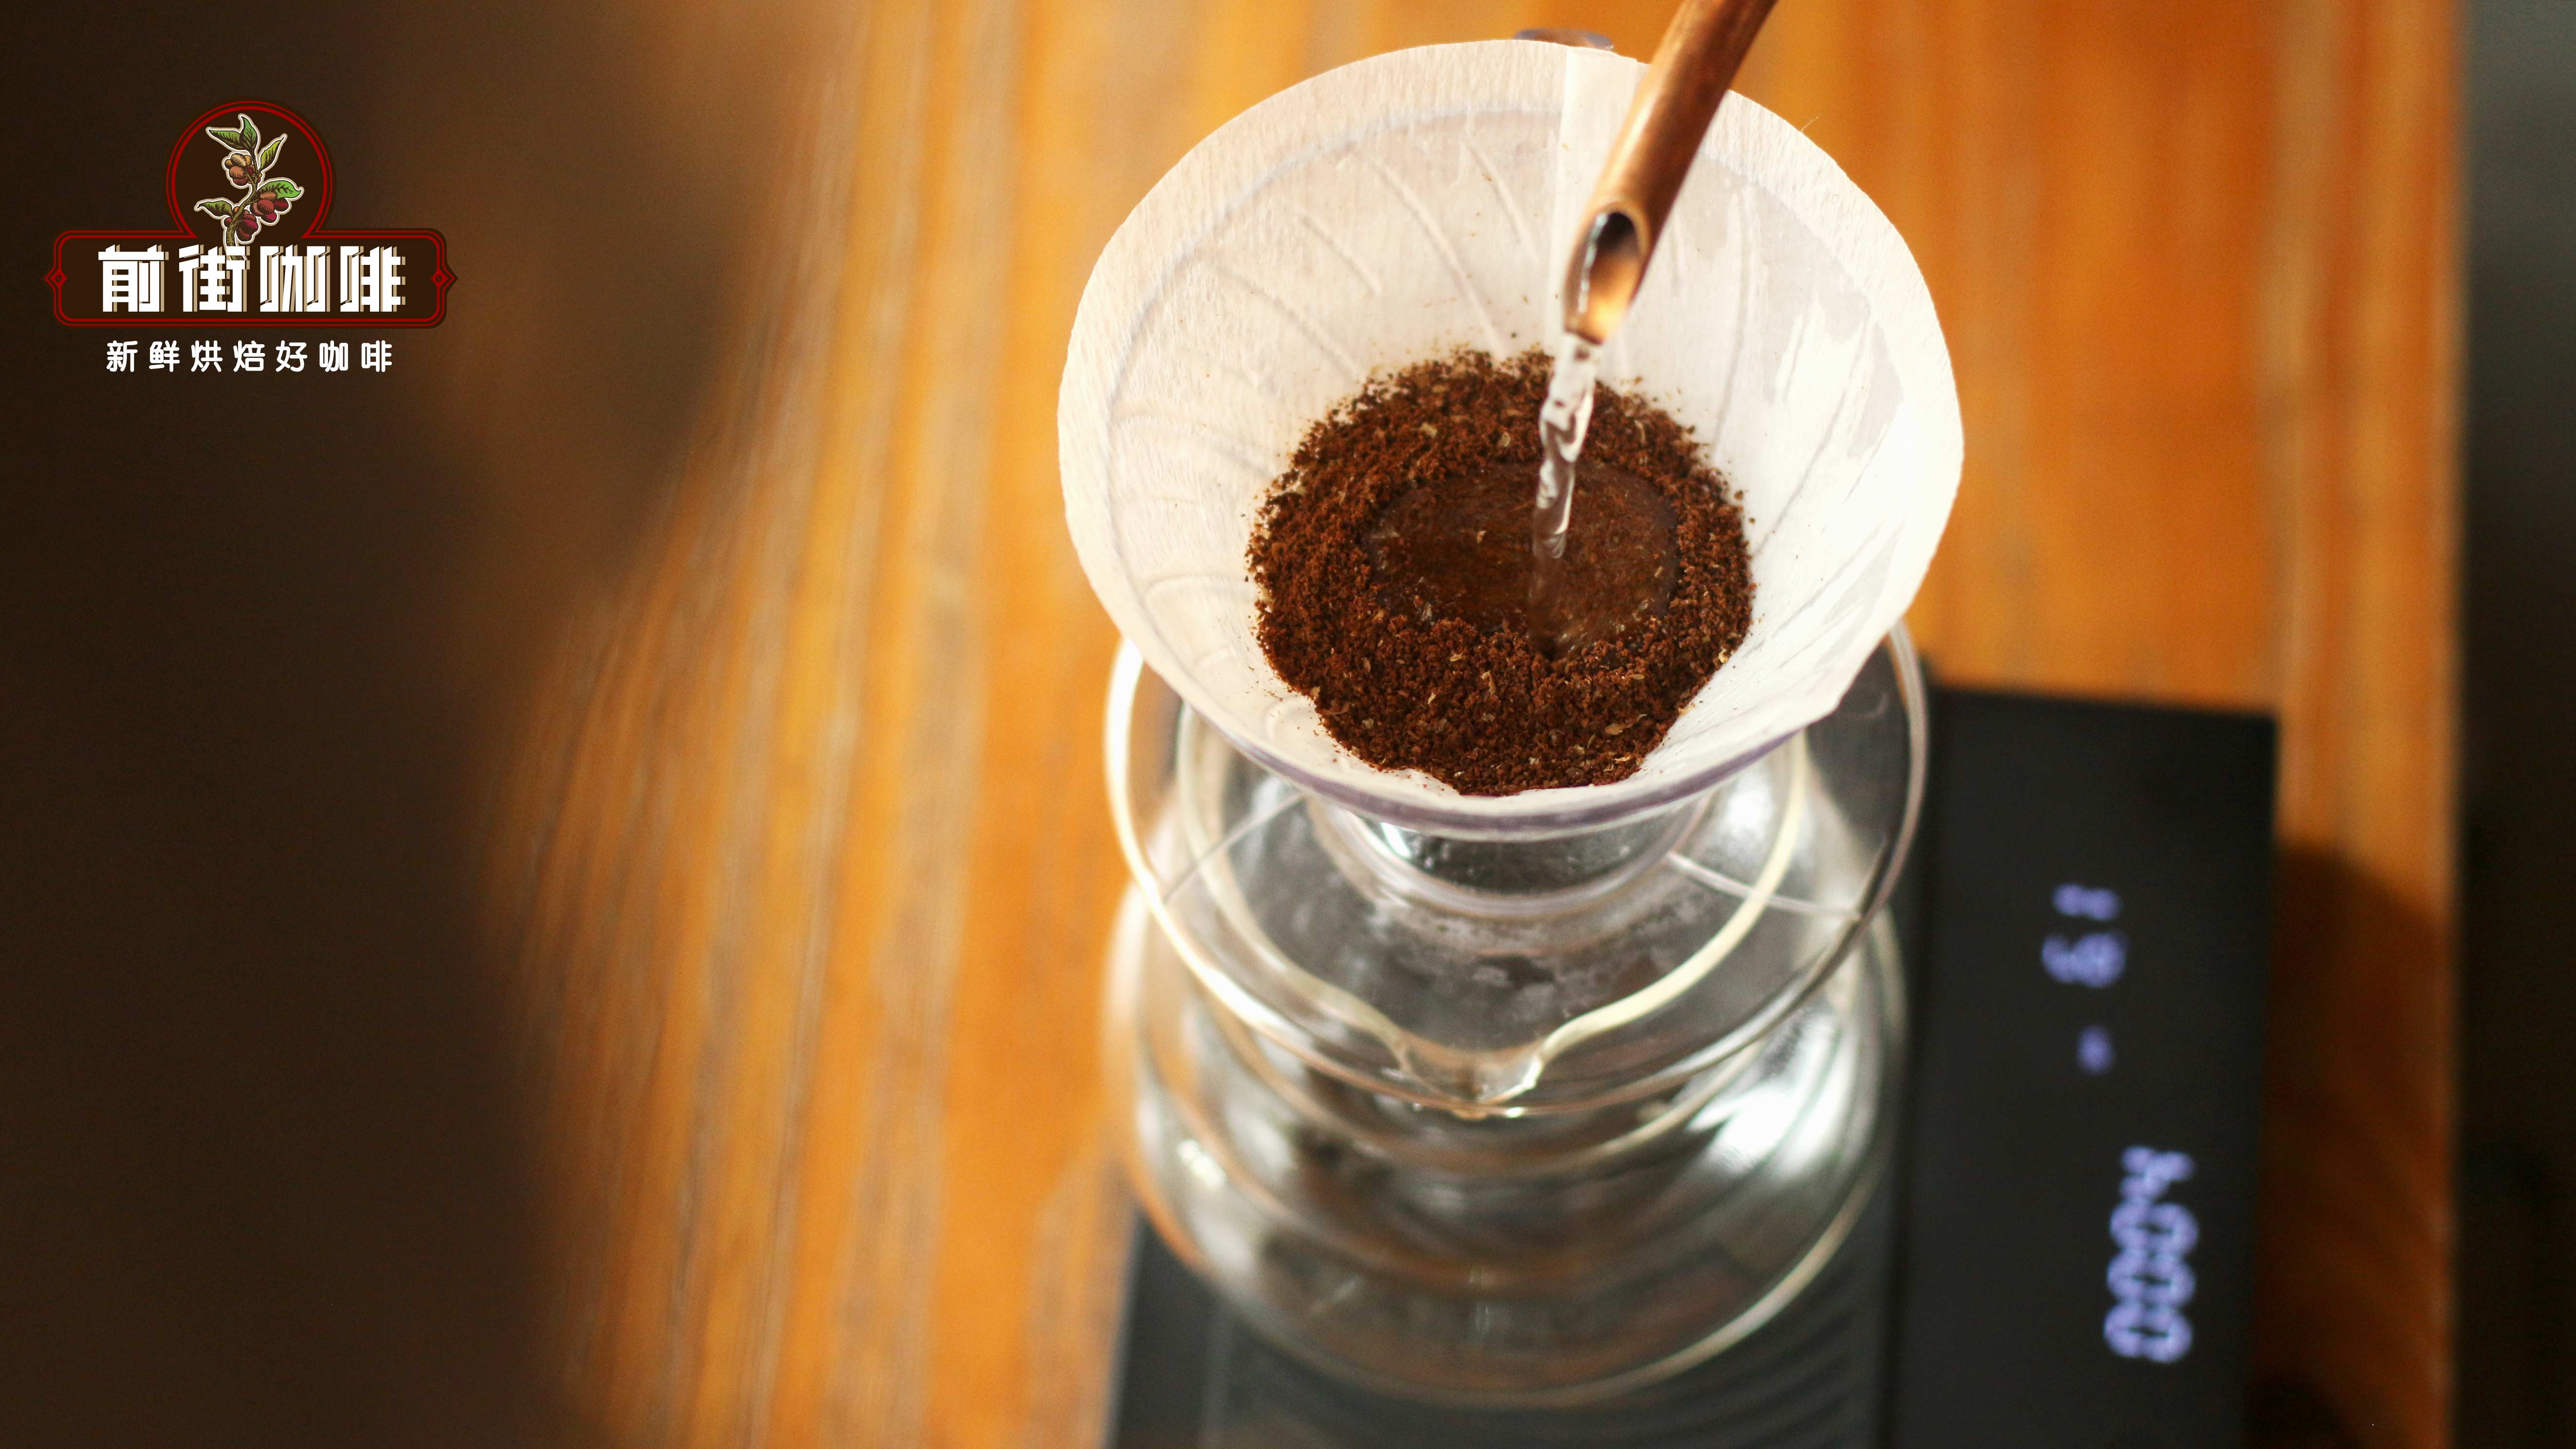
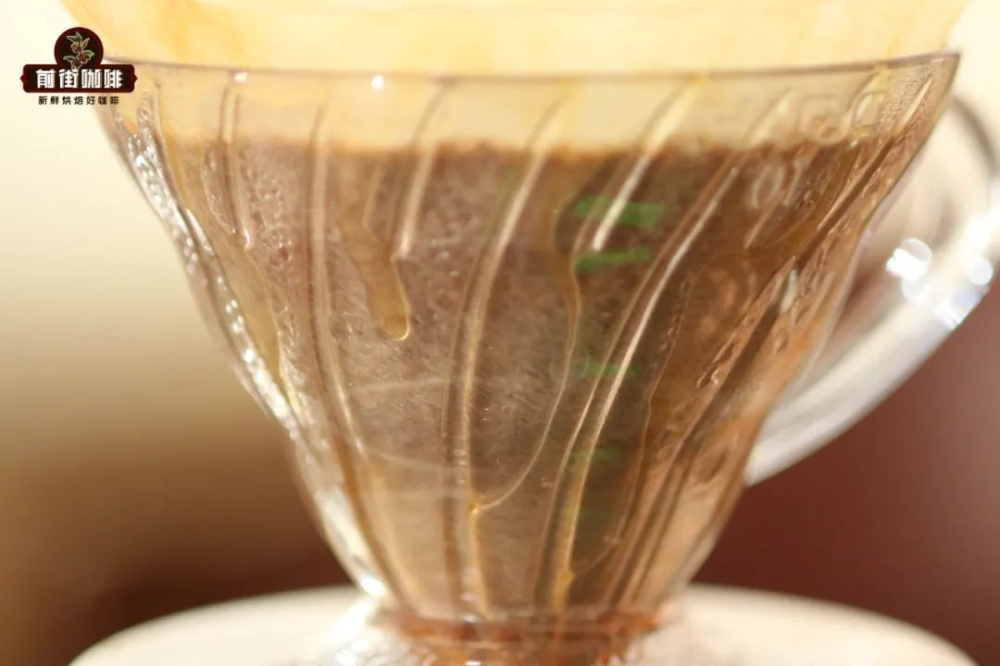
When blooming, it’s recommended to gently flatten the coffee grounds surface so that hot water contacts each particle evenly. Pour gently, using small circular motions starting from the center and moving outward. The total water volume is aboutdouble the weight of the coffee grounds,for example, 60 grams of water for 30 grams of coffee. It’s generally advised tolet the bloom last around 30 seconds,and when the coffee bed transitions from puffed up to slightly shrinking, that’s your sign the bloom is complete.
Additionally, bloom water temperature should be adjusted according to roast level:light roasts suggest 90–91°C, while dark roasts do better at 86–88°C.Too high a temperature may lead to over-extraction, while too low may fail to effectively trigger the degassing process, affecting subsequent flavor development.
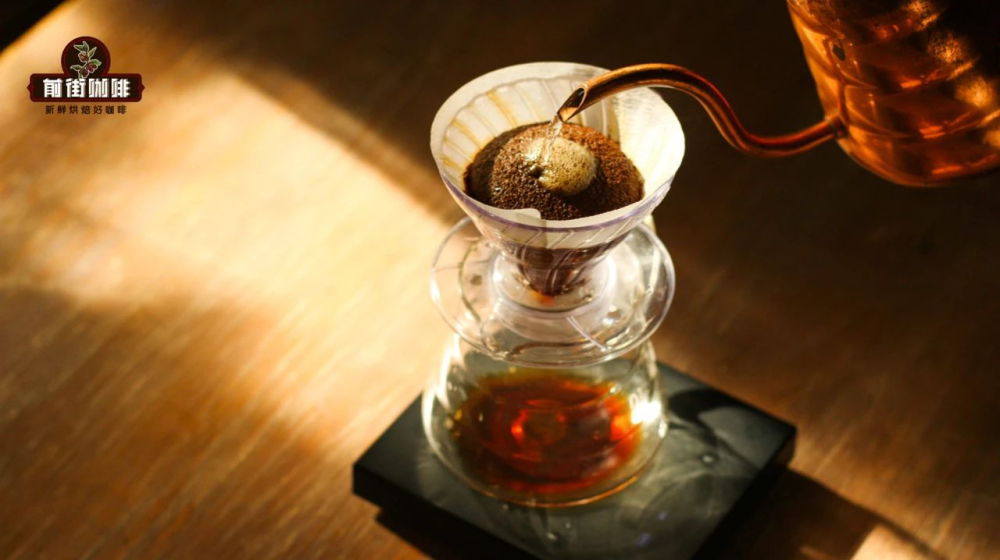
The second pour typically begins after the bloom is complete, when the coffee bed has absorbed water and become loosened—this is the key moment to start formal extraction. It’s recommended to usea small water flow, pouring from the center of the coffee bed, keeping the circle within the size of a one-yuan coin, and gradually expanding outward. Water volume should be limited towithin the height of the coffee bed, stopping when the water level nears the edge of the filter paper—typically, this stage uses about 50%–60% of the total water volume, such as 125 grams.
During this step, pay attention to the speed of water level drop, as well as the expansion and contraction of the coffee bed. Over-pouring or pouring too quickly may cause uneven extraction or premature release of astringent compounds.
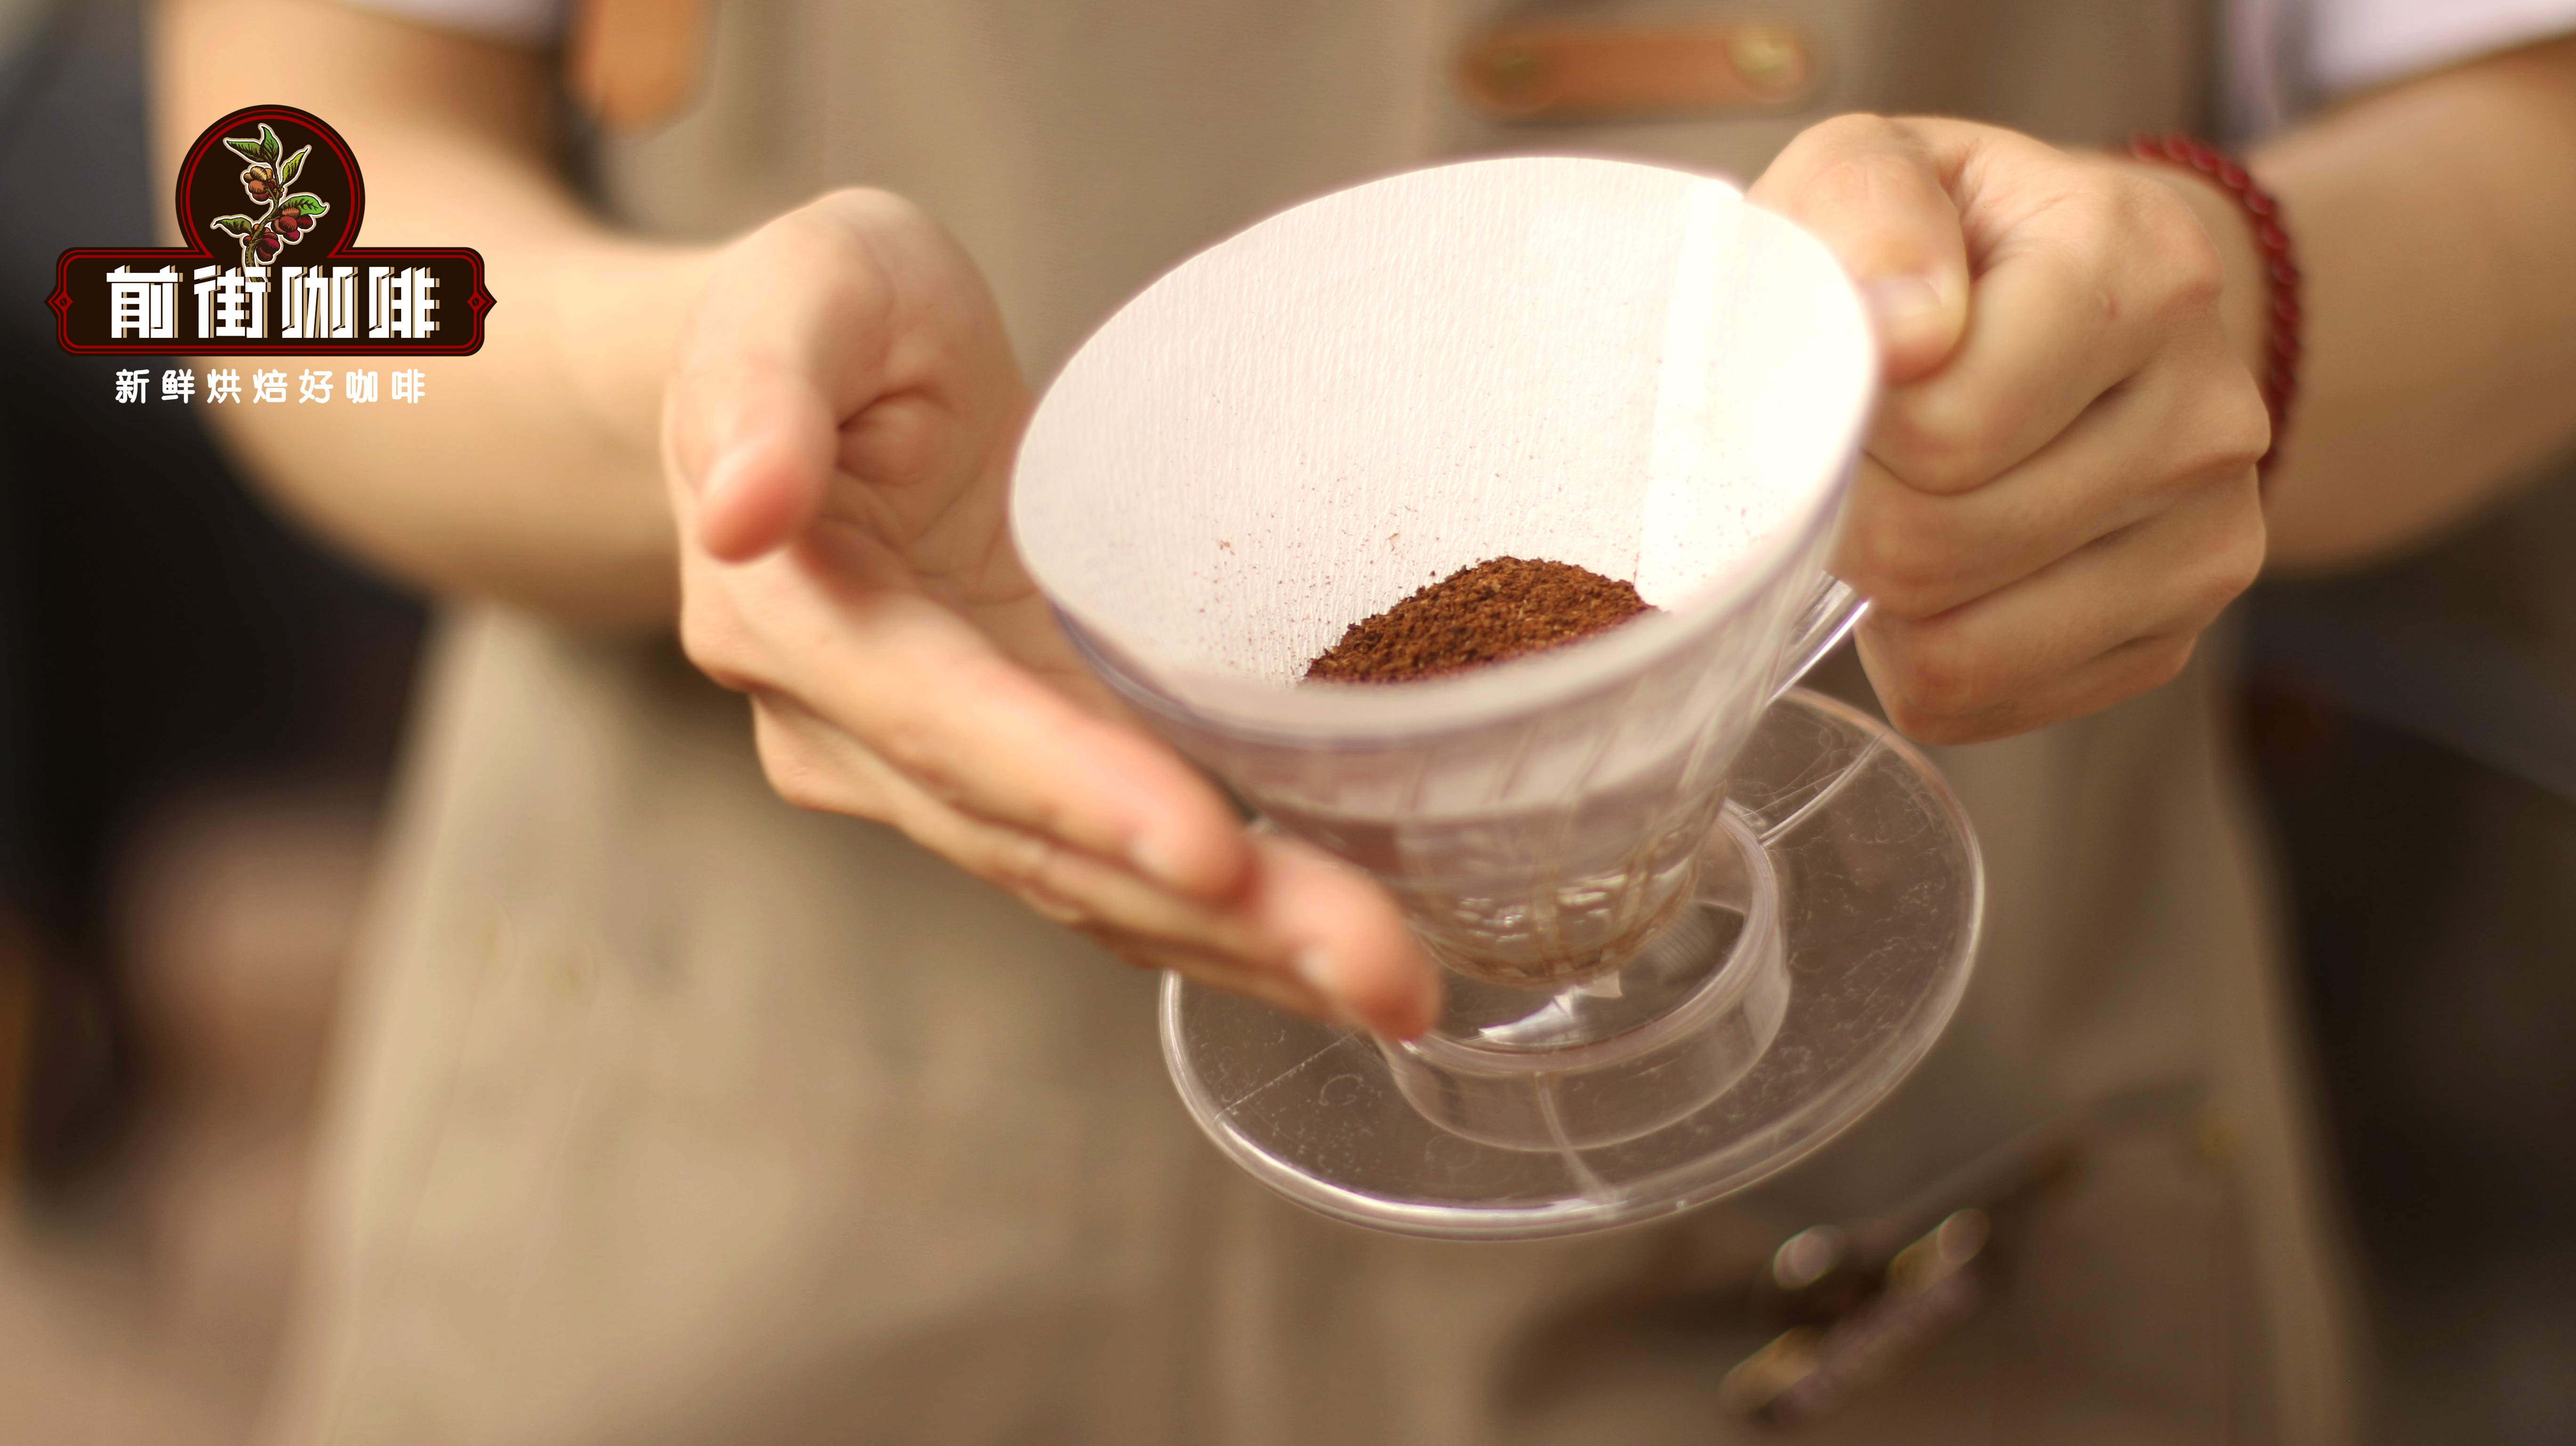
By the third pour, the coffee bed has sunk as it absorbed water. Now, begin again from the center,using a slightly larger water flow in circular pours,and observe the formation and distribution of bubbles. The goal here is to re-agitate the settled coffee particles, promoting even dissolution of soluble materials. Continue pouring until reaching the target total water volume, such as 225 grams, and be mindful not to let the water level drop too quickly, which could cause channeling or over-extraction in the final phase.
A special reminder: if there are too many pauses in pouring, leaving the coffee grounds soaking in water for too long can easily result in off-flavors or astringency in the final sip. Therefore, maintaining a steady rhythm and appropriate water flow is key.
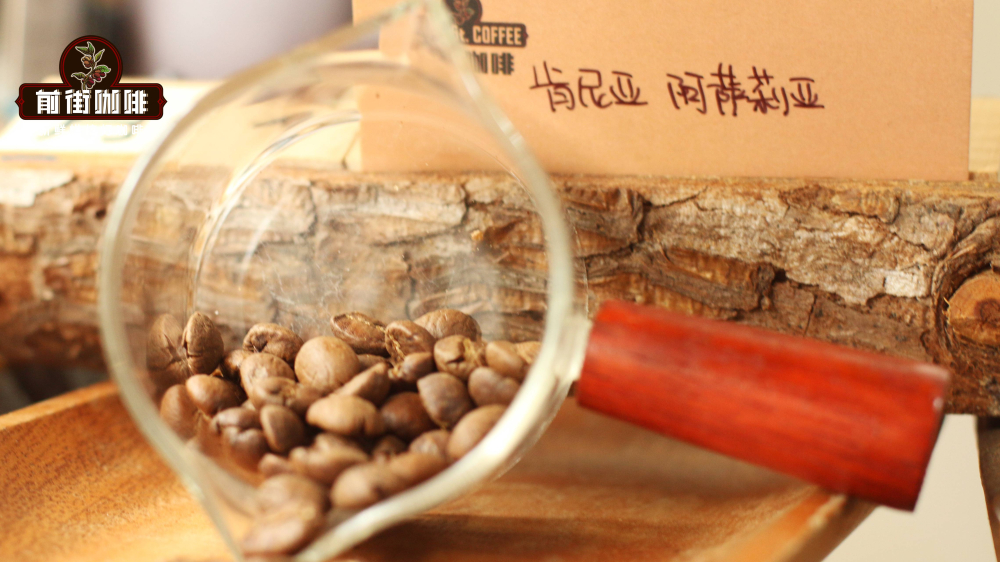
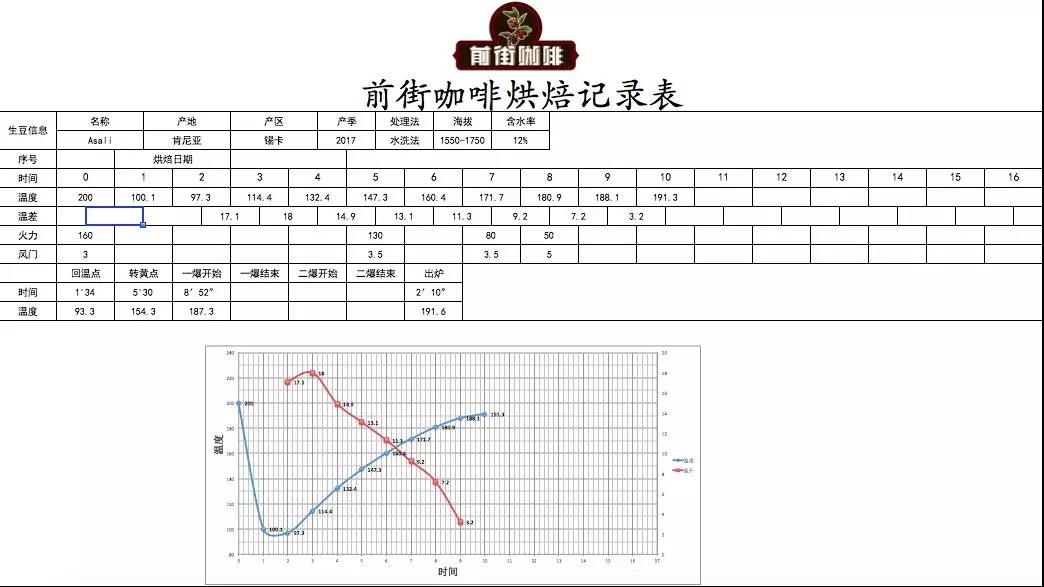
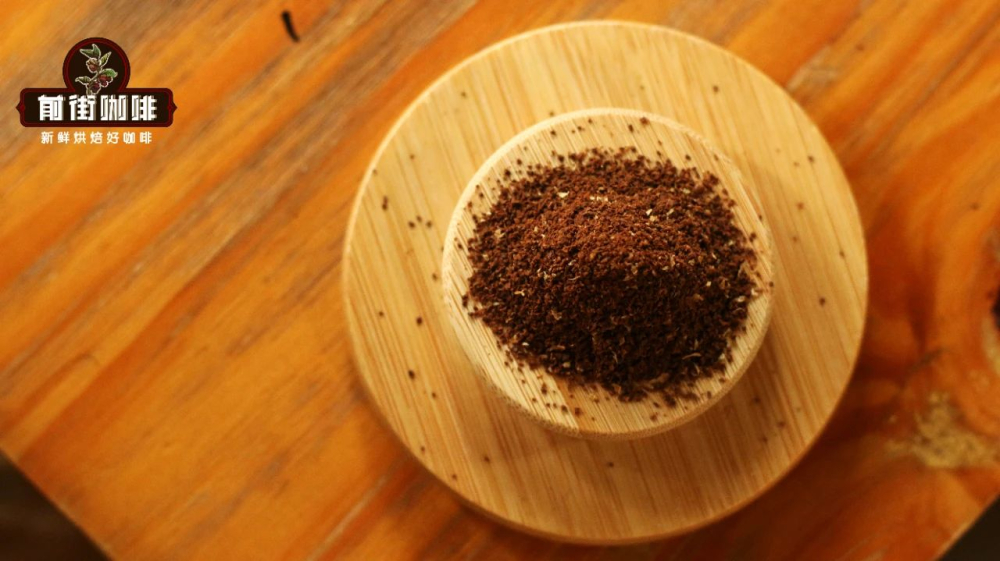
To illustrate more concretely, let’s take a light-roasted Kenyan bean as an example: Kenya Assaliya, from the Thika Factory, processed via honey method, with SL28 and SL34 varieties, grown at 1550–1750 meters altitude. Its flavor profile features bright acidity, tomato notes, and berry tones. Using a Hario V60 dripper, a 1:15 brew ratio, water temperature at 90°C, and grind size close to superfine sugar (80% passing through a Chinese standard No. 20 sieve).
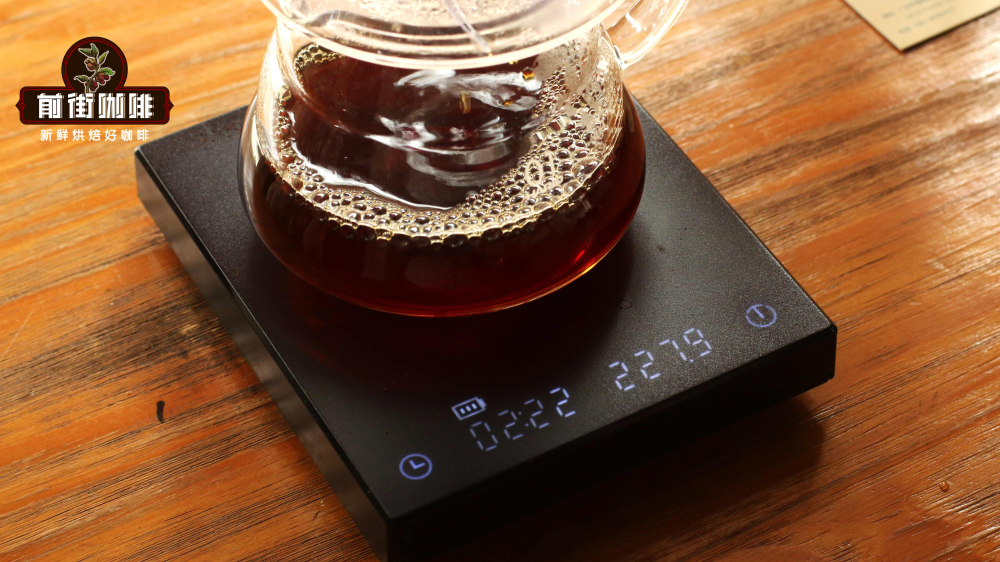
Practical parameters: 30 grams of coffee with 60 grams of water for a 30-second bloom, followed by the second pour to 125 grams then a pause of about 1 minute, and finally the third pour to a total of 225 grams. Total brew time is about 2 minutes. This bean ultimately delivers clear cherry tomato and dark plum acidity with fruity notes, and a sweet brown sugar finish, offering a rich and balanced flavor profile.
In summary, the three-pour method is not only a foundational pour over technique but also an effective way to master water flow control, coffee bed interaction, and time management. Through systematic segmented pouring, it not only ensures stable extraction of quality coffee flavors but also allows flexible adjustments based on personal taste preferences. It’s a core technique every pour over enthusiast should practice in depth.

The above content is compiled by CoffeeHunters, a coffee news website.


