







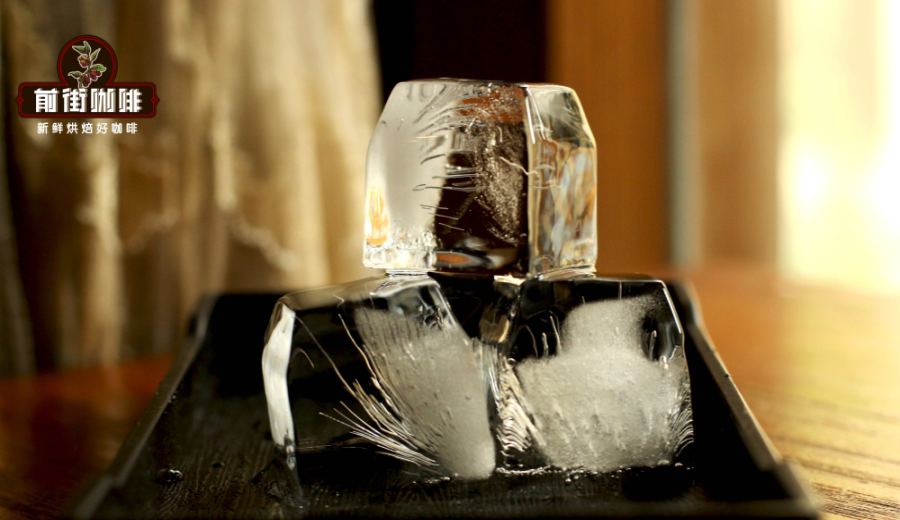
Introduction:Want to recreate café-grade Japanese-style iced pour over at home but unsure whether to add ice first or later? Through hands-on testing and comparison, this article breaks down the golden ratio of 15 grams of coffee grounds to 100 grams of ice, covering grind size, water temperature control, and pulse pouring techniques to help you master the key parameters of iced pour over. We not only reveal the flavor differences between adding ice before or after brewing, but also offer practical tips to help you produce cleaner, brighter iced coffee.
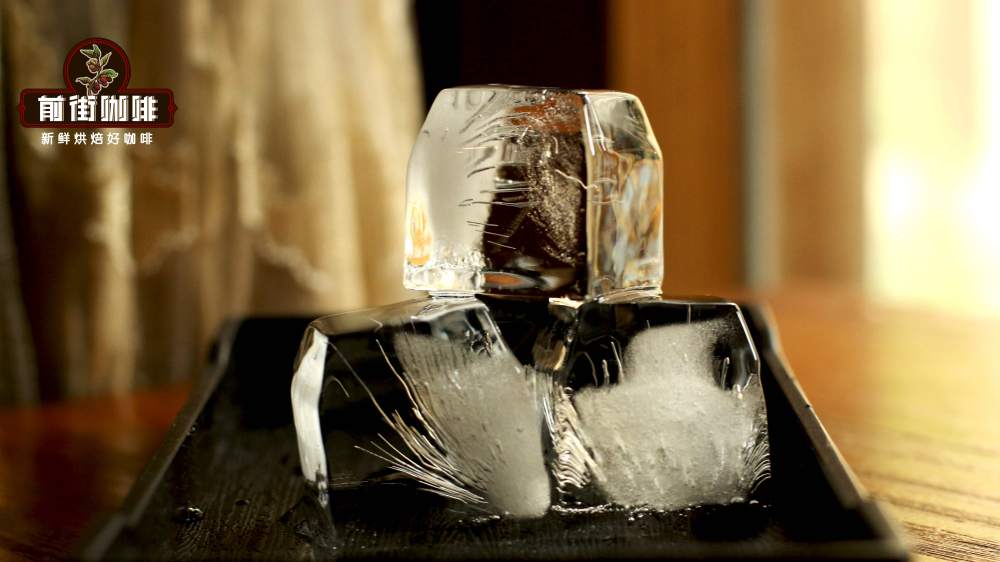
Many coffee enthusiasts wonder: should you add ice cubes at the start of making iced pour over, or add them afterward to cool the brew? To answer this question, we designed an experiment using 15 grams of coffee grounds and 100 grams of ice, with a 1:10 coffee-to-water ratio (i.e., 150 grams of hot water), and meticulously recorded the differences between the two methods.
The coffee beans used in this test were washed-process beans sourced from Ethiopia’s Kafa Forest. Known as a genetic treasure trove for coffee, this region produces beans with delicate floral notes, complemented by complex fruit flavors such as sweet orange, dried apricot, and peach. The washed process gives the coffee bright, clear acidity—perfect for highlighting layered flavors through iced pour over.

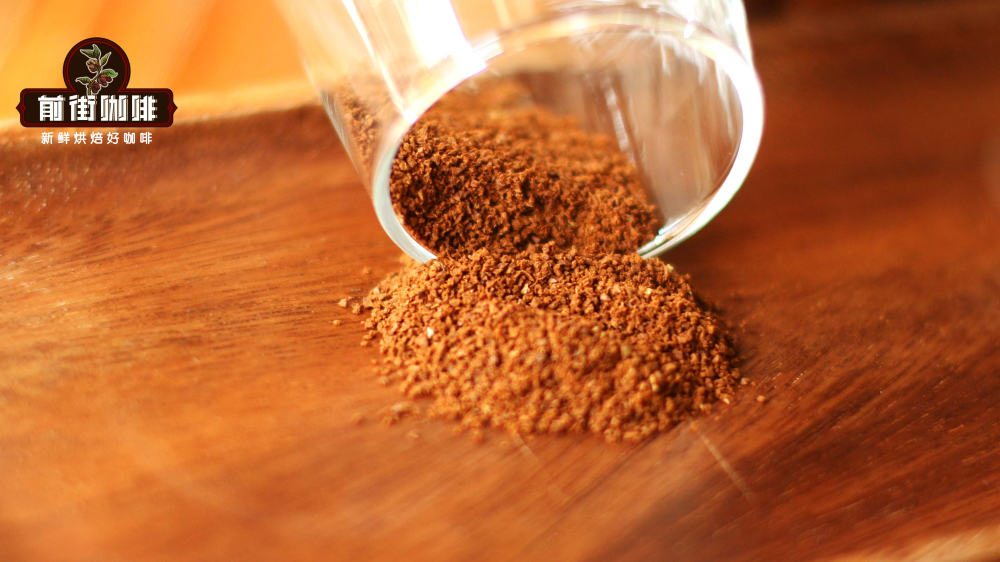
For grind size, iced pour over requires a finer grind than hot pour over. Testing recommends setting the grinder to the 9th notch on the EK43s (approximately 85% passing through a #20 sieve), which is finer than the usual 10th notch for hot pour over (80% passing). Water temperature is also crucial: aim for 90–91°C for light roasts, and lower it to 87–89°C for medium to dark roasts to avoid over-extraction due to excessive heat.
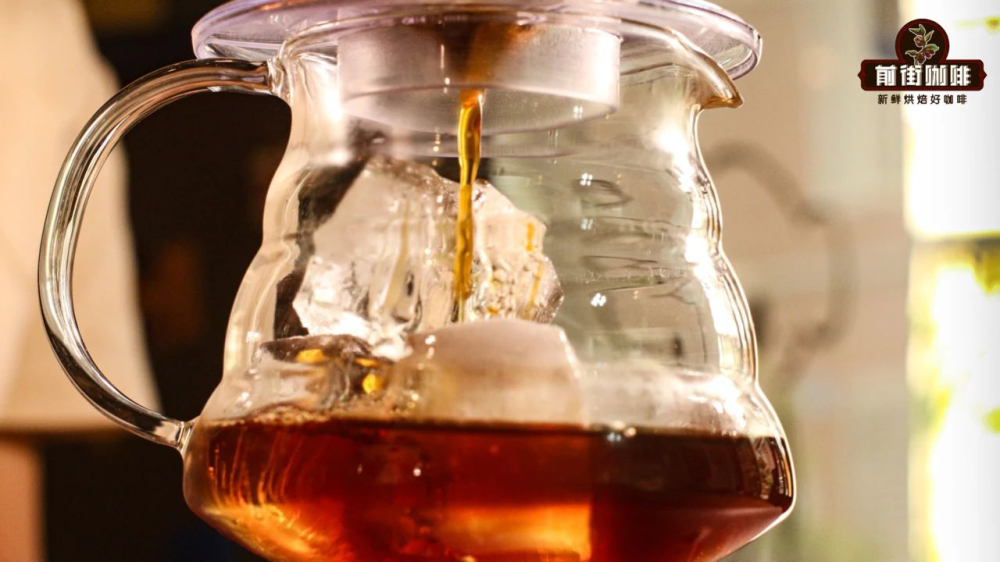
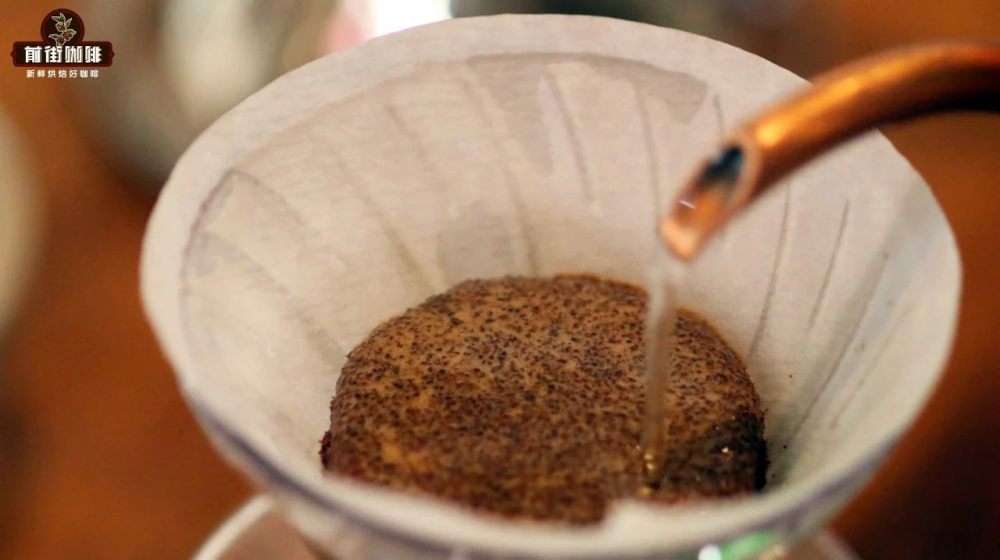
Process for adding ice first: Pre-place 100 grams of ice at the bottom of the server, set up the filter, and add 15 grams of finely ground coffee. First, pour 30 grams of hot water for a 30-second bloom, then pour 70 grams of hot water in a circular motion from the center outward. Due to the finer grind slowing the drawdown, observe the bed expansion and, after about 1 minute, add another 50 grams of water to complete the extraction, with a total brew time of around 1 minute and 40 seconds.
The difference with adding ice later: Use the same 15 grams of coffee and pulse pouring method (30g bloom → 70g main pour → 50g refill), but add the ice only after all the coffee has dripped through. This method allows the coffee to cool to room temperature first, then rapidly chill via the ice, and finally requires stirring to ensure evenness.
Flavor comparison reveals that the ice-first version, due to the consistently cool environment and greater dilution from melted ice, results in a cleaner, more refreshing taste with initial aromas that are bright, floral, and distinctly citrusy. The ice-later method, with its gradual cooling process, achieves slightly higher flavor concentration, offering a richer layering of fruit notes. In blind tastings, the difference was less noticeable, but the ice-first brew cooled about 15–20% faster.

Pro tip: For the ultimate icy refreshment and clean flavor profile, go with the ice-first method; if you prefer more intense fruitiness, the ice-later approach also delivers great results. Whichever method you choose, remember to use a pre-chilled server and ensure your ice is pure and free of off-flavors. Common mistakes include grinding too coarse (leading to under-extraction) or insufficient ice (resulting in ineffective cooling). Adjust ratios according to your actual cup size.

The above content is compiled by CoffeeHunters, a coffee news website.


