








Introduction:To master making professional-level latte art at home, the key lies in controlling the texture of the milk foam and the pouring technique. This article explains in detail how to create fine and dense milk foam, and breaks down the operational essentials of three classic latte art patterns—the heart, leaf, and tulip—step by step. It includes practical tips on steam wand angle, air intake rhythm, and pour flow control, helping coffee enthusiasts reliably replicate café-quality visual and taste experiences.
Creating a stunning latte art requires mastery of both the texture of the milk foam and the technique of integrating it with the espresso. From the fineness of the foam to the smoothness of the pattern, every step affects the final product’s appearance and flavor. This article will delve into how to make the ideal milk foam and guide you through completing three classic latte art patterns: the heart, the leaf, and the tulip, so you can showcase professional barista skills even at home.
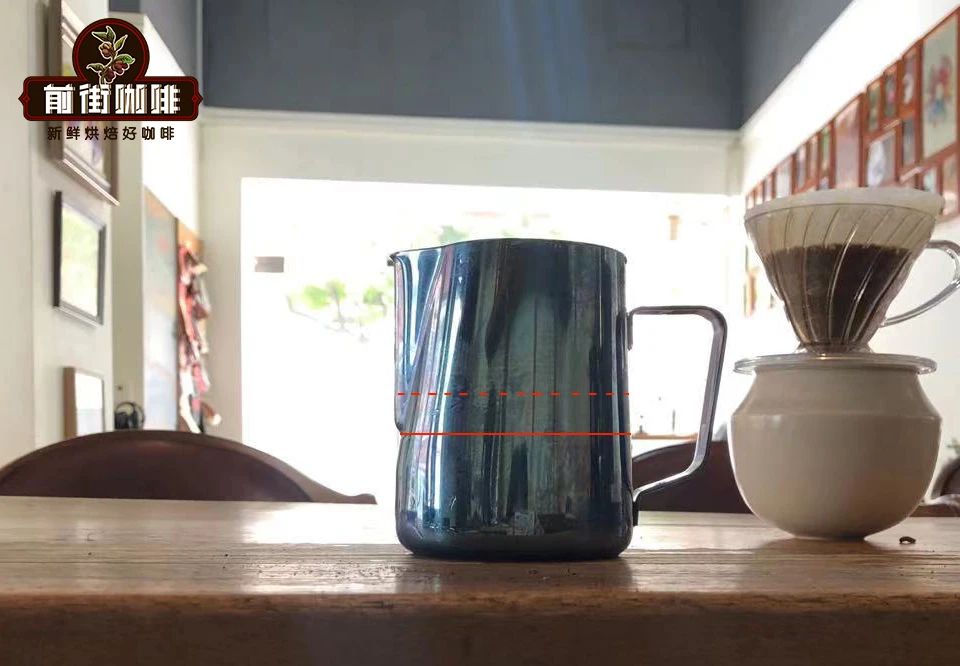
First comes the milk foam preparation, the foundation of latte art. Choosing the right pitcher size is crucial. If using a 450 ml pitcher, it’s recommended to add about 200 to 250 ml of milk; if the pitcher is 500 to 650 ml, the amount of milk can be increased to 300 to 350 ml. This ratio helps control the depth of the steam wand immersion and the uniformity of the foam.
Before starting to froth the milk, be sure to first turn on the steam wand to release any internal condensation water to avoid affecting the foam texture. Next, adjust the steam wand’s tip so that the nozzle is aimed at approximately the 2–3 o’clock or 9–10 o’clock position on a clock face, and submerge the tip about two-thirds into the milk. This depth ensures the production of fine bubbles without forming large bubbles prematurely or touching the bottom or sides of the pitcher.

During the frothing process, you’ll hear a distinct “hissing” sound, which indicates that air is being evenly drawn into the milk. If you hear a harsh noise or no sound at all, you’ll need to adjust the angle and depth of the steam wand. Once the initial foam forms, the next step is the stretching or texturing phase. By adjusting the angle of the steam wand to create a vortex, you break up larger bubbles and integrate them with the lower layer of milk, resulting in a finer and more uniform foam texture. When the milk temperature reaches 55 to 65 degrees Celsius, you should immediately turn off the steam to prevent overheating, which can negatively affect taste and foam stability.
Once the milk foam is ready, it’s advisable to gently tap the bottom of the pitcher to break up any remaining large bubbles on the surface, making the overall surface smoother and laying a solid foundation for the latte art to follow.

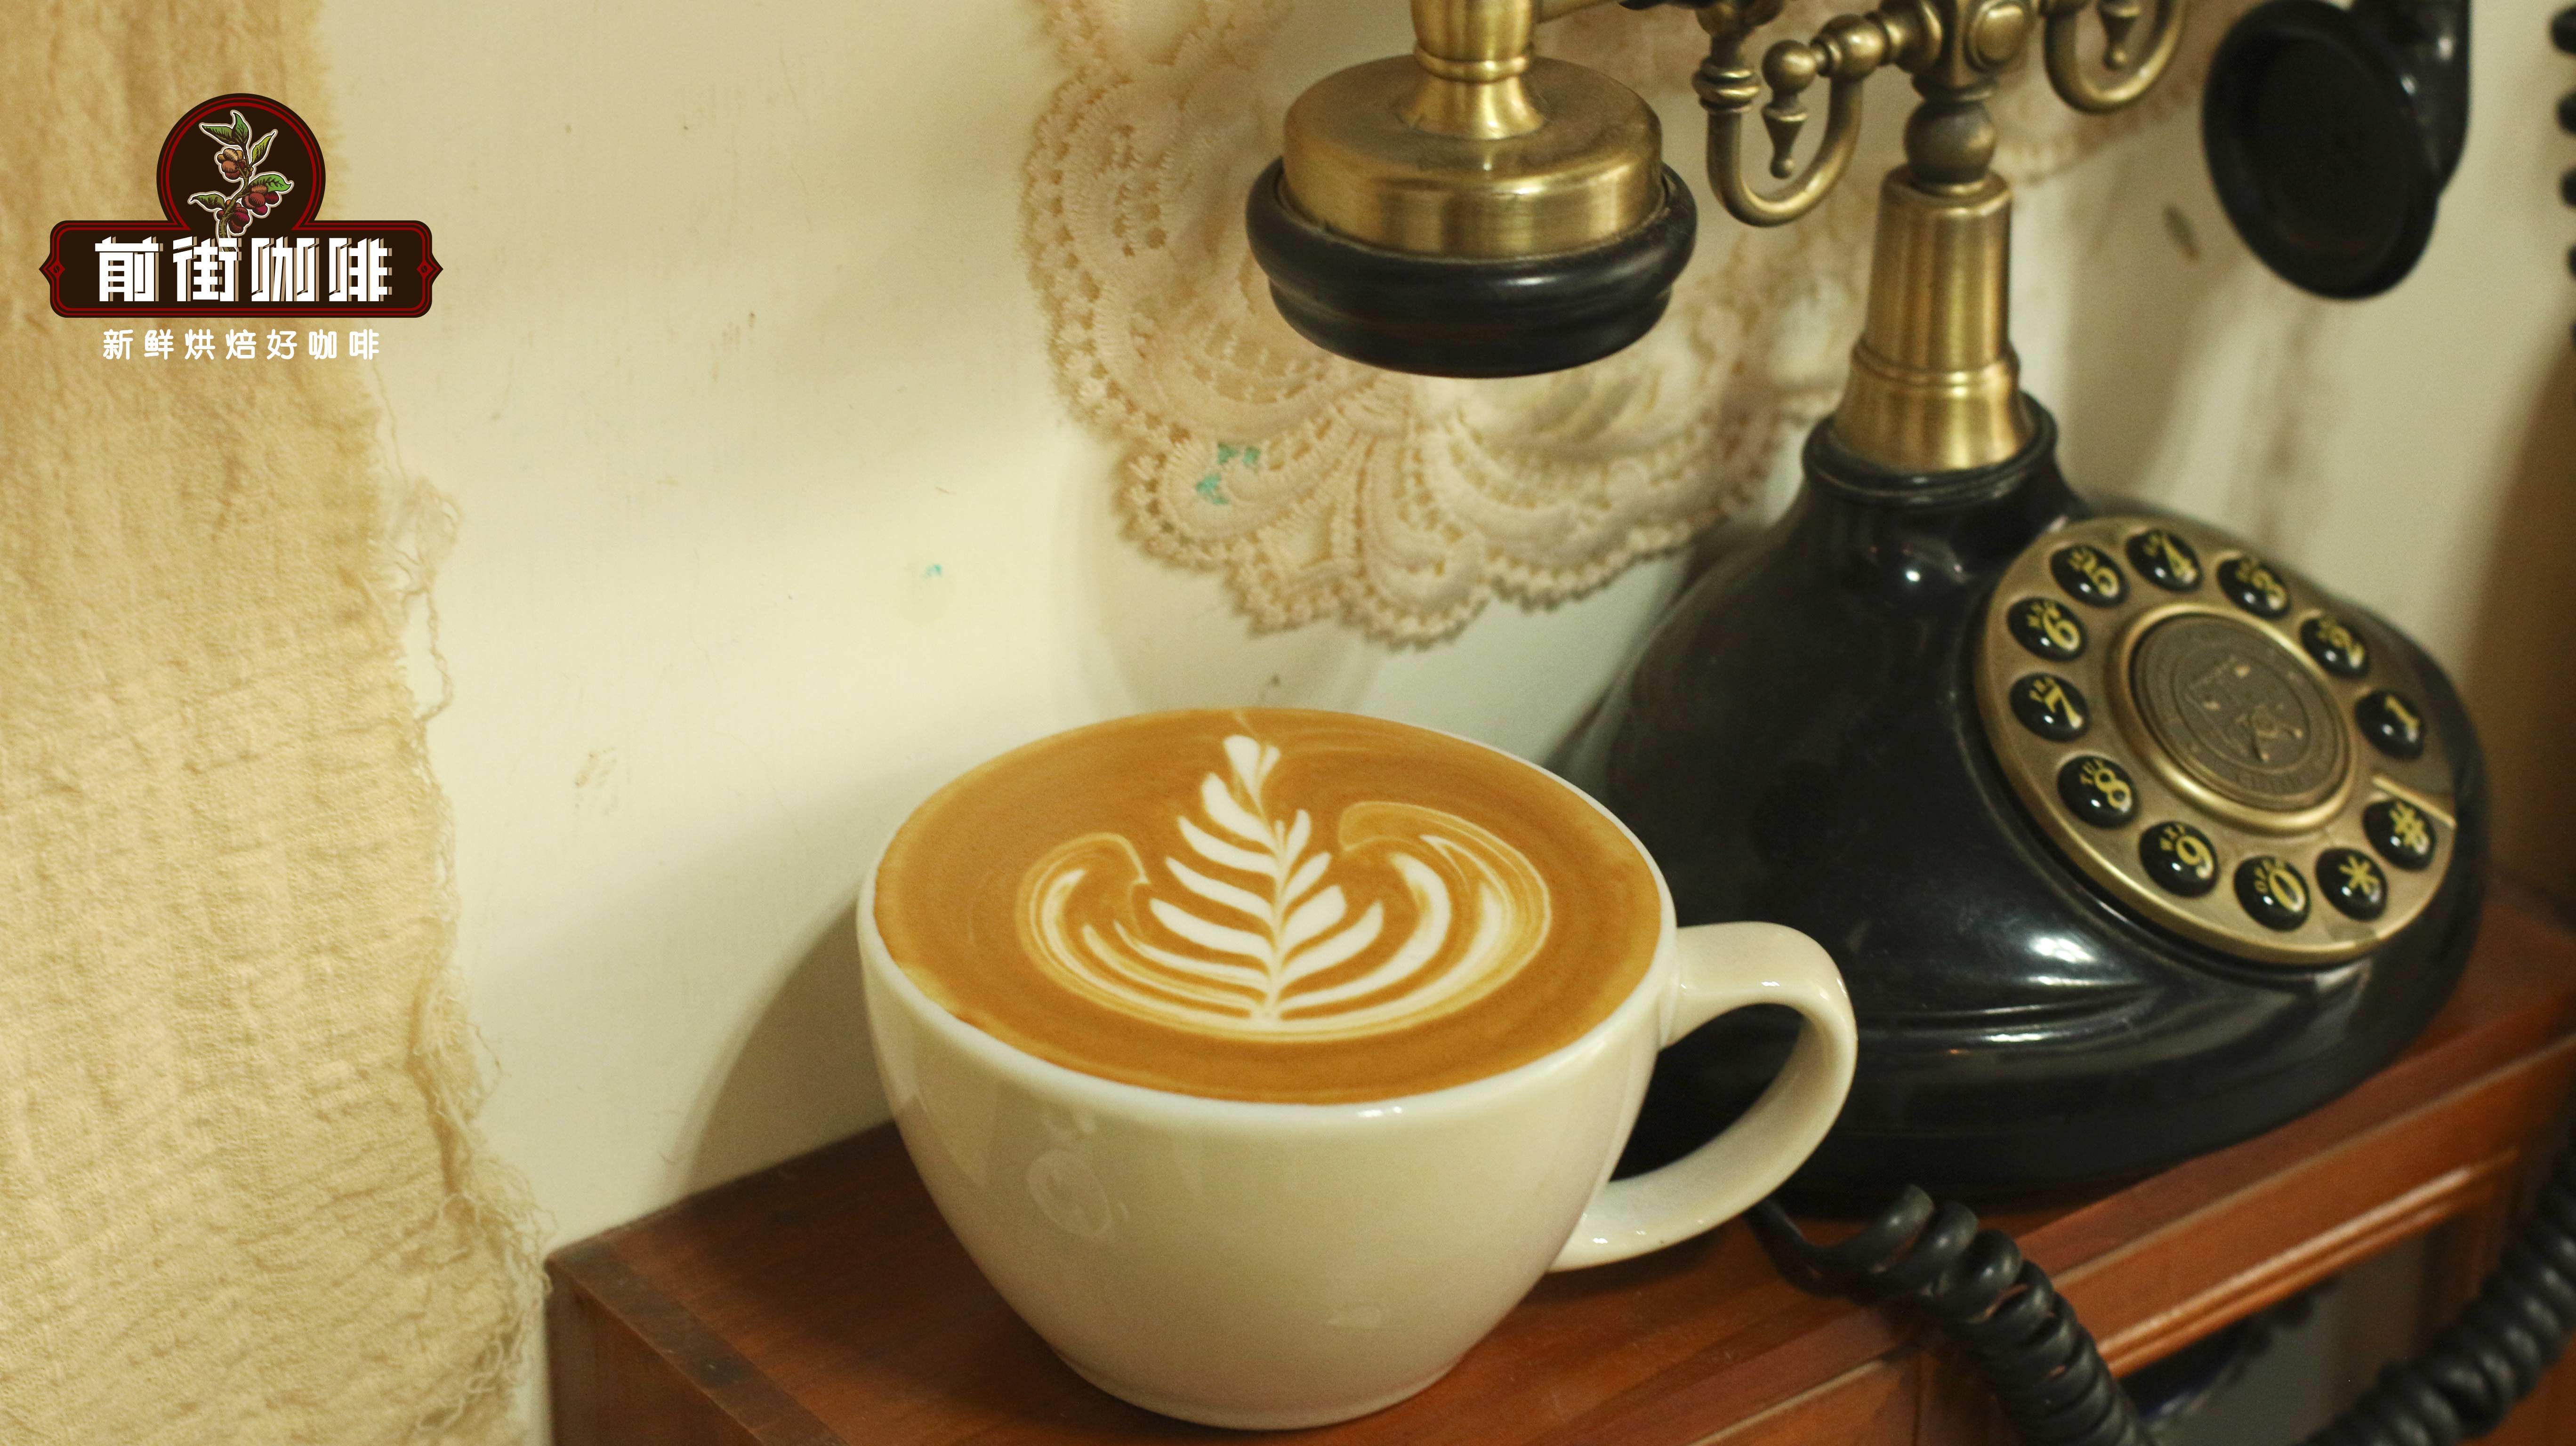
Moving on to the latte art stage, let’s first introduce how to create the heart shape. Bring the pitcher close to the rim of the cup and start pouring from the center of the liquid surface. Begin with a lower position and a thin stream. Then gradually raise the pitcher and increase the flow rate. When the cup is tilted to about 180 degrees, a stable circular pattern will form. At this point, slightly raise the pitcher and reduce the flow to apply downward pressure, creating the inward dip at the center of the heart. Finally, push forward to form the pointed tip and complete a plump heart-shaped latte art.
For the leaf pattern, first ensure the milk and coffee are fully integrated. Begin pouring from the back center of the cup, shaking the pitcher to form a base resembling an onion heart. Stop pouring when the cup is about 80% full. Then rotate the cup 180 degrees and tilt it slightly. Pour again from the back, gradually pushing out multiple arcs while increasing the pouring angle. Finally, finish with a pull to form a continuous leaf vein pattern.

The tulip pattern mainly involves multiple stacked pours. Start by pouring a strong stream of milk into the center of the cup until a white, round milk foam ball appears, then stop. Next, move the pour point backward and repeat the strong stream and pause to build a multi-layered base. For the final pour, raise the angle and reduce the flow, using a straight-line sweep to finish, creating a layered and three-dimensional tulip shape.
Once you’ve mastered these basic techniques, it’s recommended to practice the rhythm and angle of each step, especially the control of the steam wand and the stability of the pour. This will help improve your success rate and the aesthetic quality of your latte art. Whether for home enjoyment or sharing your coffee passion, these practical details will bring you closer to the skill level of a professional barista.

The above content is compiled by CoffeeHunters, a coffee news website.


