







Introduction:Drip coffee is beloved as a popular cold brew choice in summer for its smooth, layered flavors and unique fermented aromas. This article delves into the differences between drip and cold brew, the basic structure of a drip coffee maker, the scientific settings for grind size and drip rate, recommends three coffee beans suited for drip flavor profiles, and finally explains the optimal storage period and flavor evolution of drip coffee — helping you make a professional-grade drip coffee from scratch.
Drip coffee is made by slowly melting ice into water, which then drips at a steady pace onto freshly ground coffee grounds for extraction. The extracted coffee liquid is then left to ferment in a low-temperature environment. The entire process usually takes over eight hours. This low-temperature slow extraction method preserves the delicate fruity notes and sweetness of the coffee while reducing bitterness, resulting in a clean and pure taste — perfect for hot seasons.
So, what’s the difference between drip and cold brew? Simply put, cold brew involves steeping coarsely ground coffee in room temperature or cold water for several hours before filtering, making it relatively simple. In contrast, drip coffee uses melting ice water that drips drop by drop through a bed of coffee grounds. It requires more control and patience, typically taking six to eight hours. It’s also recommended to refrigerate and ferment the coffee overnight after dripping to enhance overall flavor.
The extraction principle of drip coffee mainly relies on low water temperature to delay the release of bitter compounds while promoting the slow seepage of aromatic substances. After roasting, coffee beans produce some high-molecular-weight bitter compounds, which tend to dissolve in large amounts during high-temperature brewing, leading to overly bitter tastes. Drip extraction, using low temperatures, reduces the release ratio of these components, allowing sweetness, fruit acidity, and aroma to remain more balanced — creating its distinctive soft and refreshing flavor.
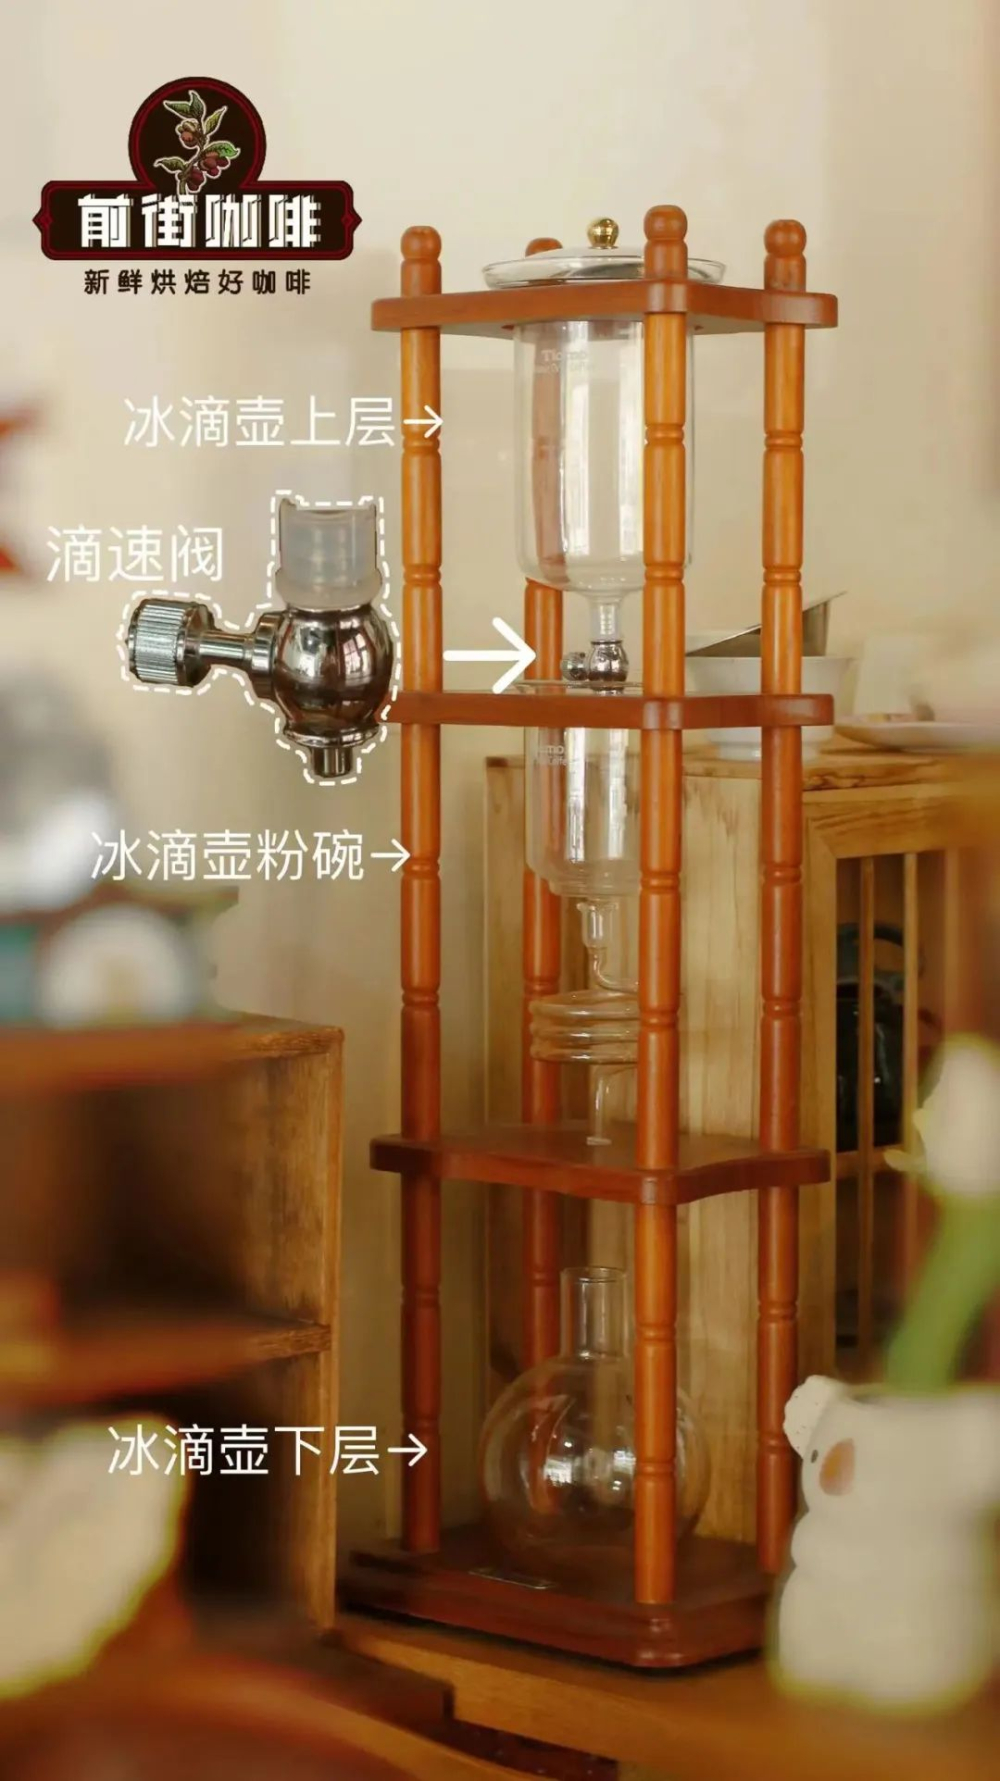
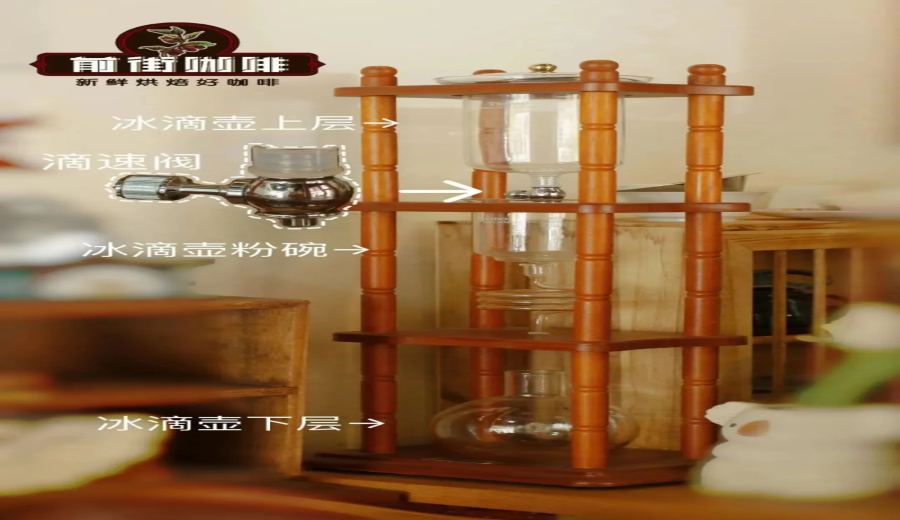
To make drip coffee at home, first understand the basic structure of a drip coffee maker, which typically consists of three core parts: the “top vessel” holding the ice-water mixture, the “filter cup” responsible for holding the coffee grounds, and the “bottom vessel” that collects the extracted coffee. Some high-end or advanced models, such as the Tiamo HG2713, also include a ring-shaped glass guide tube that helps distribute the water droplets more evenly. Choose a model based on your budget and operational needs.
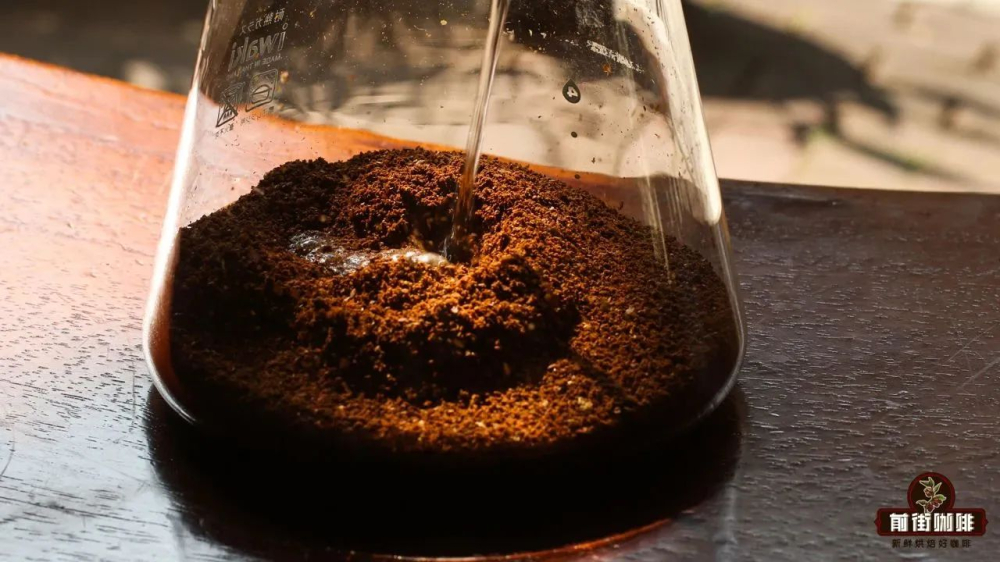
For grind size, it’s recommended to grind the coffee beans to a fineness where about 80%–85% can pass through a Chinese No. 20 standard sieve. Using an EK43s grinder as an example, this equates to around setting 10. This range is between medium-fine and fine for pour over. Too coarse may result in under-extraction, while too fine may clog the filter layer, causing over-extraction and bitterness. For this practical case, we chose a medium-fine grind with an 85% passing rate to suit the lower extraction efficiency in a low-temperature environment.
Drip rate is one of the key factors affecting the quality of drip coffee, usually measured by how many drops fall every 10 seconds. The general recommended range is 7 drops per 10 seconds. Too slow may prolong total extraction time and risk over-extraction, while too fast leads to under-extraction. For the coffee-to-water ratio, a common reference value is 1:10. If planning to dilute with ice later, you can slightly increase the concentration. For home brewing, it’s advised to keep it between 1:10 and 1:12, adjusting according to personal taste.
In practice, start by grinding 60 grams of coffee beans into powder and place them in a filter cup lined with round filter paper. Add another layer of filter paper on top to ensure the coffee bed is even. Then gently sprinkle water to wet the coffee grounds, which aids in even extraction and shortens the dripping time. Fill the top vessel with an ice-water mix, roughly in a 1:1 ratio of ice to water, eventually yielding about 600 grams of extracted coffee liquid. The entire dripping process is best done during the day. After dripping, transfer the coffee liquid to a sealed container, refrigerate for at least 12 hours, and the flavor will become rounder and richer.
When selecting coffee beans for drip, the method highlights fruity, wine-like, and fermented notes. Therefore, it’s recommended to choose freshly roasted beans within two months of their roast date. For a refreshing profile, opt for washed beans with floral and fruity notes. For a richer fermented character, wine-barrel-fermented beans are a great option. Natural sun-dried beans can bring out bold jammy and black tea tones.
For example, the ‘Elida Estate Catuai’ from Panama, processed via washed method, offers pronounced pink floral notes, peach juice-like sweetness, and citrus acidity. When made into drip coffee, it has clear layers and a fresh, sweet flavor. The ‘Honduras Sherry Barrel Bean’ undergoes whiskey barrel fermentation, showcasing intense vanilla, cream, and wine aromas paired with honey-like sweetness, ideal for those who enjoy bold flavors. Meanwhile, the ‘Natural Huagu’ features high-sugar fruit pulp fermentation, delivering lively acidity and sweetness with berry and passion fruit notes, along with a black tea finish — extremely expressive.
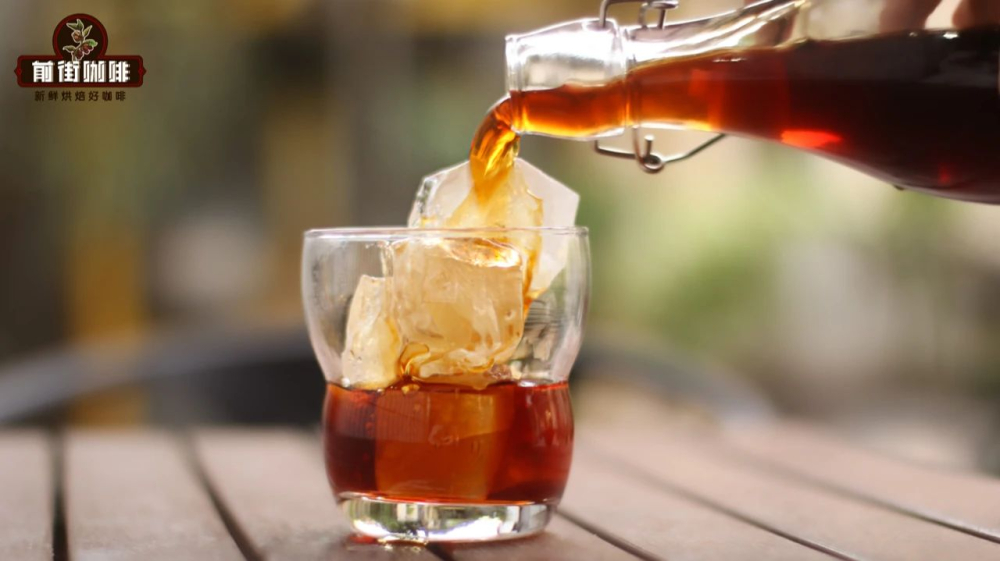
Finally, a reminder: although the flavor of drip coffee becomes richer after refrigeration and fermentation, it’s not true that the longer it’s stored, the better. It’s best to seal and refrigerate the coffee after dripping and consume it within five days to enjoy optimal taste and aroma. Beyond this period, over-fermentation may lead to undesirable flavor shifts, potentially compromising overall quality. Therefore, it’s recommended to brew only as needed and enjoy it during its ideal flavor golden period.
The above content is compiled by CoffeeHunters, a coffee news website.


