








Introduction:The Moka pot is the starting point for many coffee beginners exploring espresso-style flavors. With its simple operation and high cost-performance ratio, it has become a practical tool for brewing strong coffee at home. This article uses a two-valve, two-cup Moka pot as an example to detail every step from selecting the pot, adding water, filling coffee grounds, heating to completing extraction, and provides specific adjustment suggestions for common issues like under-extraction or over-extraction, helping you easily brew coffee with rich crema and distinct flavor layers.
In Italy, the Moka pot is an indispensable coffee tool in every household kitchen, its prevalence even surpassing the reliance on teapots in Chinese households. This device, primarily made of aluminum metal, is not only affordable and durable but also easy to use, making it an ideal choice for many coffee beginners to explore espresso-style flavors. Although it cannot produce strictly defined Espresso like a professional espresso machine, mastering the right bean selection and grind size can still bring out attractive coffee crema.
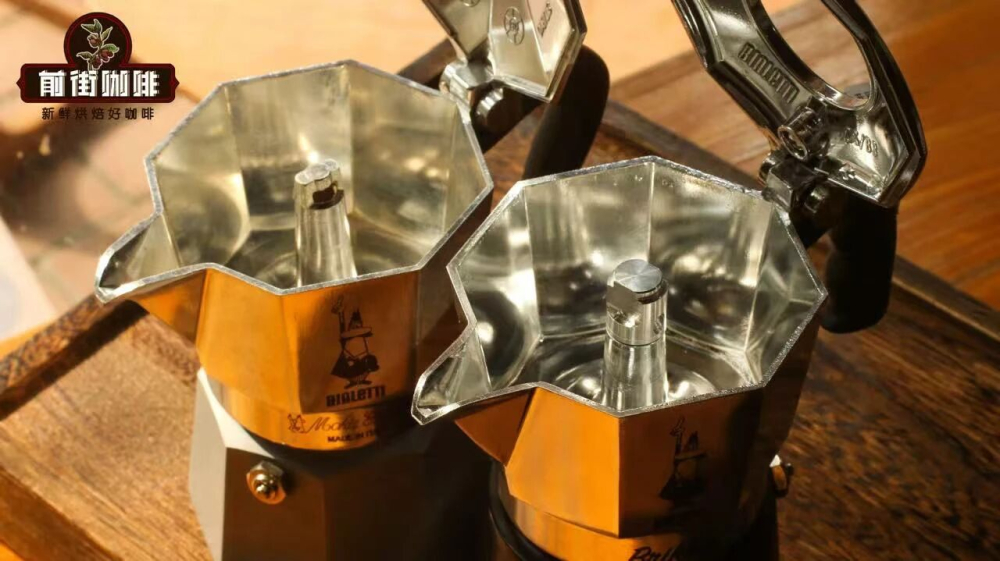
Operation Process and Basic Structure
This article will use a two-valve, two-cup Moka pot as a template, step-by-step breaking down the key steps from adding water, filling coffee grounds, tightening the pot, heating to tasting, and includes practical adjustment strategies for over-extraction or under-extraction, allowing you to quickly master the usage tips of this classic tool.
If categorized by capacity, Moka pots are generally measured in “cups,” with one cup being approximately equal to 30 milliliters of Espresso. In terms of materials, aluminum is currently the mainstream on the market, with stainless steel and ceramic options also available; in terms of working principles, they can be divided into standard type, two-valve type, and recirculation extraction type, among which the two-valve design can more effectively enhance extraction pressure and flavor layers, making it the preferred type for many users.

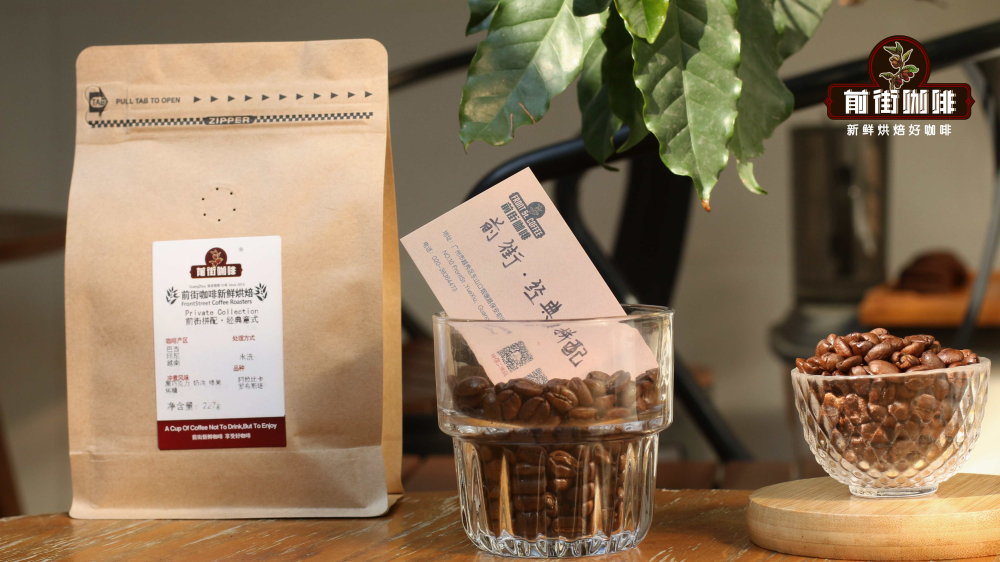
When choosing a Moka pot, if the goal is to brew a strong flavor close to Espresso, it is recommended to prioritize medium to dark roasted coffee beans. These beans usually exhibit richer caramel and nutty aromas and are conducive to forming thick crema. For example, commonly available classic blends often have strong roasted hazelnut, caramel, and buttery notes; while users who prefer a balanced flavor can try recipes with a nutty and chocolate base, along with a slightly acidic plum tone, which helps stabilize the overall extraction performance.
Seven-Step Guide to Using a Moka Pot
1. Adding Water:It is recommended to use hot water for heating, which can effectively shorten the wait time for the water to boil, allowing you to enjoy a rich cup of coffee more quickly. For a two-cup single-valve Moka pot, about 130 milliliters of hot water is typically poured in.
2. Filling Coffee Grounds:Place the accurately weighed coffee grounds (usually around 18 grams) into the filter basket, and it is recommended to use a fine to medium-fine grind. After adding the grounds, gently tap the basket to help the coffee settle evenly and fill gaps, reducing the occurrence of channeling. Then, use your finger to level the coffee surface—do not tamp it down too hard, especially when the coffee is finely ground, as excessive tamping can increase water resistance and affect extraction efficiency.
3. Assembling the Upper and Lower Parts:Place the filter basket filled with coffee grounds into the lower part, then tightly screw the upper part onto the lower part. If using hot water, it is recommended to use a damp cloth for heat insulation to avoid scalding.

4. Starting to Heat:Place the assembled Moka pot on a heat source such as a stove or electric ceramic hob and begin heating. There’s no need to adjust the flame intensity at this point; simply let the water temperature inside gradually rise.
5. Adjusting the Flame:When you hear a distinct hissing sound, it means the steam has begun to push the coffee liquid upward. At this point, immediately reduce the flame intensity. Excessive heat can cause overly high steam pressure, making the water pass through the coffee grounds too quickly, resulting in under-extraction and a weak taste. Timely lowering the flame ensures that the coffee substances are fully extracted, leading to a more complete flavor.
6. Observing the Flow and Stopping Heating:When the coffee liquid begins to flow steadily and the flow rate reaches about half, it is recommended to turn off the heat source. The remaining heat inside the pot is still sufficient to push out the residual water, avoiding over-extraction while saving energy.
7. Tasting and Adjusting:After the Moka pot stops dripping, you can pour out the coffee and taste it. If you detect a noticeable burnt bitterness, it usually indicates over-extraction; it is recommended to end the extraction earlier or reduce the amount of extracted liquid next time. If the flavor is overly acidic and has noticeable off-notes, it may be under-extracted—you can adjust to a finer grind or slightly increase the water amount. Repeating the process will help you find the extraction balance that best suits your taste.
The above content is compiled by CoffeeHunters, a coffee news website.


