








Introduction:To make a latte with smooth texture and beautiful latte art, the key lies in the steaming technique of the milk foam. This article delves into the principles of milk foam formation, methods for judging integration, and the optimal heating temperature range, helping you master professional knowledge from steam texturing to integration to enhance the consistency and aesthetics of your coffee output.
An outstanding latte relies not only on high-quality espresso but also on the texture and temperature control of the milk foam. The fineness, stability, and integration performance of the milk foam with the coffee are all critical factors that determine the taste and appearance of the final product. Understanding the basic principles of milk foam formation can help baristas solve common issues, such as poor integration with the espresso, floating foam during latte art, or rapid dissipation of the foam.
The formation of milk foam is achieved by injecting air into milk through high-pressure steam. The surface tension created by the milk proteins encapsulates the air, forming tiny and uniform bubbles that slightly expand the milk's volume. This process not only alters the texture of the milk but also affects how it integrates with the espresso. As the lactose in the milk dissolves during heating and is enveloped by a stable bubble structure, it releases richer aroma and sweetness upon consumption. Meanwhile, milk fat helps maintain the stability of the bubbles, preventing them from breaking too quickly and thereby enhancing the overall creamy and layered mouthfeel.

One common issue is: why doesn’t the milk foam integrate smoothly with the espresso after pouring? This is usually because the foam is underdeveloped, too thin, or almost just hot milk, lacking sufficient bubbles to support proper mixing with the coffee. Another scenario is when the foam seems to integrate well, but during latte art, the foam floats up as a whole block — often due to poor integration between the foam and milk, causing them to separate into layers. To improve such problems, adjustments need to be made in terms of steam pressure and the fineness of the foam.
The degree of integration between milk foam and milk is primarily determined by two factors: first is the steam wand’s air pressure setting — higher pressure promotes better agitation and mixing of the milk, thereby improving integration; second is the fineness of the foam itself — the finer the foam, the lower the air content, and the higher the density, resulting in less buoyancy and more stable sinking, which aids in uniform integration with the milk. In contrast, coarser foam contains more air, has lower density and greater buoyancy, tends to rise quickly, and leads to reduced integration.
Why is integration so important? Because highly integrated foam allows for clearer and smoother latte art patterns with delicate lines, whereas poorly integrated foam can cause blurry patterns and rough outlines, affecting visual appeal. To assess the degree of foam integration, you can pour the steamed foam into a clear glass and observe it at rest: if significant layering occurs within 30 seconds, the integration is poor; if layering appears between 30 to 60 seconds, it is moderate; and if it remains unlayered for over 60 seconds, it indicates high integration. It’s important to note that steamed foam should be used as soon as possible, as leaving it standing for too long will also lead to natural layering.
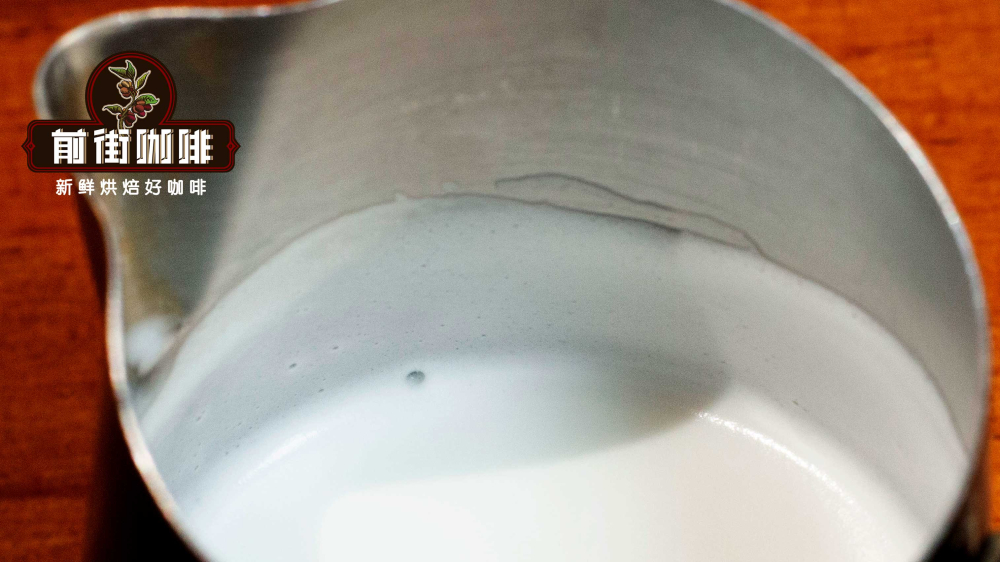
In addition to the texture and integration of the foam, temperature control is another crucial factor affecting foam performance. It is generally recommended to heat the milk to between 50 and 70 degrees Celsius. This temperature range ensures thorough integration of the foam and milk while maintaining stability. To elaborate, when the milk is within this temperature range, there is enough time for the foam and liquid to mix adequately, and it is also before the milk proteins undergo irreversible denaturation, helping to maintain the structural stability of the foam.
Practical tests show that when milk is heated to 90°C, even without intentional frothing, the foam will rapidly expand due to the high temperature, causing excessive agitation and even overflowing from the pitcher. Under the standard operation of 60°C, the foam can maintain longer stability, with noticeable defoaming only occurring after about 10 minutes. In contrast, at 30°C or lower, due to insufficient mixing time and inadequate heating of the milk, the foam tends to dissipate quickly. Especially when using cold refrigerated milk, even if foam is produced, poor integration combined with gas expansion during the warming process can cause the bubbles to break rapidly.
Based on comprehensive experimental data,the optimal temperature range for milk foam performance is 50 to 70°C. Within this range, whether it’s standalone milk foam or foam mixed with coffee, both can maintain good stability and fine texture. When the temperature exceeds 80°C or approaches 90°C, the whey proteins and casein in the milk undergo irreversible denaturation, altering the protein structure and reducing elasticity, making the foam more prone to breaking and dissipation. Milk foam below 50°C, on the other hand, suffers from inadequate mixing and weak bubble support, resulting in noticeably poorer integration and durability.
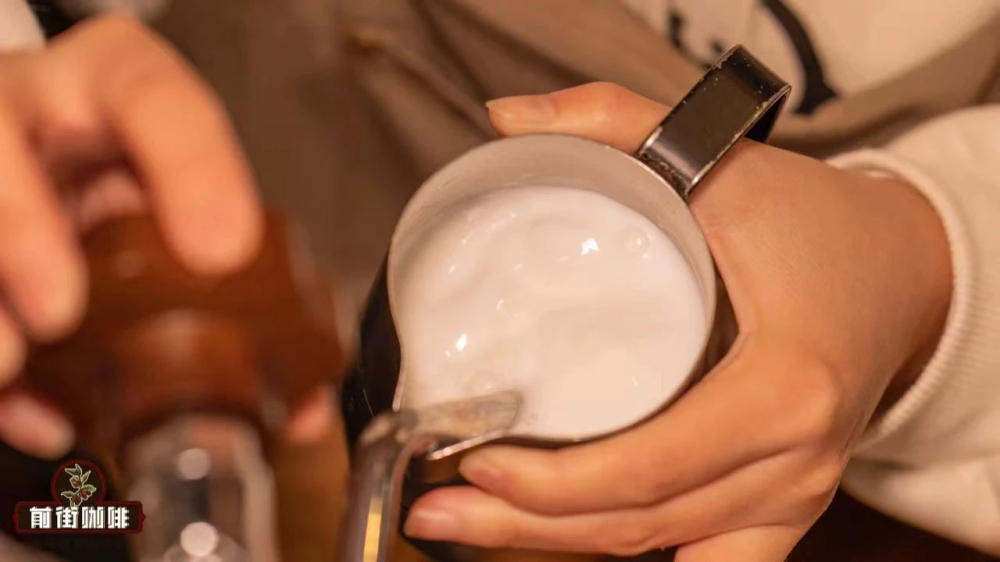
Mastering the steaming technique of milk foam not only enhances the taste and visual presentation of a latte but also makes each preparation more effortless. From adjusting steam pressure and observing foam fineness to precisely controlling temperature, every step influences the final quality of the product. Familiarity with these principles and details will help you consistently produce a classic latte with perfect integration and delicate texture, whether you’re brewing at home or crafting professionally.
The above content is compiled by CoffeeHunters, a coffee news website.


