








Introduction:Want to create professional latte art patterns at home that rival those from coffee shops? This tutorial takes you from beginner to advanced, guiding you through five classic latte art designs: the heart, layered heart, leaf, tulip, and swan. Every detail—from milk foam texture and pouring techniques to pouring angles and cup-tilting timing—is broken down to help both beginners and experienced baristas improve their skills and master the art of latte pouring.
Have you ever been captivated by a beautifully poured coffee in a café and wished you could recreate such stunning patterns yourself? In fact, with the right techniques, you can achieve professional-level latte art at home. This tutorial will guide you from the basics, gradually advancing to in-depth analysis of how to form five classic latte art patterns: the heart, layered heart, leaf, tulip, and swan. You’ll not only learn the key steps of each design but also understand the principles behind them.
First and foremost, milk foam texture is the foundation of latte art. Creating fine, velvety milk foam with the right consistency is key to achieving clear, well-defined, and layered patterns. If the foam is too coarse or too thin, it will negatively affect the final result. If you’re not yet familiar with steaming milk, it’s recommended to first master the basics to ensure stable foam quality—this is the cornerstone of advanced latte art.
Additionally, the pouring technique known as “pouring in” (融合) is a crucial part of the latte art process. Evenly mixing milk with espresso not only reduces the density difference between the two but also ensures harmonious flavor. When performing this step, hold the pitcher slightly above the liquid surface and pour in a circular motion. This allows the espresso settled at the bottom of the cup to mix thoroughly with the freshly poured milk, setting the stage for successful latte art.

Before starting to draw any pattern, it’s recommended to divide the cup surface into three main pouring zones. This helps control the pouring position and the direction of the pattern. Next, we’ll break down the practical details of each of the five classic latte art patterns one by one.
HeartThe heart is the most beginner-friendly pattern, but even for experienced baristas, creating a full and symmetrical heart is no easy feat. To start, complete half of the cup’s pour with a basic fusion. Once the milk foam and espresso are evenly mixed, lower the pitcher and align its spout with the center of the cup. Tilt the pitcher slightly and pour with a relatively strong flow. While pouring, slowly tilt the cup back, adjusting the angle until the cup is about 90% full, then gently lift the pitcher to finish.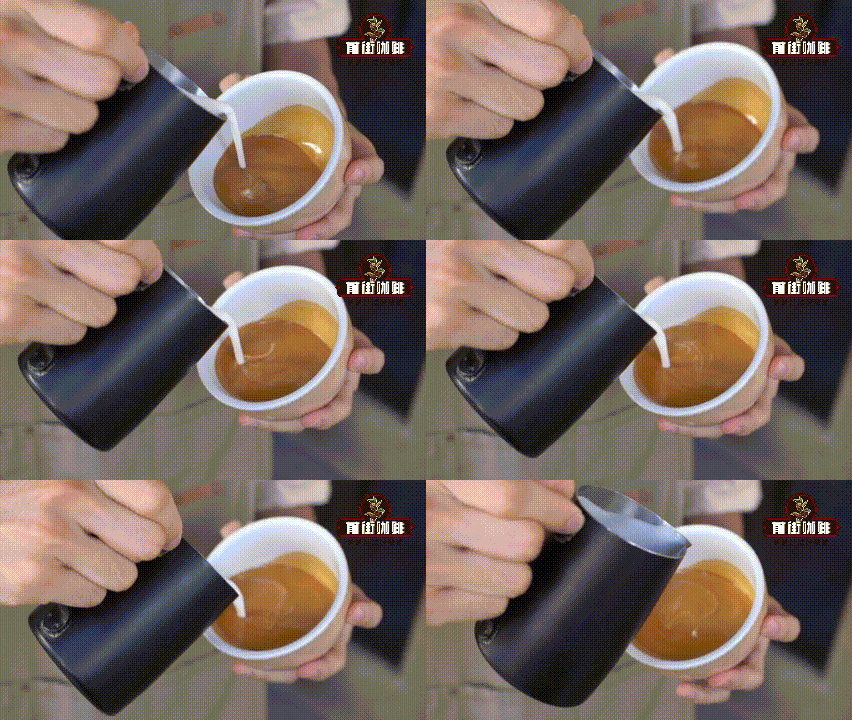
Layered HeartThe layered heart starts the same way as the regular heart—you also need to pour halfway using a strong flow. The difference lies in the need to gently shake the pitcher back and forth to create a stacked, layered effect. Keep the shaking motion steady and even to form clear layers. When the cup is about 90% full, lift the pitcher to finish, just like with the heart.
LeafThe key to the leaf pattern lies in coordinating the pouring path with the movement of the pitcher. Once you’ve poured halfway, move the pitcher’s spout to point C on the cup’s surface, pour with a strong flow while gently shaking the pitcher, and slowly move backward toward point A. Pause briefly at point A to let the leaf tip naturally form. When the cup is nearly 90% full, lift the pitcher to finish.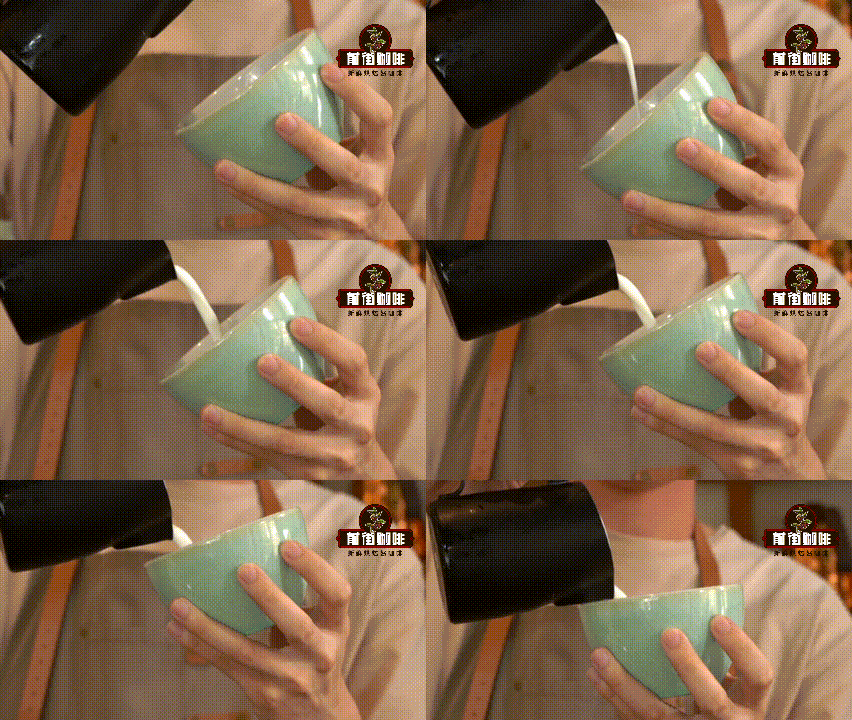
TulipThe tulip consists of multiple half-heart patterns stacked on top of each other. To begin, pour halfway and start from the center. Sequentially pour small half-hearts, slightly pulling back after each pour. Repeat this until the cup is about 90% full, then lift the pitcher to finish. For a variation, you can try replacing the half-hearts with half-layered hearts to create a more layered, tulip-like design.
Finally, there’s theSwanpattern, which boasts a sleek, flowing aesthetic. Start with a half-cup pour and create an unfinished leaf as the base. Then, lift the pitcher and reduce the flow rate. Gently push toward the edge of the leaf, press down to the base, then pull back. When you reach just above point A, lower the pitcher’s spout and pause briefly before lifting to complete the overall design.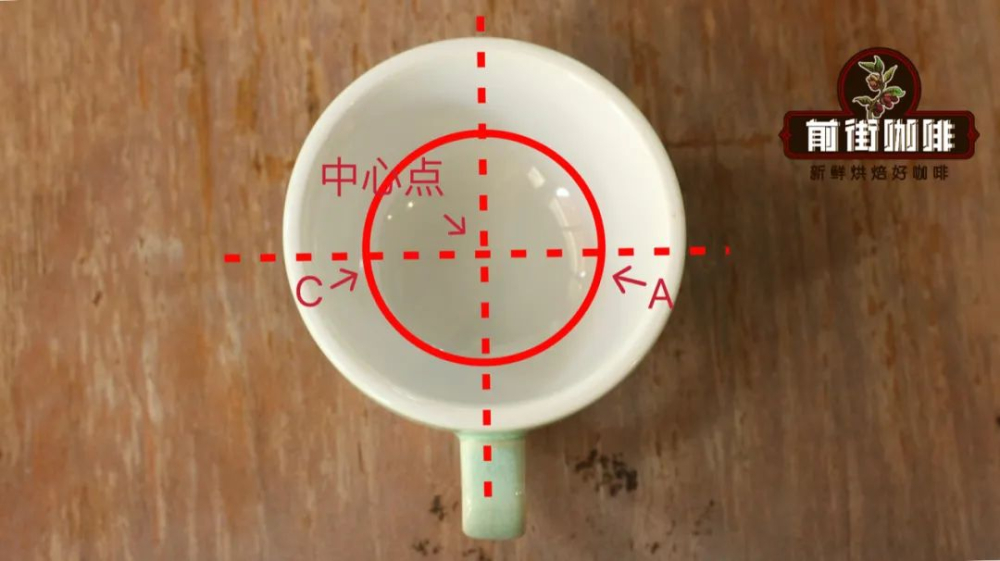
No matter which pattern you’re creating, the technique of tilting the cup back (回杯) is essential. As the pattern takes shape, gradually tilt the cup back to a horizontal position. This not only helps maintain the proper distance between the spout and the liquid surface—making it easier to form the pattern—but also prevents spillage, ensuring the final artwork is both beautiful and intact.
The above content is compiled by CoffeeHunters, a coffee news website.


