








Introduction:Want to experience the deep layered complexity of cold drip coffee? This detailed guide with visuals walks you through the entire process from equipment setup to flavor maturation, teaching you how to master the professional-grade powder-to-water-to-ice ratio of 1:6:6. We also explore the unique compatibility of Honduran Sherry beans. Even without specialized filter paper, you can achieve perfect extraction using everyday tools. By adjusting the drip rate and refrigeration time step-by-step, you can recreate café-quality cold drip flavors at home.
Following our cold brew tutorial, this time we dive deeper into the more patience-demanding world of cold drip. Compared to the simple immersion method of cold brew, cold drip coffee relies on precise equipment, scientifically calculated powder-to-water ratios, and a lengthy dripping process, ultimately delivering a cleaner, crisper mouthfeel with a complex sweet finish.

Preparation requires: the main body of the cold drip tower, room-temperature filtered water, ice cubes, round filter paper (can be cut to size), 50 grams of medium-dark roasted coffee beans, and an airtight container for refrigeration. In this test, we useda powder-to-water-to-ice ratio of 1:6:6— that is, 50 grams of coffee grounds combined with 300 milliliters of room-temperature water and 300 grams of ice cubes. This ratio balances extraction efficiency with flavor purity.
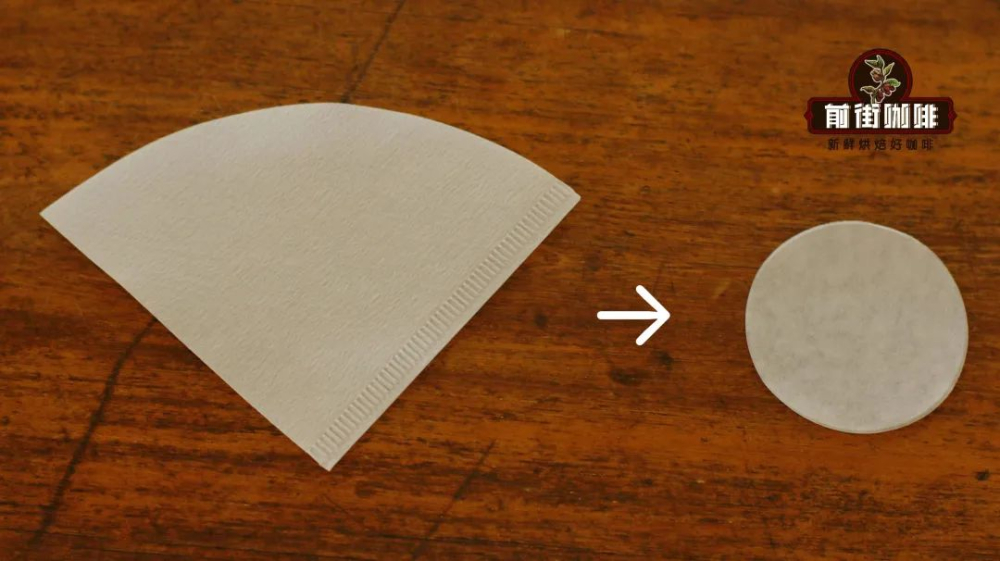
Tip: If you don’t have specialized filter paper, you can trim regular pour over filter paper into a circle slightly larger than the diameter of your coffee chamber—just make sure it fully covers the coffee layer.
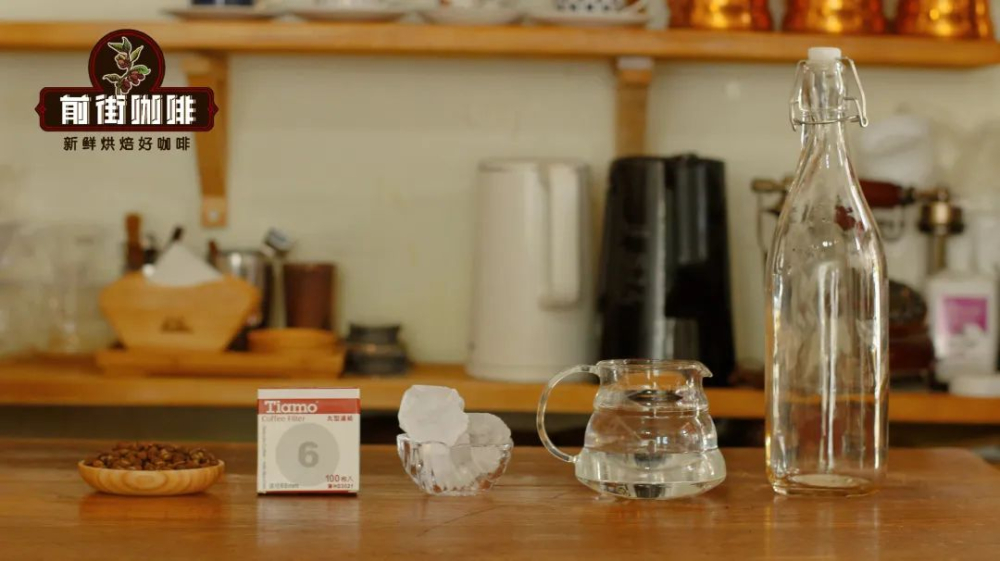
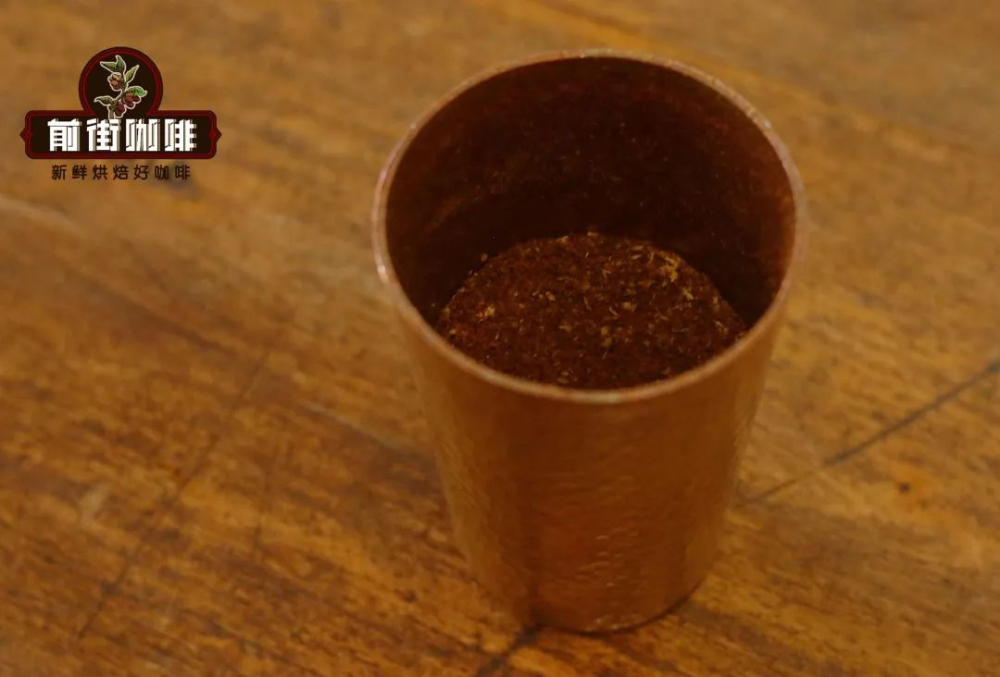
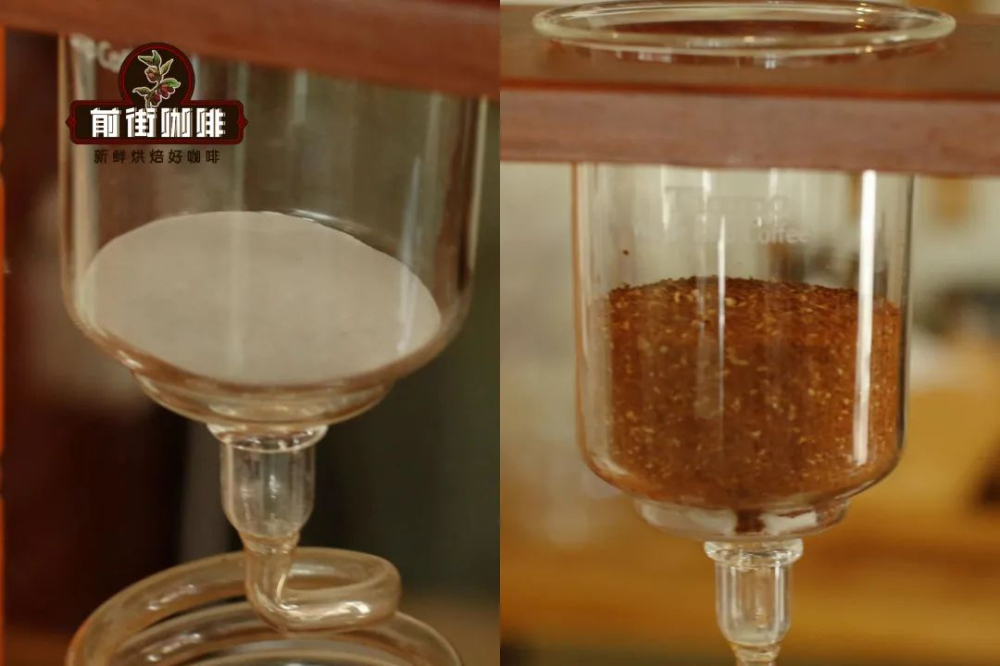
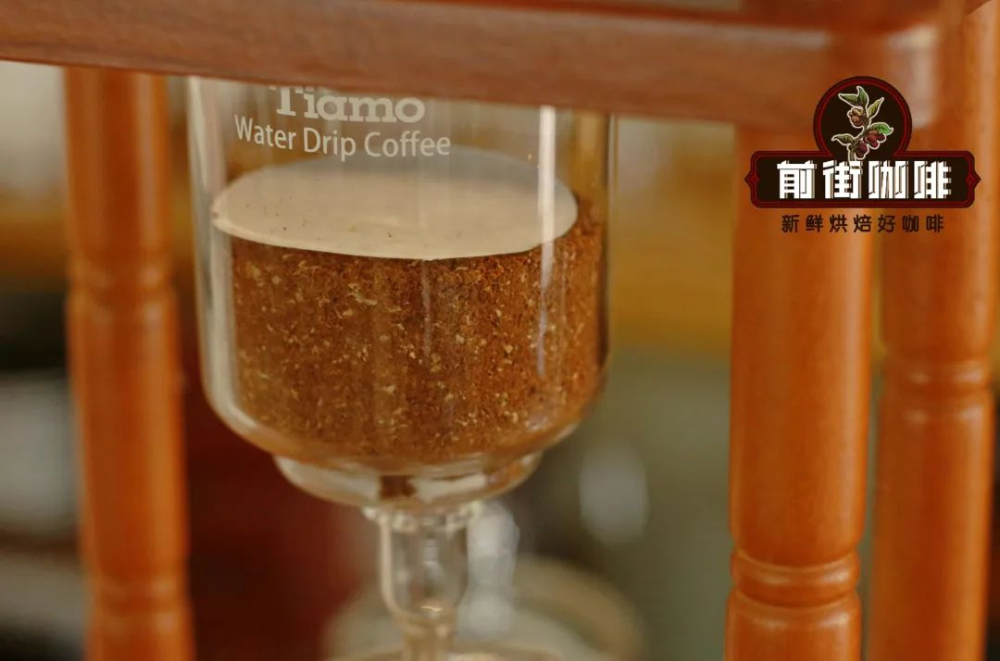
First, grind the coffee beans to a coarseness similar to that used for ice pour over (refer to the EK43s grinder’s 9th setting). Too fine may cause clogging and slow the dripping; too coarse will reduce extraction efficiency. Then place the filter paper in the coffee chamber, lightly spray it with water, add the coffee grounds, gently tap to level, and cover with a second layer of filter paper.
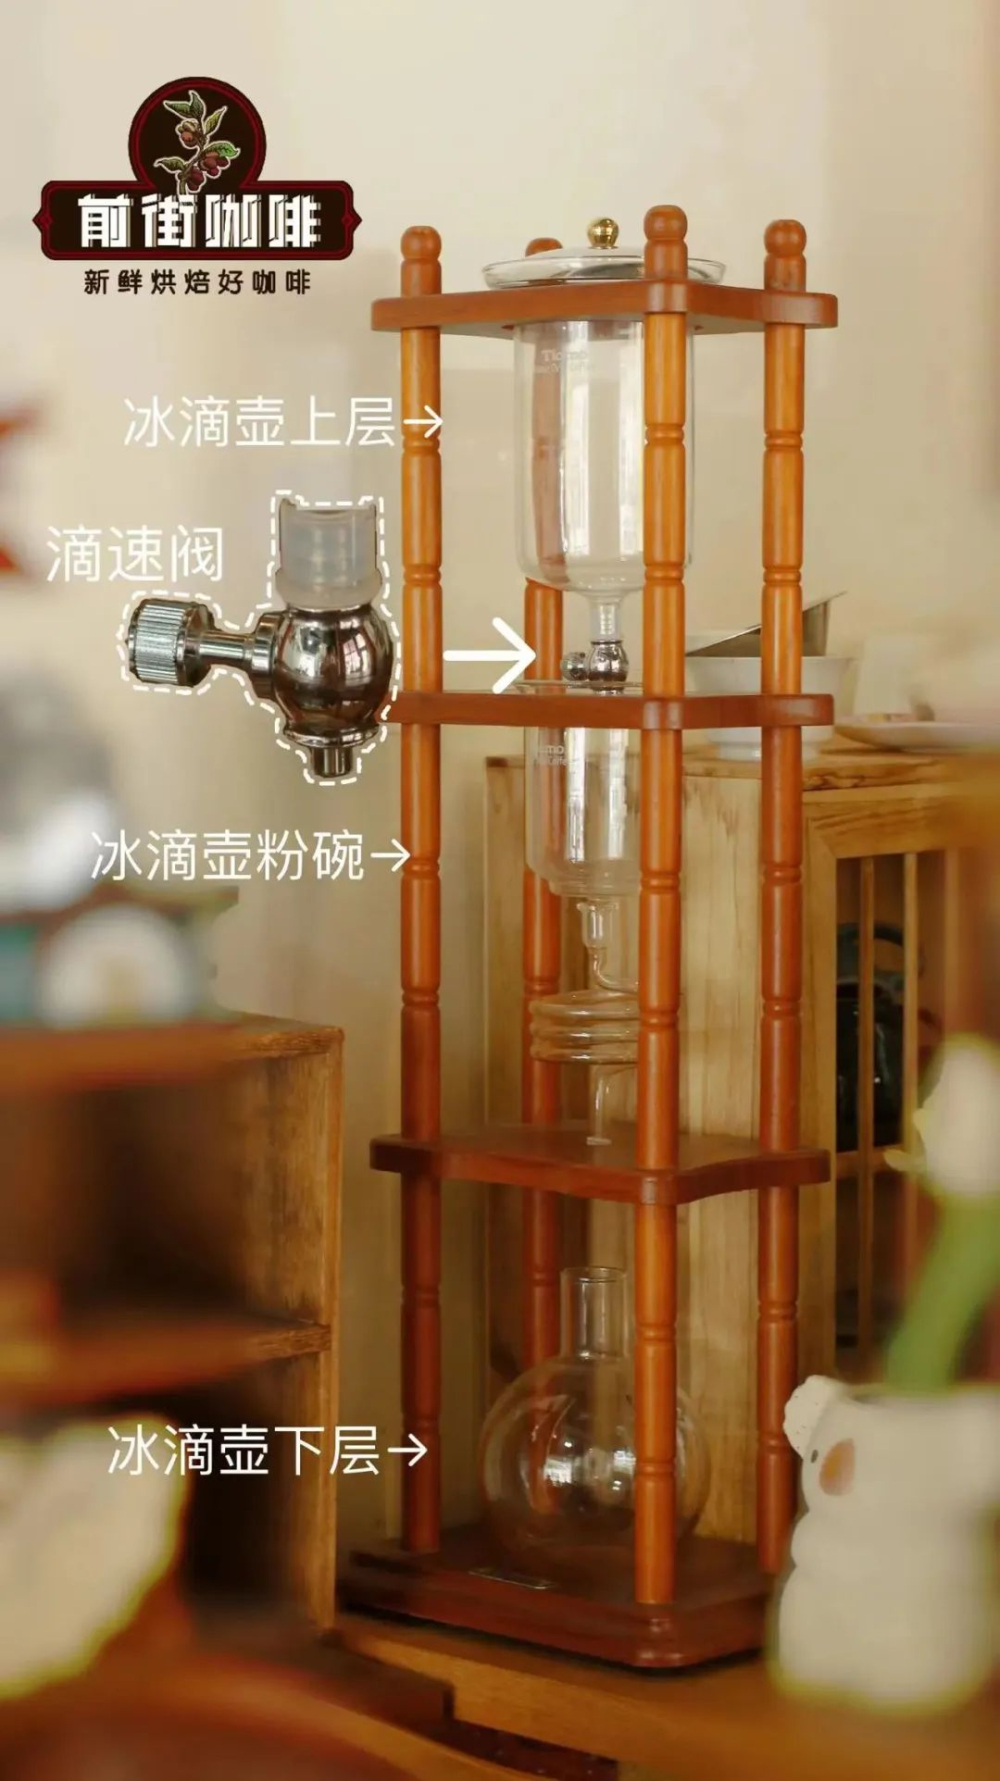
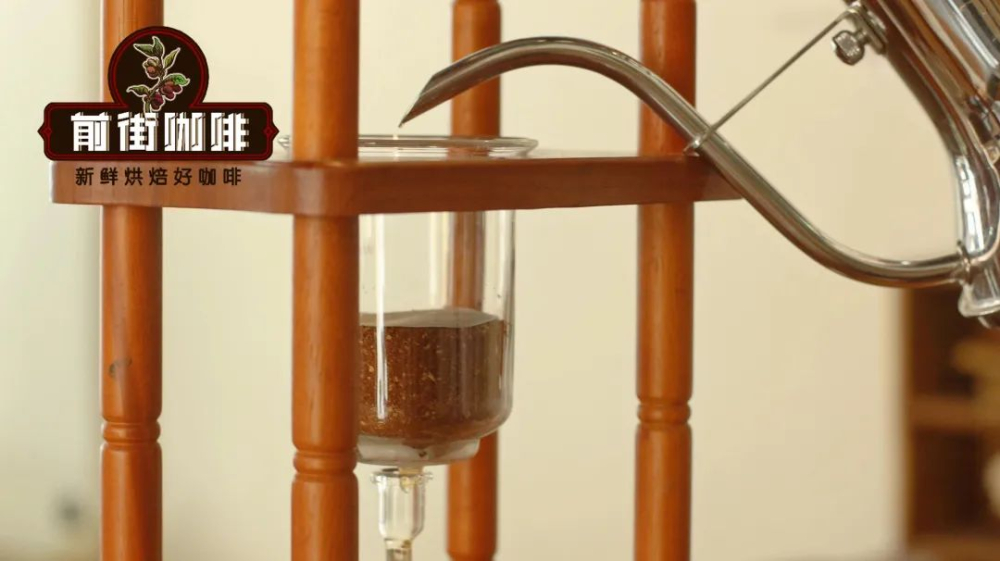
Key step: uniformly wet the entire coffee bed with room-temperature water. This activates the coffee cell walls and helps prevent channeling at the start of the drip. Once all the coffee particles are moistened, then pour in the pre-chilled mixture of ice and water—remember to close the drip valve first to avoid an initial splash.
Place ice and water in the top reservoir at a 3:3 ratio, and adjust the drip valve toa steady pace of7 drops per 10 seconds (approximately 0.2 ml per drop). It’s recommended to check the flow rate every 30 minutes, as ambient temperature differences can affect dripping intervals.
The full dripping process typically takes 6–8 hours, depending on environmental humidity and the affinity between the coffee and water. Once the dripping is complete and the liquid has fully collected in the bottle, immediately transfer it to the refrigerator’s cooling compartment and let it rest for 8 hours. This low-temperature maturation phase allows the flavors to become more refined and mellow.
Before drinking, it’s recommended to let the coffee warm up to 8–10°C, and observe its amber hue in a clear glass. Using this ratio, the cold drip coffee exhibits pronounced dried plum aroma, a low-acidity black sugar sweetness, and a bright citric acid note that lingers into the aftertaste. Adding a single cube of square ice can further highlight the transitions in flavor layers.
FAQs: Q: Can I adjust the powder-to-water ratio? A: For a more concentrated taste, you can change it to 1:5:5, but you’ll need to extend the refrigeration time to 10 hours; Q: What are some alternatives to filter paper? A: Non-woven fabric filter bags or coffee gauze require extra attention to cleaning to avoid residual oils affecting subsequent batches.
The above content is compiled by CoffeeHunters, a coffee news website.


