







Introduction:Creating the perfect latte hinges on delicate milk foam. This article delves into the science behind espresso milk foam, breaking down the operational techniques in two stages — “stretching” and “texturing” — and guiding you through steam wand angles, air intake control, and temperature management. Whether you’re a beginner or a coffee enthusiast aiming to elevate your latte art, this practical guide will help you avoid common mistakes, consistently produce smooth and even milk foam, and enhance the overall flavor and mouthfeel of your coffee.
Have you ever encountered issues like coarse milk foam, overly large bubbles, or even temperature loss while making an espresso latte? Crafting silk-smooth milk foam actually requires understanding the principles behind foam formation and the correct operational procedures. This article starts with the historical background of milk foam, systematically analyzes how to control foam thickness, and gradually introduces the two indispensable steps: “stretching” and “texturing.” Through practical steam wand techniques, air intake selection, and temperature control, even beginners can quickly get the hang of it and steadily produce fine milk foam suitable for latte art.
For many who enjoy milk-based coffee drinks, milk foam has always been a challenge. This article will guide you step-by-step from the basics to create silky smooth and fine milk foam, allowing you to easily replicate café-quality texture at home.
What role does milk foam play in a latte? Early lattes were simply a mix of hot milk and coffee without any foam on top. It wasn’t until the mid-20th century, with the popularization of espresso machines equipped with steam wands, that the ability to both extract coffee and heat milk simultaneously led to milk foam gradually becoming part of the latte. The steam wand works by injecting high-temperature steam into the milk to heat it, and when air is mixed in during the process, milk foam naturally forms. Later, people discovered that lattes with fine milk foam not only had a smoother mouthfeel but also better heat retention, which gradually gave rise to the art of latte art and made milk foam techniques more refined.

To make a successful latte, the quality of the espresso is equally crucial. It’s recommended to use an espresso blend with a rich crema and balanced flavor, such as a blend combining Brazilian and Indonesian beans, which can offer a fuller body and bright acidity, helping to create a better contrast with the milk foam. Some blends also add a small amount of Robusta beans to enhance the richness and golden hue of the crema, further elevating the overall flavor.
For beginners, what does it mean to have mastered the skill of frothing milk? The key lies in understanding the science behind steam wand operation. When the steam wand is partially submerged in the milk and partially exposed to air, the high-pressure steam draws in air, and the proteins in the milk coat these gases to form the initial milk foam. At this stage, you’ll hear a distinct “hissing” sound — this is the signal that air is being drawn in, and it’s also how many baristas gauge the amount of air intake.
It’s important to note that the foam produced at this stage is usually quite coarse — commonly referred to as “big bubbles.” These bubbles are loosely structured and prone to breaking, significantly impacting the mouthfeel. Therefore, the next step, “texturing,” becomes crucial. The method involves inserting the steam wand deeper into the milk, reducing or avoiding further air intake, and using the high-pressure steam to break down the big bubbles into tiny, stable micro-bubbles. This results in milk foam that is not only finer but also more stable, providing a smoother mouthfeel for the final coffee.
To successfully complete these two stages, controlling the movement trajectory of the milk is essential. It’s recommended to use a professional pouring pitcher, adjusting the relative angle between the pitcher and the steam wand to guide the milk into a stable vortex, ensuring even mixing of air and steam and preventing layering or unevenness in the milk foam.

Next are the key steps for actual operation:
1. Suitable Milk Volume for Stretching: It’s recommended to use 40% to 60% of the total capacity of the pitcher. Too much or too little can increase the difficulty of operation. Taking a common 550 ml pouring pitcher as an example, it’s suggested to pour in about 250 ml of milk, roughly to the bottom of the spout, which balances control and efficiency.
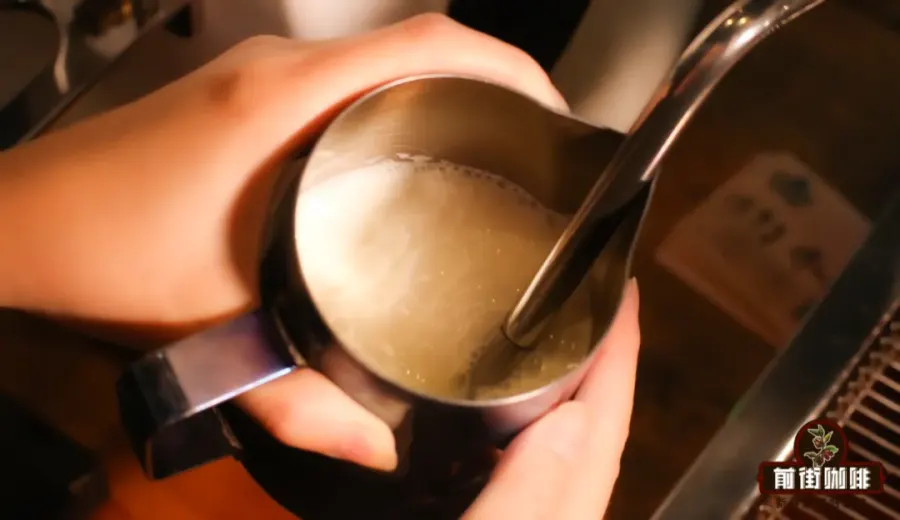
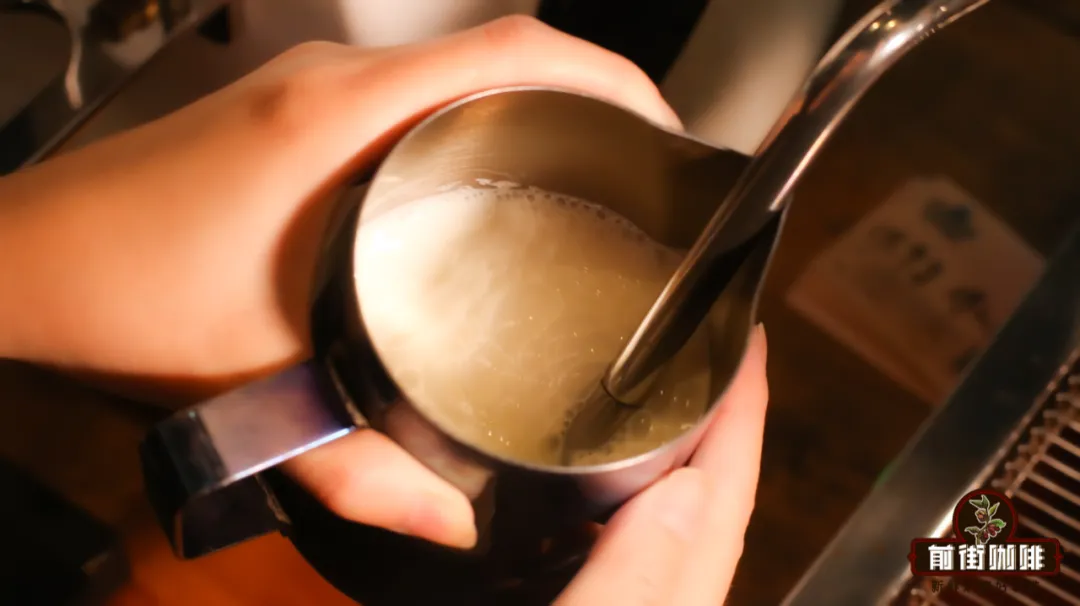
2. Steam Wand Position and Angle: Before use, first purge the steam wand to release condensation, then insert the steam wand diagonally into the milk at about a 45-degree angle, creating a counterclockwise vortex. The steam hole should be positioned slightly to the right of the center of the milk surface and remain half-submerged.
3. Stretching Stage: Start the steam wand. When you hear a sharp “hissing” sound, it means air is entering the milk. This stage generally lasts about 3 seconds, depending on the desired foam thickness, while maintaining a steady rotation of the milk.
4. Texturing Stage: Next, insert the steam wand deeper into the milk, allowing the steam hole to be completely submerged in the foam layer (but not touching the bottom of the pitcher). Stop introducing air and focus on using the heat energy of the steam to break down the large bubbles into fine ones. During this stage, the milk temperature should be controlled between 55–65°C. Above 60°C, the proteins may begin to denature, affecting the foam structure.
5. Final Adjustments: After completion, gently shake the pitcher to evenly integrate the foam and milk. If there are still noticeable large bubbles, lightly tap the pitcher to break them, but it’s recommended not to do this excessively to avoid compromising foam stability.

For readers just starting to practice, it’s recommended to first simulate the training with ice water instead of milk. This not only saves material but also helps you get familiar with steam wand operation and temperature control. During training, focus on two points: first, finding your own ideal air intake point and vortex direction — every barista’s technique varies slightly, so the key is to find your own rhythm; second, mastering the relationship between heating time and temperature to ensure a reasonable time allocation between the stretching and texturing stages, avoiding overly coarse or overheated foam.
In summary, creating fine and smooth latte milk foam hinges on understanding the scientific principles of “stretching” and “texturing,” and honing your hand feel and control through practical operation. As long as you master the correct steam wand angle, air intake techniques, and temperature management, even beginners can gradually improve and eventually produce professional-grade foam, making your espresso latte not only delicious but also a double delight for both the eyes and the palate.
The above content is compiled by CoffeeHunters, a coffee news website.


