







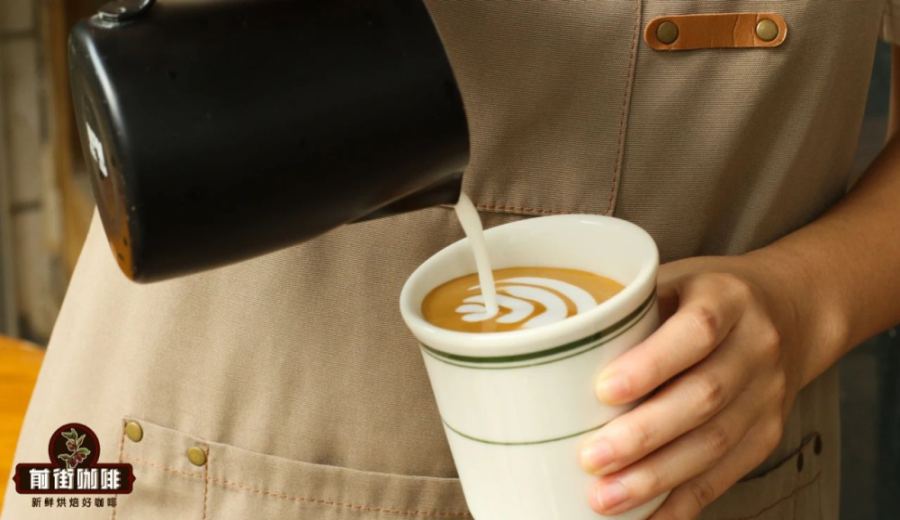
Introduction:Struggling to master latte art? The key lies in milk foam texture, pouring technique, and pitcher grip. This article breaks down the entire latte art process—from steam wand usage, ideal milk temperature, milk-and-espresso fusion, to pitcher and cup handling—step by step. We’ll guide you through the fundamentals and offer efficient practice methods so even beginners can gradually improve.
Many newcomers to the world of coffee are drawn to the visual charm of latte art. Watching others effortlessly pour heart or tulip patterns might make it seem like anyone can do it with a simple pour. But when they try it themselves, they often find the milk either clumping on top of the coffee or failing to form any beautiful design. In truth, latte art isn’t as mysterious as it seems—the success largely depends on milk foam quality, fusion technique, and how you hold the pitcher. This guide will start with steaming milk and walk you through the full latte art workflow, helping you build a solid foundation and steadily refine your skills.

Many beginners encounter issues on their first latte art attempts, such as milk failing to blend smoothly, resulting in clumps that make even the simplest heart shape difficult. Don’t be discouraged—with the right milk foam preparation and fusion techniques, you can gradually improve. Below, we’ll explore how to create latte art-friendly milk foam, use the steam wand properly, master fusion methods, perfect your pitcher grip, and share practical training tips.
First, to pour beautiful designs, you need milk foam with the right flow consistency. Too thick, and it floats on the coffee’s surface; too thin, and it won’t support the design. So how do you achieve the ideal foam? It all comes down to the angle and depth at which you position the steam wand. A good rule of thumb is to imagine the spout of the milk pitcher as the 12 o’clock position, then place the steam wand between the 2–3 o’clock or 9–10 o’clock positions. This helps create a spinning vortex that draws larger bubbles into the milk, resulting in finer, more uniform foam.

The depth at which the steam wand is inserted is also crucial. Inserting it too deep won’t introduce enough air, while inserting it too shallow may cause splattering or over-frothing. Start with about 1 cm of insertion depth. If your espresso machine has strong steam pressure, you can go slightly deeper to around 1.5 cm to reduce turbulence. Conversely, if the steam is weaker, adjust to 0.5 cm or even shallower to help the milk quickly form a stable small vortex. During steaming, you should hear a faint “hissing” sound. If the sound is too soft, it may indicate that the wand is inserted too deeply—you can then slightly adjust the pitcher’s position.
When the milk has expanded to about 80% full, tilt the steam wand diagonally toward the center-right of the pitcher, close to the rim. This lets the milk roll in a vortex, helping mix the foam with the milk and condense the bubbles, ultimately achieving fine, well-flowing foam. Additionally, it’s recommended to control the milk temperature within60~65°Cto avoid negatively affecting taste, destabilizing the foam, or even burning your hand due to excessive heat.
Beyond the milk foam itself, the fusion step is also critical to successful latte art. Many overlook this step, but fusion is essential for evenly blending the milk foam with the espresso. The quality of fusion directly impacts the fluidity and clarity of your latte art. For fusion, it’s best to use a thin stream of milk and ensure the milk-and-coffee mixture has good fluidity. If the foam is thick and less fluid, a wider fusion motion will be needed.
Beginners can first practice with water. Tilt the cup about 45 degrees, maintain a steady water flow, and start by pouring from a fixed point. Then experiment with varying the height and making circular motions before combining both techniques and slowly bringing the cup back to an upright position. This practice helps you get a feel for controlling the water flow and mastering the rhythm of fusion, laying a solid foundation for actual latte art later on.
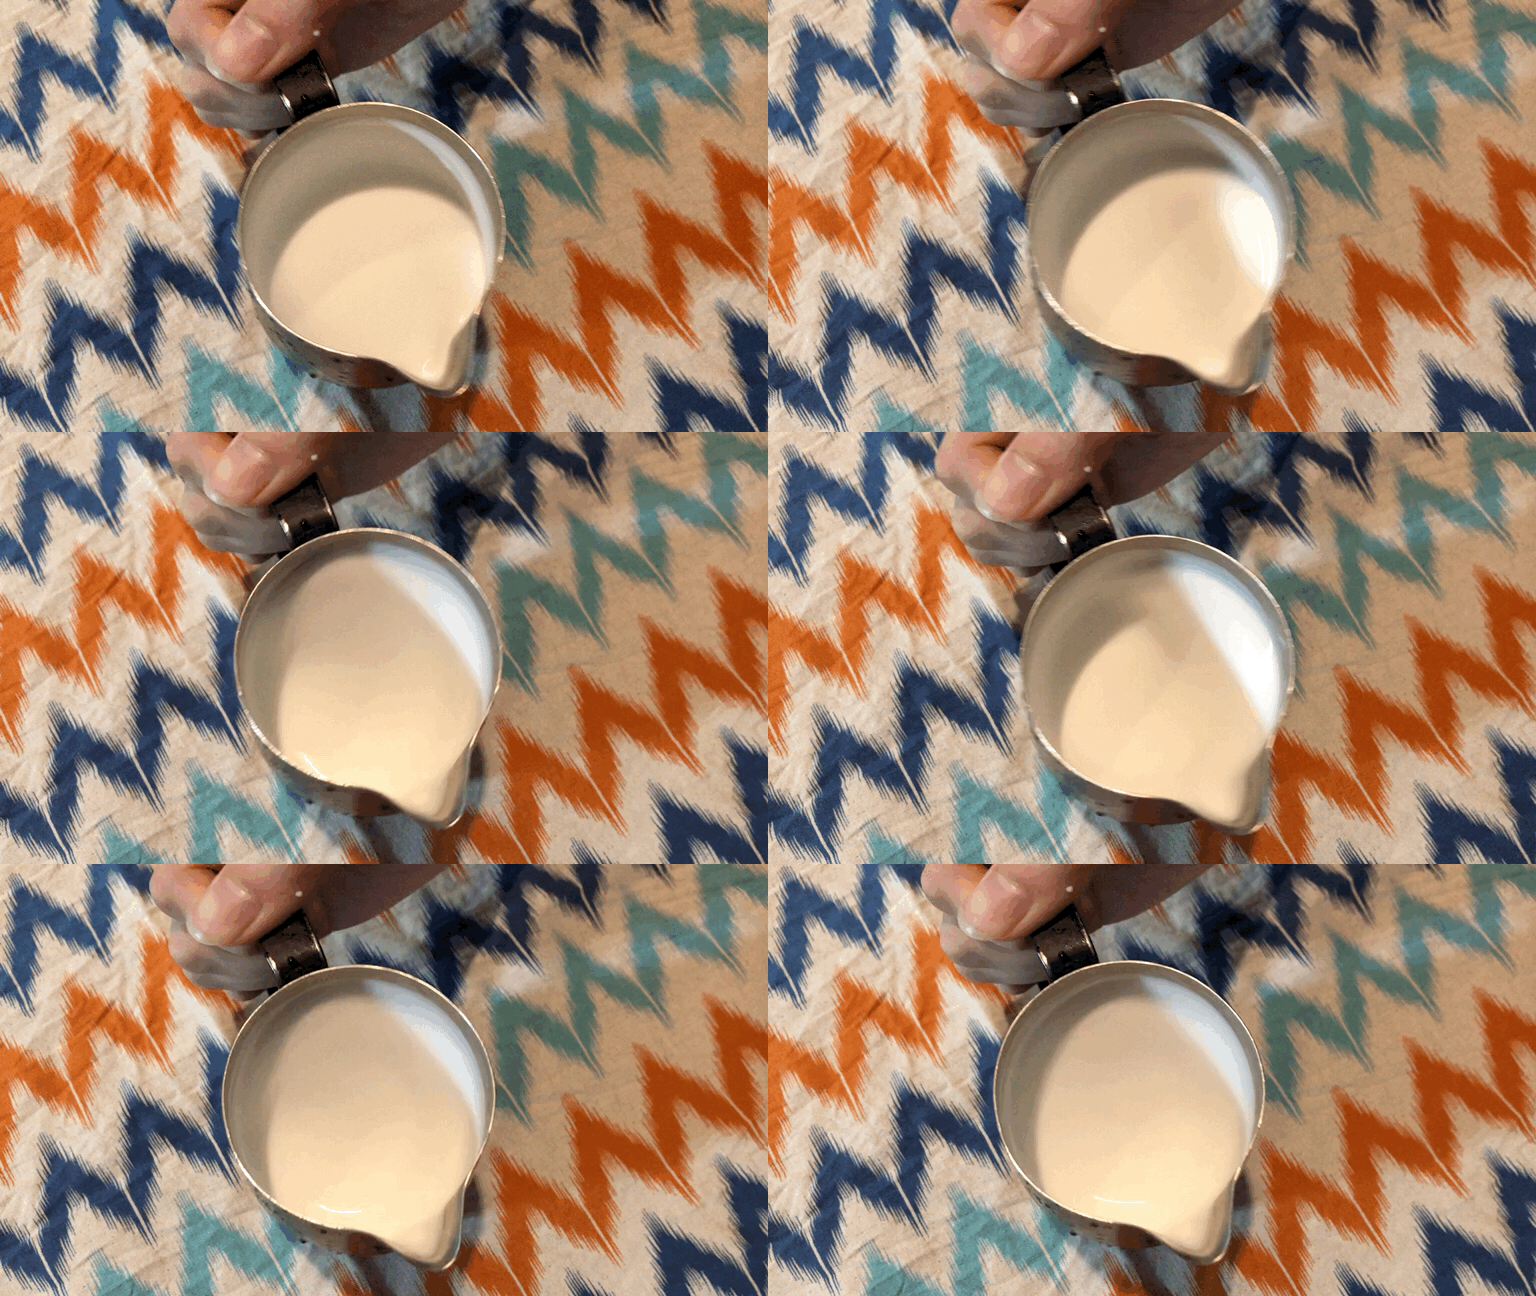
The way you hold the pitcher and cup during pouring is equally important. Place the cup with its handle facing you—not only does this make it easier to control, but it also ensures the final design faces the customer. Tilt the cup slightly to bring the pitcher closer to the coffee surface, improving precision. There are two common ways to hold the pitcher: by the handle or by pinching the base. The former is better for wide, sweeping movements to create more elaborate designs, while the latter allows for finer adjustments, ideal for delicate patterns.
Additionally, keep the pitcher’s spout perpendicular to the cup to avoid skewed or asymmetrical designs. Regardless of which grip you choose, the key is to find what feels most comfortable so you can execute latte art techniques with greater flexibility.
Finally, consistent practice is essential for improving your latte art skills. If you’re concerned about material costs, you can also practice with a mixture of dish soap and dark soy sauce. After each practice session, review what went wrong—whether the foam was too thick, the fusion uneven, or the pitcher angle off—and make adjustments accordingly. Only through continual practice and refinement can you gradually elevate your latte art, mastering everything from basic patterns to complex designs with stability and confidence.

The above content is compiled by CoffeeHunters, a coffee news website.


