







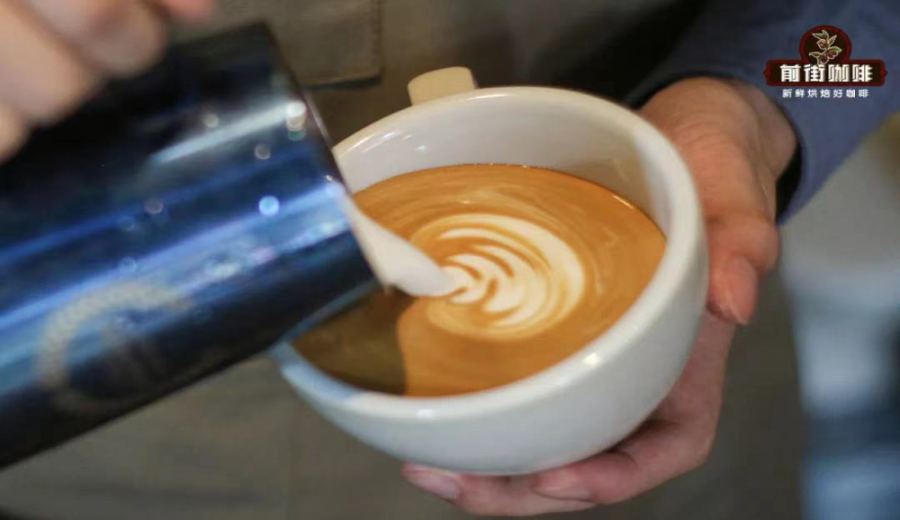
Introduction:Want to pour clear, well-layered latte art at home? Beyond mastering hand movements, every detail matters—from the roast level and freshness of your coffee beans, to the flow rate and volume of your espresso shot, and even the temperature and fat content of your milk. This article delves into the four key factors that influence latte art outcomes, including coffee bean selection, milk preparation, pitcher choice, and pattern design. It also recommends practical blend beans for different practice stages, helping you steadily improve your latte art skills from beginner to advanced.
When serving a cup of coffee, it’s often the delicate latte art on the surface that catches the eye. However, creating sharp, high-contrast patterns at home requires more than just practice. Factors such as the roast characteristics and freshness of the coffee beans, the extraction flow rate and volume of the espresso, and the temperature, fat content, and foam texture of the milk all directly impact the final result.
The elements affecting latte art performance can generally be divided into four categories: coffee, milk, the pitcher and cup used, and the pattern design. This article will break down each of these key components and recommend suitable coffee beans for both practice and daily service based on different needs, helping you grasp the core techniques of latte art from the ground up.
First, let’s talk about coffee crema—the layer of foam on top of the espresso. The condition of the crema is crucial for the stability and visual appeal of your latte art. Lighter-roasted coffee beans usually produce less crema with poorer fluidity, making them less ideal for latte art. It’s recommended to use beans roasted to a medium level or darker. For instance, darker roasts often yield more ideal and stable crema performance.

Additionally, the freshness of coffee beans is another commonly misunderstood factor. Many believe that the fresher the beans, the better—but freshly roasted beans release large amounts of carbon dioxide, which can not only cause milk foam to separate but may also introduce excessive bubbles during extraction, negatively affecting the crema layer. It’s advised to let the beans degas for 4 to 7 days after roasting, and to use them within 60 days of roasting to maintain optimal flavor and crema quality.
For advanced users looking to try etched or combination patterns, controlling the crema becomes even more critical. Etched patterns require a slightly thicker and more fluid crema to support the smooth flow of delicate microfoam. Combination patterns, on the other hand, need crema with high contrast and strong support—ideally in the golden extraction range. Worth noting is that over-extracted espresso can sometimes make patterns harder to form, something best tested and verified in practice.
Of course, many people focus entirely on the milk foam when practicing latte art, but the interaction between crema and foam is equally important. Next, let’s explore how espresso extraction parameters affect your latte art results.
Espresso serves as the foundation for latte art. The ideal shot should have a rich flavor, fine crema, and a velvety mouthfeel, which is typically achieved through a well-balanced blend. For beginners, choosing a stable, all-purpose espresso blend is a great starting point for practicing latte art.
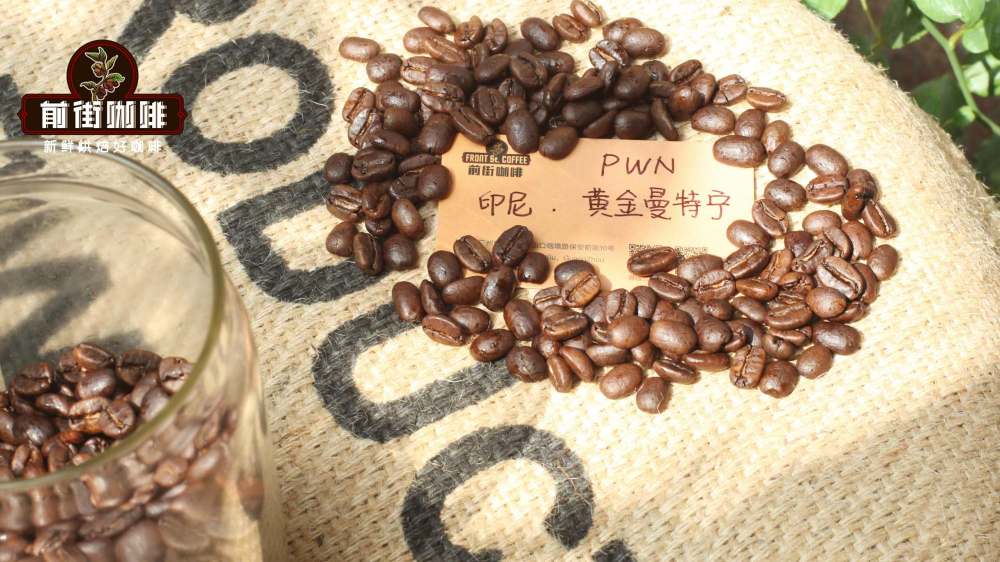
It’s recommended that beginners opt for a classic espresso blend combining Indonesian Mandheling and Brazilian beans. Such blends usually feature distinct spice and nutty notes, and with the addition of a small amount of Robusta, they can effectively enhance the crema thickness and overall body, contributing to more stable latte art performance.
If you’re running a café or looking to advance your skills further, consider a commercial blend that emphasizes crema richness and sweetness. These blends often carry flavors of caramel, nuts, and dark chocolate, with crema displaying a beautiful golden hue that adds dimension and layering to your latte art.
For those on a budget but still seeking reliable flavor and decent latte art performance, an affordable everyday blend is a good choice—for example, a mix of Yunnan small-seed variety and Brazilian Red Bourbon. These beans typically exude creamy chocolate aromas, grind smoothly, and integrate well with milk, making them suitable for various common espresso-based drinks.
During espresso extraction, several key parameters directly influence crema performance and the final pattern outcome. First is the extraction volume—generally, the less liquid extracted, the higher the concentration, resulting in better crema fluidity and more pronounced contrast. Over-extraction not only thins out the crema but may also lighten its color, reducing contrast and clarity.
Next is the extraction method, commonly either direct extraction or pre-infusion. Pre-infusion helps reduce acidity and enhances crema stability. While it may slightly sacrifice contrast, it often provides more stable results when crafting combination patterns—especially when using very fresh beans prone to excessive bubbling.
Lastly, extraction flow rate plays a role. An overly fast flow rate usually indicates insufficient contact time between coffee grounds and water, leading to under-extraction and poor crema. For both latte art and taste, it’s recommended to use a normal or slightly slower flow rate to ensure more stable extraction and fuller crema.
Now that we’ve covered coffee, let’s move on to milk preparation. The temperature, fat content, and foam texture of the milk all significantly affect the finer details of your latte art.
First, it’s recommended to keep the milk temperature around 4°C before steaming. The lower the starting temperature, the longer the steaming and texturing time, allowing for more comfortable handling. Additionally, for every degree the milk warms during storage, fat and protein breakdown can accelerate, compromising foam quality.
As for milk fat content, low-fat, skim, and whole milk can all be steamed, but whole milk—with its higher proportion of fat and protein—is more effective at trapping air, producing richer, more stable, and longer-lasting microfoam, making it the top choice for latte art.
The final temperature of the foam is also extremely important. It’s recommended to keep it between 55°C and 65°C for optimal sweetness and mouthfeel. However, if you prioritize latte art stability, you might slightly lower the temperature—competition baristas often aim for 40°C to 50°C to prevent high heat from causing rapid foam separation and compromising pattern details.
In practice, whether you use a “split-pitcher” or “single-pitcher” method also affects foam consistency and final results. Split-pitcher refers to steaming milk in Pitcher A first, then transferring it to Pitcher B for pouring. This approach ensures more uniform foam layers, making it suitable for complex combination patterns requiring multiple pours. Directly steaming and pouring from the same pitcher is better suited for simpler patterns like etched designs.
Finally, foam thickness is equally key. Within the limits of successfully forming patterns, thinner foam yields finer, sharper lines with clearer contrast. Conversely, overly thick foam can lead to coarse lines that obscure detail. As a general guideline, aim for a foam volume 1.2 to 1.4 times the original milk volume, adjusting slightly according to specific pattern needs.
The above content is compiled by CoffeeHunters, a coffee news website.


