







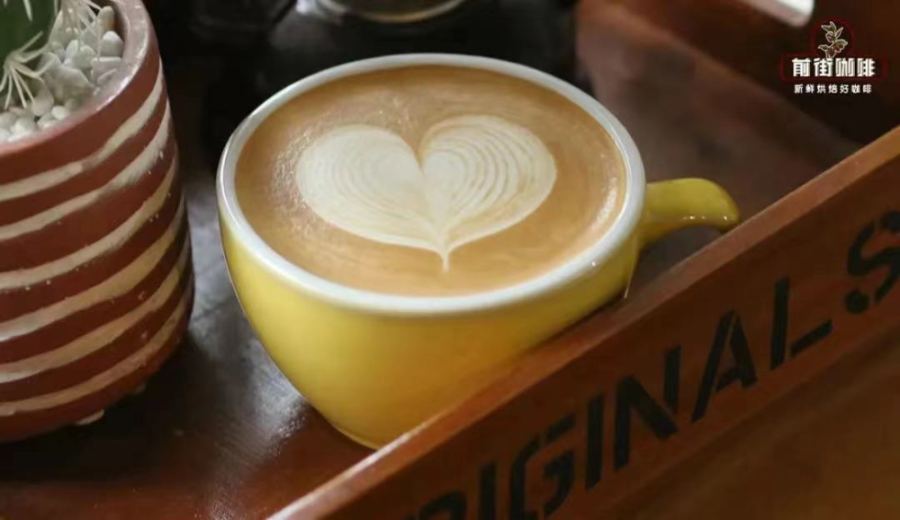
Introduction:Learning heart latte art is not only a process of enhancing the aesthetic appeal of coffee but also a key to deeply understanding the interaction between espresso and milk foam. This article starts from scratch and details every step needed to create high-quality heart latte art: how to extract an ideally balanced espresso shot, craft fine and stable milk foam, and master the core pouring techniques of blending, entry point, convection, and finishing. Whether you're a beginner or a barista looking to refine your skills, you'll gain practical guidance to gradually pour clear and beautiful heart patterns.
Latte art is not just a skill but a concentrated display of a barista’s professional ability. A beautifully patterned heart latte requires the perfect synergy of espresso quality, milk foam texture, and pouring technique. This article will start with the basics and thoroughly introduce the key elements of making heart latte art, including how to choose an espresso blend suitable for latte art, steaming silky smooth milk foam for lattes, and the practical application of the five key pouring points: blending, entry point, convection, and finishing.
Whether you're a beginner just starting out with latte art or a practitioner with some foundation who wants to improve movement and pattern quality, these practical details can help you master the skills more solidly and gradually pour full, clean heart patterns.
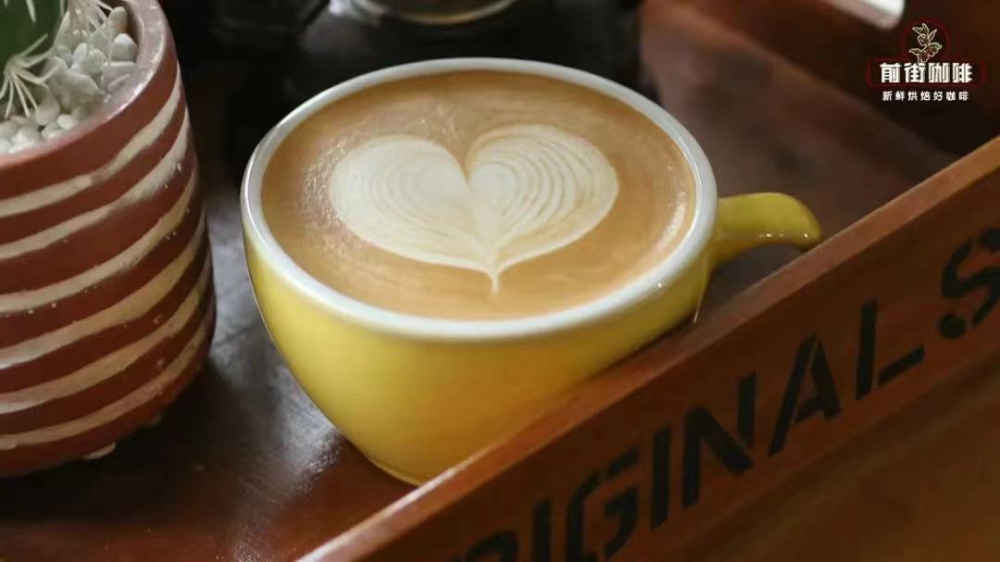
Before starting to practice latte art, you must first ensure that two fundamental skills are in place: one is extracting an espresso with good crema and balanced flavor, and the other is steaming milk foam with moderate thickness and fine, velvety consistency. These two factors not only directly affect the presentation of the pattern but also determine the final taste experience of the drink.
The thickness and fineness of the milk foam are crucial, as they determine the fluidity and evenness when milk blends with espresso, as well as the resistance and clarity of the pattern during pouring. An ideally extracted espresso is the foundation of successful latte art—the texture and color of its crema often determine the fullness and visual appeal of the pattern.
It is recommended to choose an espresso blend with fine, bright crema and good persistence—such beans typically provide a stable and rich crema layer. For example, blends using Brazilian and Mandheling beans offer both body and unique spice notes; adding a small amount of Robusta can help enhance the texture and golden hue of the crema, making the latte art pattern more three-dimensional and vivid.

To steam a pitcher of fine, smooth, and latte-art-friendly milk foam, please pay attention to the following five key steps:
1. Before using the steam wand, be sure to turn on the steam switch and completely purge any condensed water accumulated inside the tube to avoid mixing it into the milk, which can cause large bubbles and affect the milk foam texture.
2. Insert the steam wand into the milk atabout a 45-degree angle—this angle helps form a small whirlpool under the steam action, effectively removing rough bubbles from the surface.
3. The depth at which the steam wand is inserted into the milk should be maintained at around0.8 to 1 centimeter. Inserting too deep won’t generate enough whirlpool, while inserting too shallow can produce uneven, coarse milk foam or even cause the milk to splash.
4. During the aeration phase, you only need to heara “hissing” sound for about 4 to 5 seconds. Start the steam when the steam tip is about0.3 centimetersfrom the milk surface—you’ll then hear a distinct airflow noise. The main goal of this phase is to introduce air into the milk, but to make milk foam suitable for latte art (about 1 cm thick), you don’t need excessive aeration. After hearing about 4 to 5 hisses, adjust the steam wand depth to 0.8 to 1 cm and maintain the 45-degree angle, then switch to creating a whirlpool to break bubbles and heat the milk.
5. The target temperature for heating the milk should be controlled between55 to 65°C, and should not exceed 70°C. This temperature range allows the lactose and other sugars in the milk to fully release their sweetness, naturally balancing the bitterness when paired with espresso and enhancing overall flavor harmony.
After steaming the milk foam, the next step is to understand and practice the five core principles of latte art pouring—these techniques will help you more precisely control the formation and details of the pattern.
1. Even blending is key: The quality of blending directly affects the cleanliness of the pattern background and the consistency of the overall drink’s taste. It’s recommended to blend in a circular motion—hold the cup in your left hand and the pitcher in your right, rotating them in opposite directions with a slight offset. Varying the pressure by moving one hand higher than the other helps thoroughly mix the coffee and milk. When circling, try to enlarge the range (without touching the cup wall) to ensure evenness.
2. High blend, low pour: The formation of the pattern relies on the convection effect caused by the density difference between milk and coffee. When the milk foam floats on the surface, controlling the height of the pitcher spout can make white patterns appear naturally. When the spout is held high, the foam is pressed into the coffee and no pattern shows; conversely, lowering the spout helps bring out the white design.
3. Entry point and trajectory selection: Different patterns have different optimal entry points. For example, a heart pattern is generally recommended to be poured at the1/4 markof the cup. If the entry point is too close to the center, the overall pattern tends to shift downward. In addition, the amount of blending and the thickness of the milk foam also affect convection and pattern size: more blending or thicker foam leads to weaker convection and a smaller pattern; the opposite results in a fuller design.
4. Relax your pour to create convection: When pouring, keep your hand relaxed and gently sway the pitcher side to side to allow the milk foam to flow smoothly to the surface, while keeping the coffee cup steady and occasionally re-centering it. Use convection to form a full pattern. When convection is strong, milk poured from the center pushes the foam outward to the sides, forming natural lines—especially important when pouring hearts or tulips.
5. Finish cleanly and decisively: The finishing stage is often the final step that determines the success of the pattern. For a heart, when the pattern reaches about nine-tenths full, gradually raise the pitcher and push it forward while reducing the milk output. Be especially careful not to continue pouring after the heart’s tail has formed, as this can cause the pattern to collapse or blur, affecting the overall visual effect.

The above content is compiled by CoffeeHunters, a coffee news website.


