







Introduction:Want to easily make a richly flavored cold drip coffee at home? This article explains in detail the key steps to making cold drip coffee — from choosing the right type of coffee beans, handling the coffee grounds, selecting your water source, to extraction time and storage tips — helping even beginners master this seemingly simple yet detail-oriented brewing method. Enjoy a smoother, more layered cold brew experience.
In the summer heat, many people enjoy iced coffee to beat the heat, and among them, cold drip coffee stands out as a favorite for its low acidity and full-bodied character. Though the cold drip process may seem straightforward, overlooking key details can significantly affect the final flavor. Below, we’ll take an in-depth look at how to craft a high-quality cold drip coffee, from bean selection to the final extraction.
1. Choose coffee beans roasted about 20 days ago
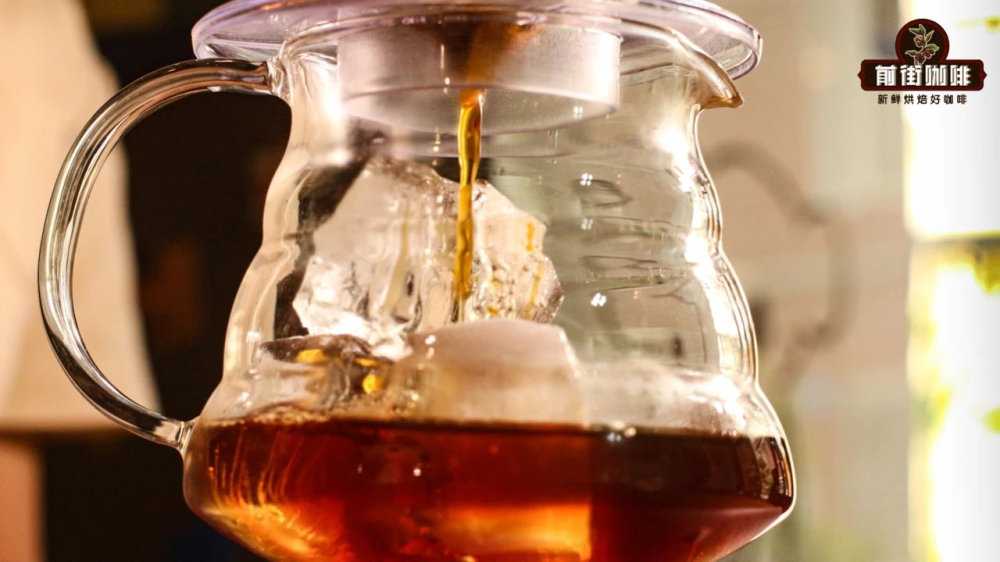
Many pour over enthusiasts prefer freshly roasted beans for their bright flavors and strong aromas. However, for cold drip coffee, stability is more important than freshness. It’s recommended to use beans roasted around 20 days prior, by which time most of the carbon dioxide has been released. This reduces the chance of channeling caused by degassing during the dripping process, ensuring a more even extraction. Note: if the beans show obvious signs of woody, burnt, or off flavors, it’s best not to use them.
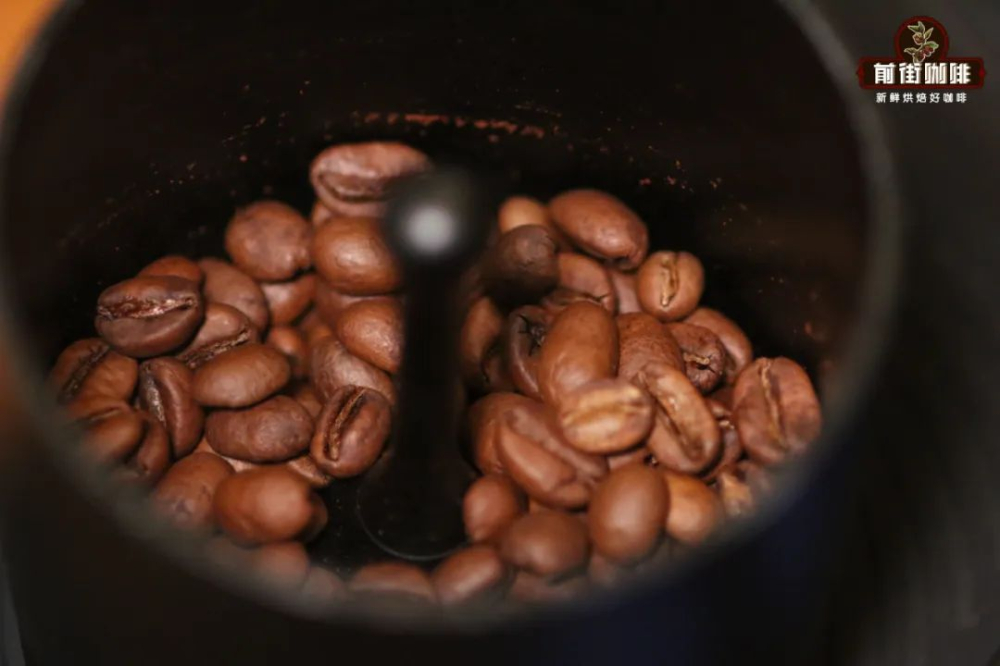
Compared to pour over, cold drip coffee extracts soluble substances slowly over a long period (usually more than 8 hours), and any volatile aromatic compounds — even if present — will fade over time. Therefore, slightly aged, mature beans are actually better suited for this brewing method.
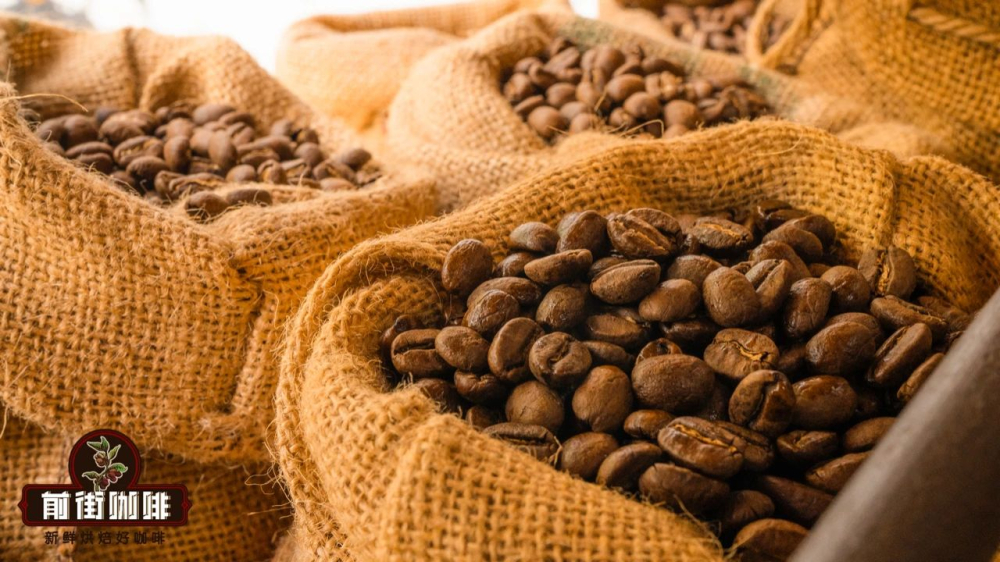
2. Place a round filter paper at the bottom of the coffee chamber as a buffer
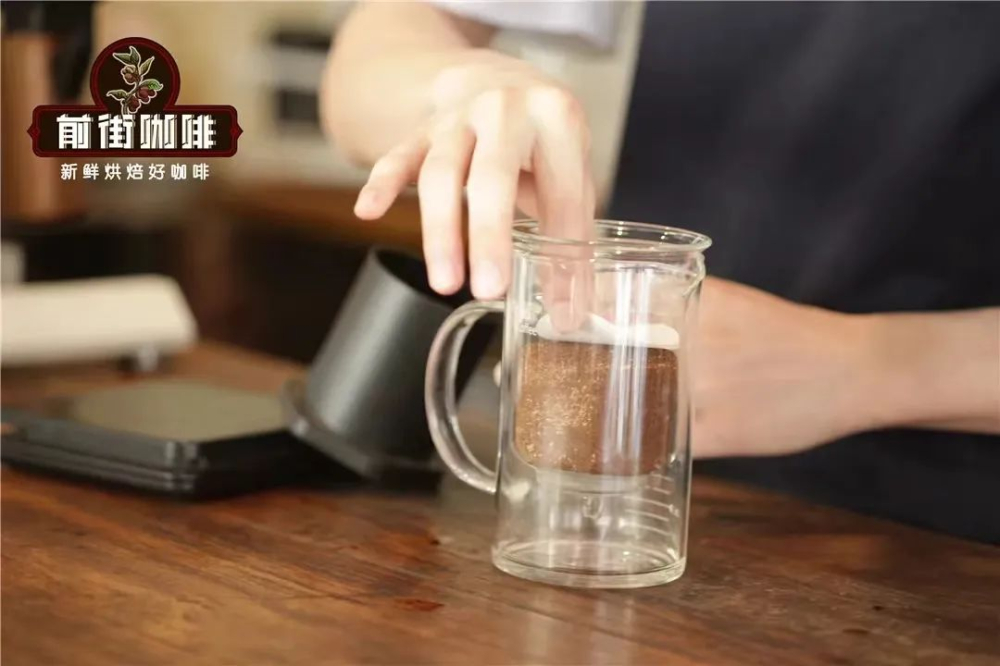
Many assume filter paper is only for separating coffee grounds, but in cold drip coffee, it plays a crucial role in cushioning and evenly dispersing the water flow. When water droplets consistently hit the same spot, it can create indentations, leading to uneven extraction or even channeling. Laying a properly sized round filter paper not only absorbs the direct impact of the drips but also helps distribute the water evenly across the entire coffee bed, improving overall extraction stability.
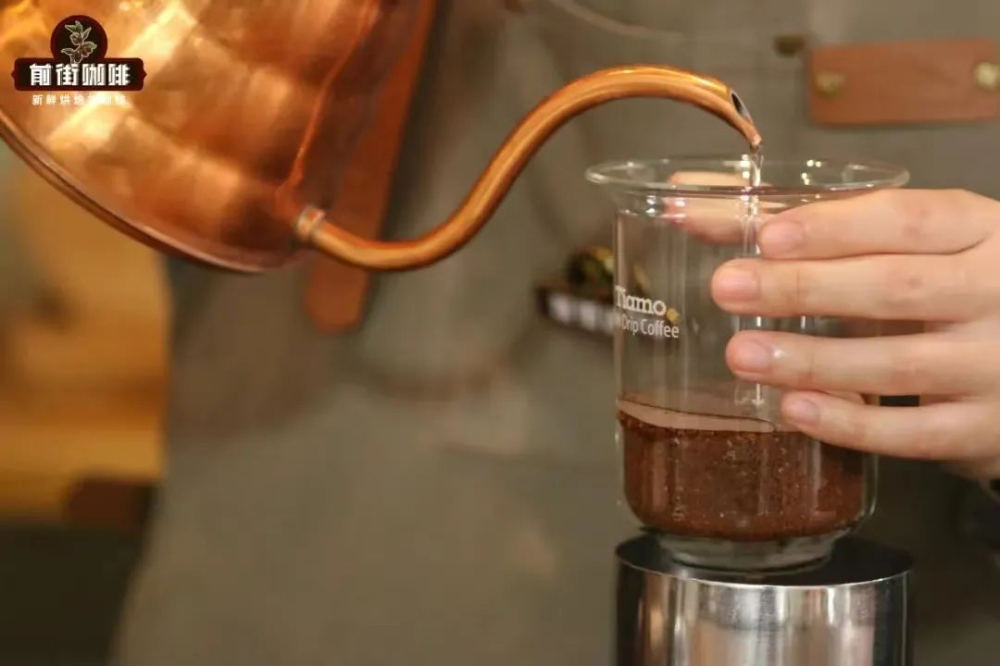
3. Pre-wet the coffee grounds before extraction
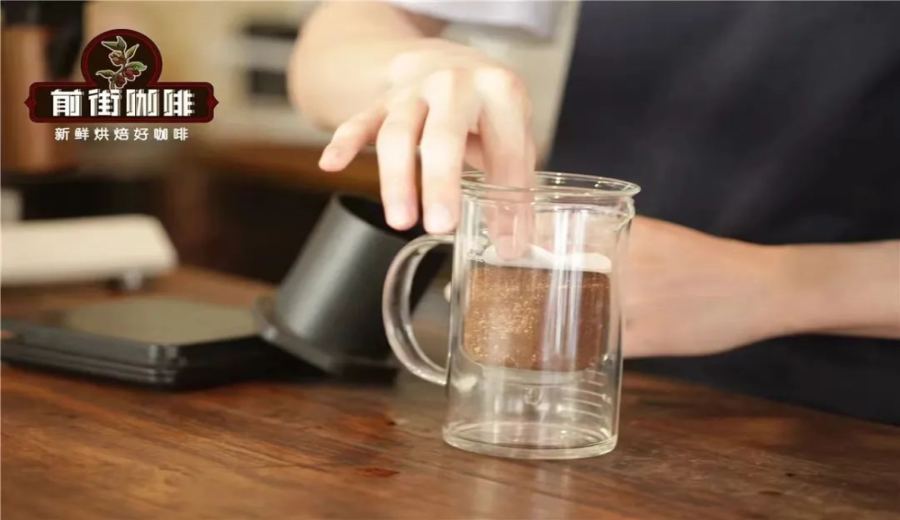
Before starting the cold drip device, it’s recommended to evenly moisten the coffee grounds with a small amount of room temperature water. This step offers three benefits: it shortens the overall extraction time, reduces the risk of channeling due to uneven wetting, and ensures every coffee particle participates in the extraction — preventing the issue of finding dry grounds at the bottom after the drip is complete, which could affect the integrity of the flavor.
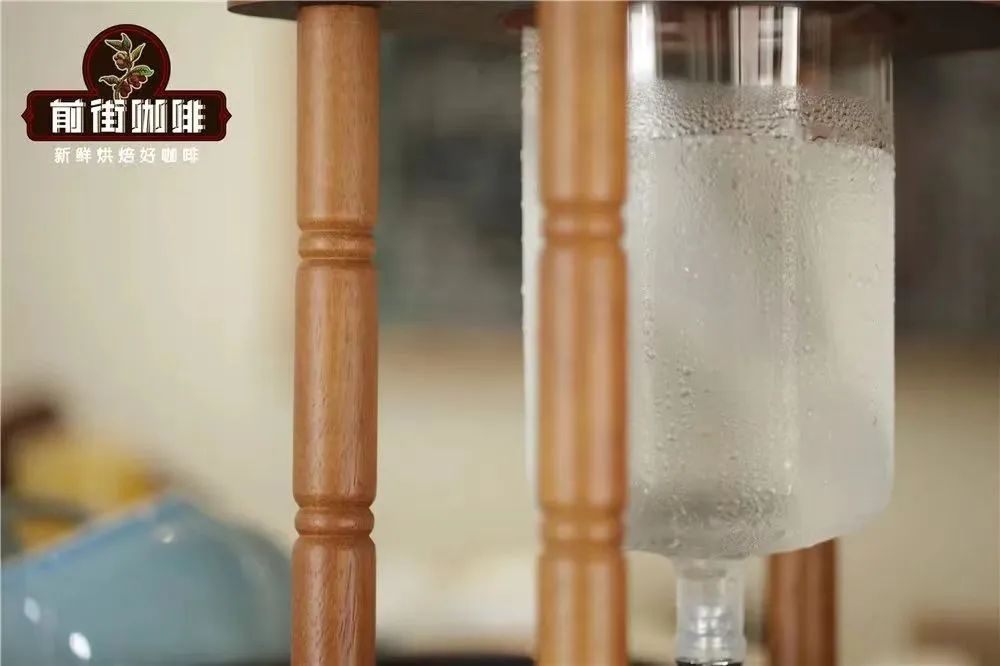
4. Use clean, impurity-free ice water
Water quality has a huge impact on cold drip coffee. Using hard water (high in calcium) or ice cubes with impurities can lead to white sediment forming as the water drips, potentially clogging the dripping valve, slowing down or even stopping the flow. It’s recommended to use filtered or purified water for making ice, and to regularly monitor the drip rate. Checking it hourly when necessary helps ensure a stable flow rate.
5. Let the brewed coffee rest and chill in the fridge for 12 hours
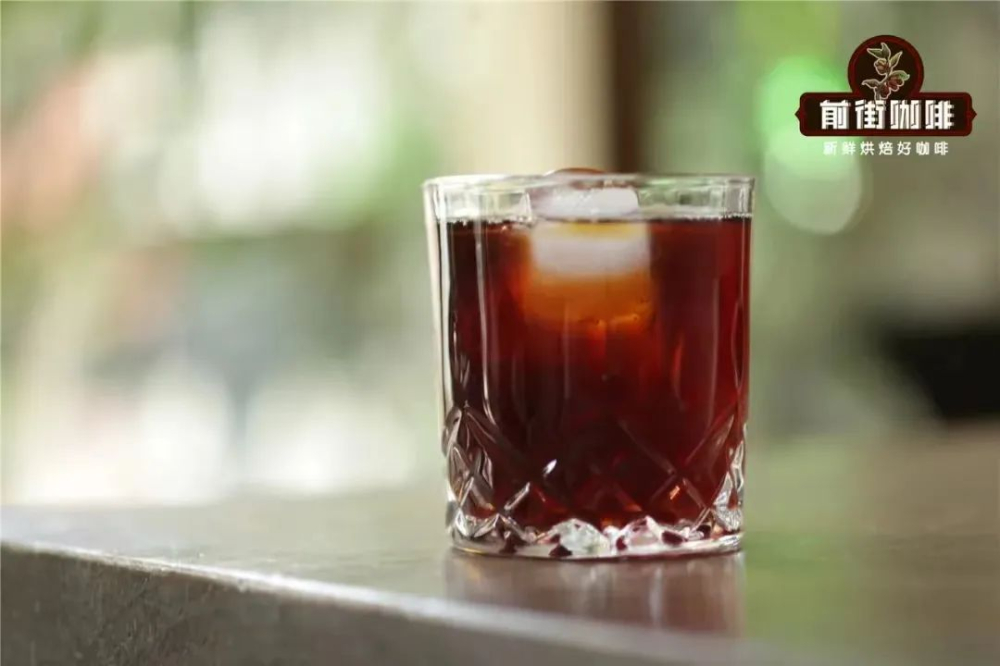
Although cold drip coffee can be consumed immediately after extraction, letting it sit in the refrigerator and mature for 12 hours at a low temperature allows the flavors to further integrate, resulting in a smoother mouthfeel and subtle fermented aromas. This resting period helps unify the overall flavor, making the coffee taste silkier and more layered.
In summary, crafting an excellent cup of cold drip coffee hinges on bean selection, handling the coffee bed, using pure water, and exercising patience throughout the process. Master these details, and you too can enjoy a professional-grade cold drip coffee experience at home.
The above content is compiled by CoffeeHunters, a coffee news website.


