







Introduction:Many coffee enthusiasts often wonder at home whether manual brewing or machine extraction better showcases the true flavors of coffee. This article delves into the differences in operating principles, temperature control, and flavor expression between pour over coffee and American drip coffee makers. It also systematically outlines the eight key factors that influence pour over coffee flavor, covering the complete process from warming cups to serving, helping you master every detail of the steps to enhance extraction quality.
In recent years, pour over coffee has gradually become a popular choice among coffee lovers. Many not only brew at home but also purchase equipment such as American drip coffee makers. These two brewing methods may seem similar, as both use a steady water flow rate without high pressure, but they are fundamentally quite different: the former relies on manual skill, while the latter utilizes mechanical operation. Each has its pros and cons, and understanding their characteristics will help you make the best choice based on your needs.
Why do professional baristas consider American drip coffee makers and pour over coffee to be similar? The key lies in the fact that both allow adjustments to grind size, coffee dosage, and water volume, but the water temperature of American coffee machines is usually slightly higher. Additionally, most American coffee machines have a warming function, yet prolonged warming can lead to changes in the internal components of the coffee—within just ten minutes, the aroma and acidity of the coffee may noticeably weaken. Therefore, American drip coffee makers are more suitable for sharing among multiple people, while pour over coffee is better enjoyed by a single person, though the portion can also be adjusted by increasing the coffee dose.
Although pour over coffee may seem simple, brewing a cup with outstanding flavor actually requires attention to many details. The following will explore in depth the various key factors that influence pour over coffee flavor, helping you master each step.
I. The Importance of Warming Cups
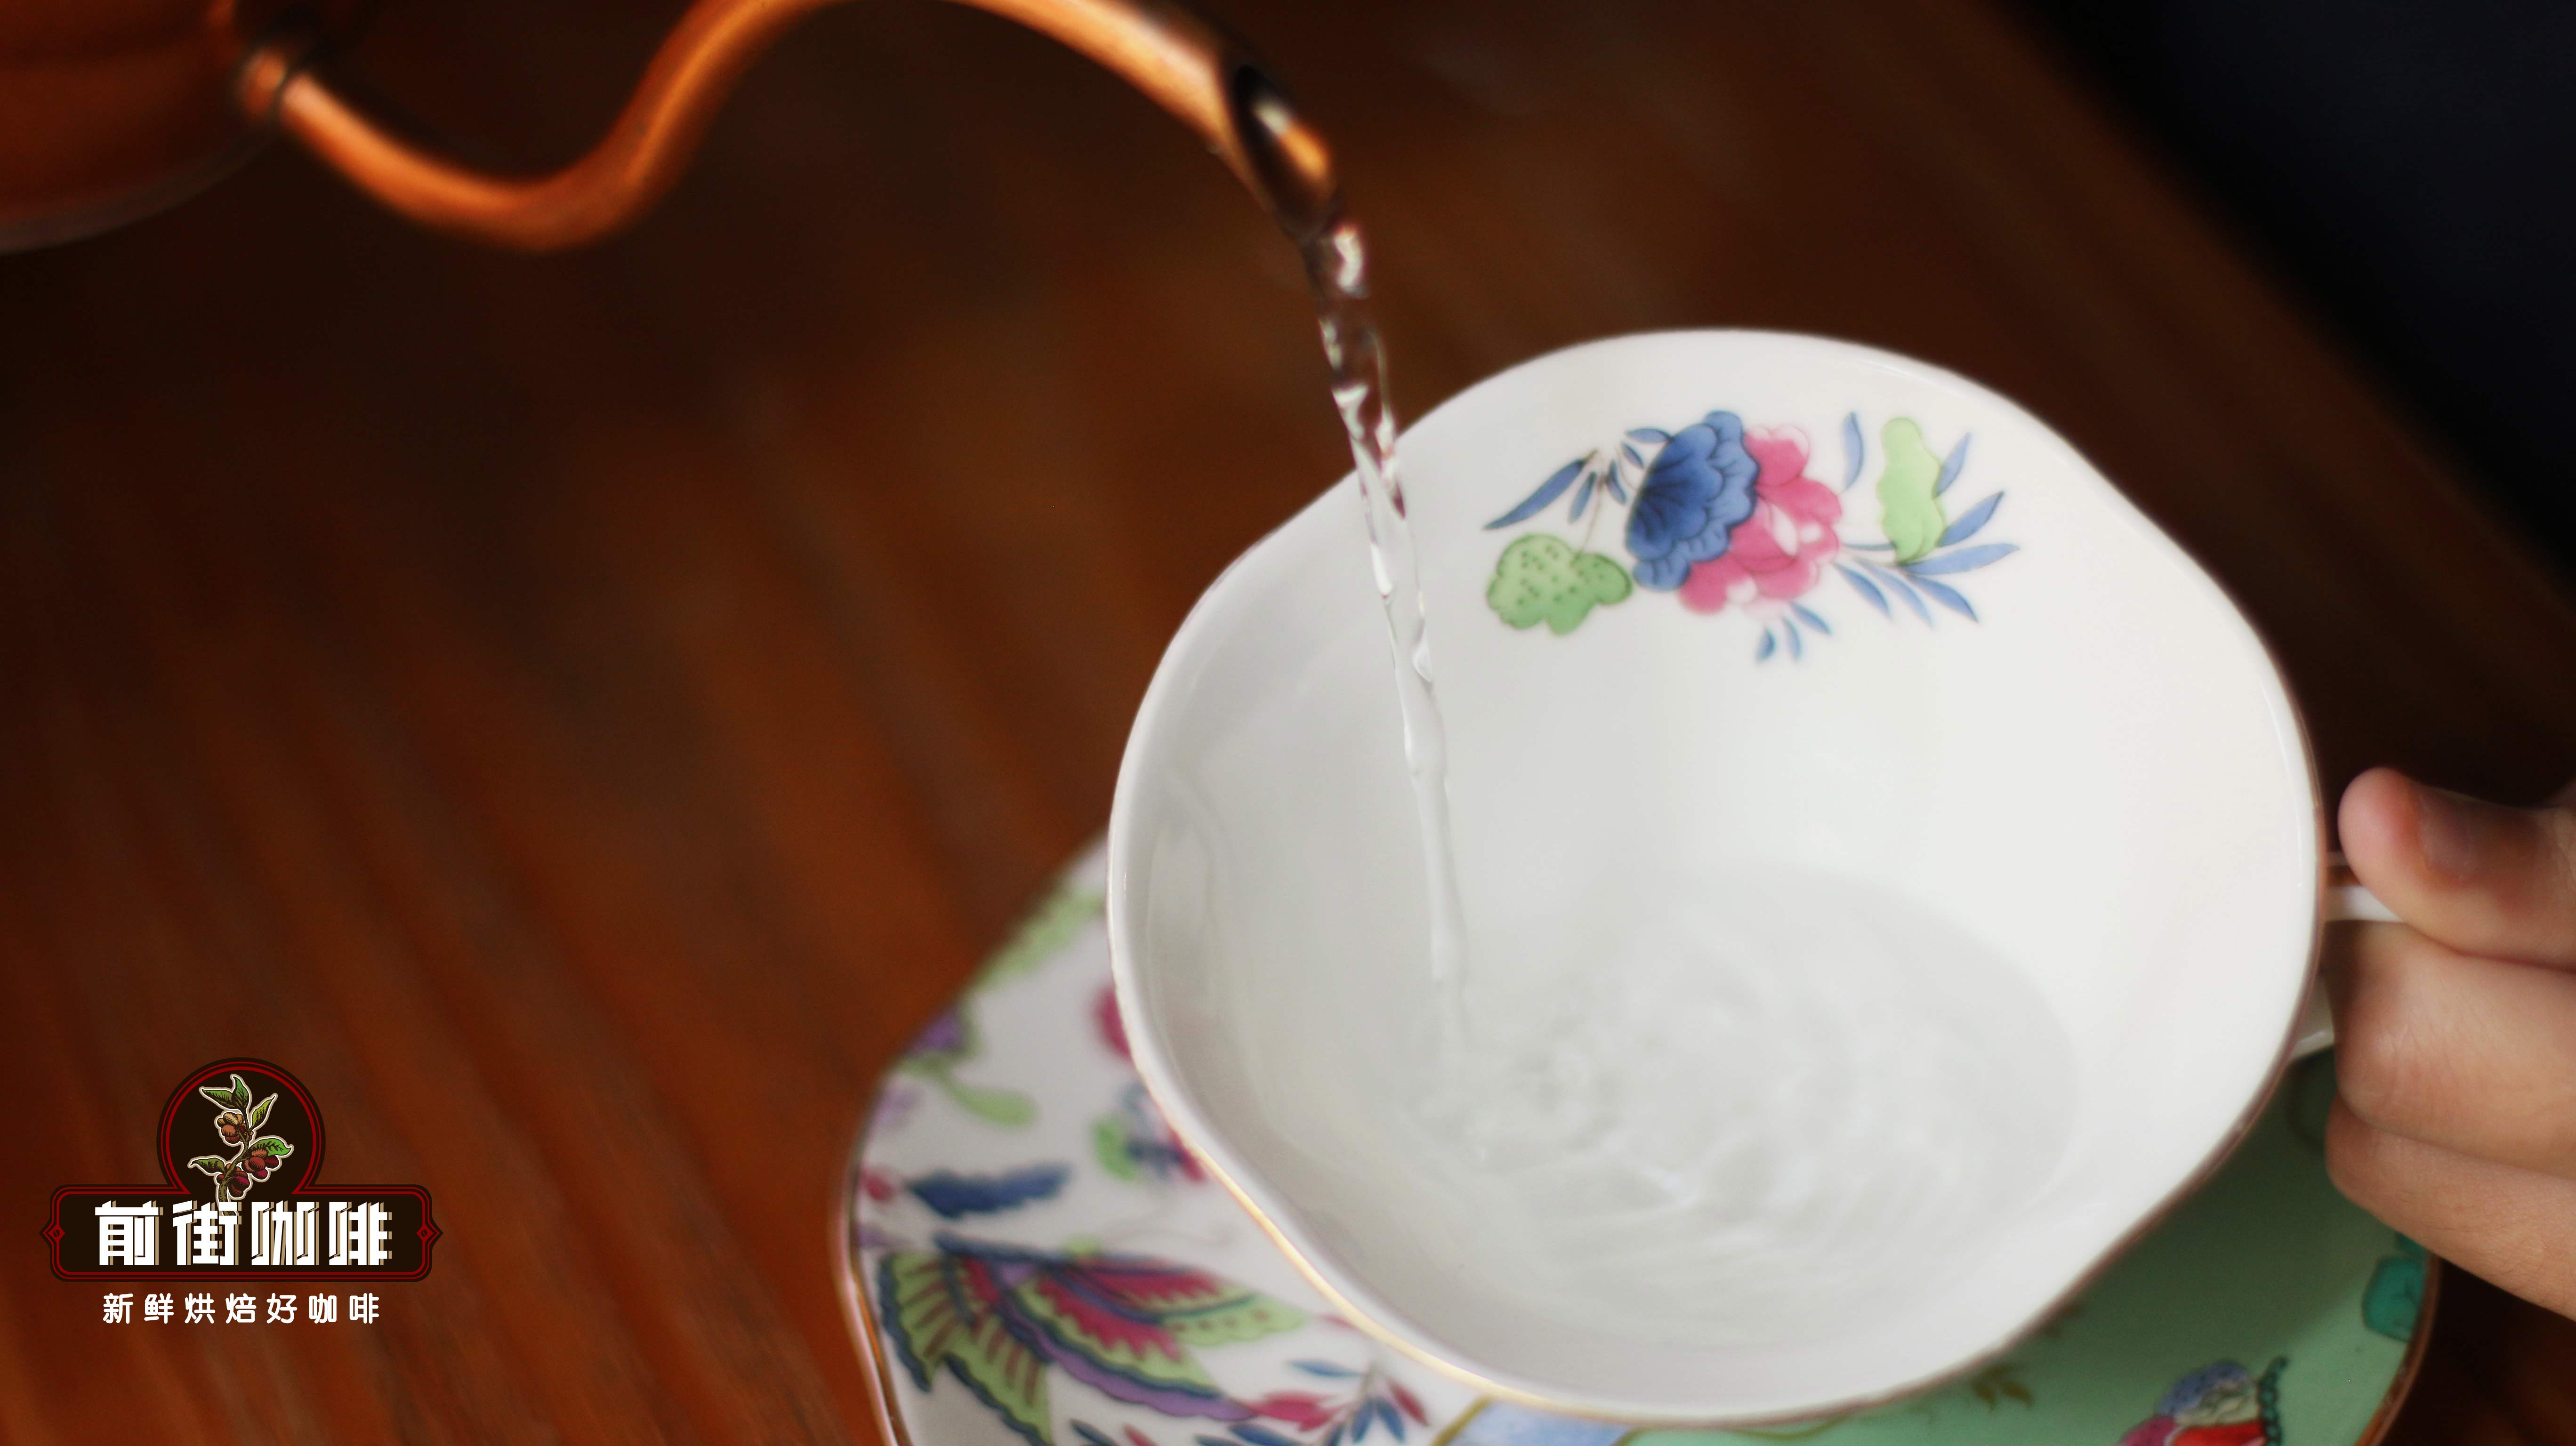
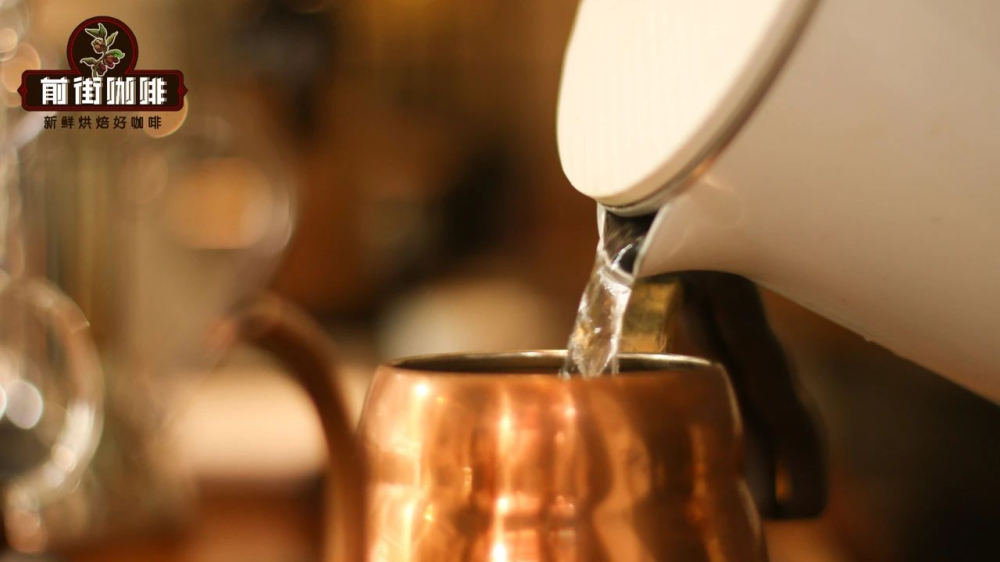
Before brewing, pour hot water into the coffee cup to warm it. This not only helps maintain the coffee’s temperature but also prevents tannic acids from becoming active when the coffee contacts a cold cup, which can accentuate acidity. This step is crucial for maintaining overall flavor balance.
II. Adjusting Grind Size
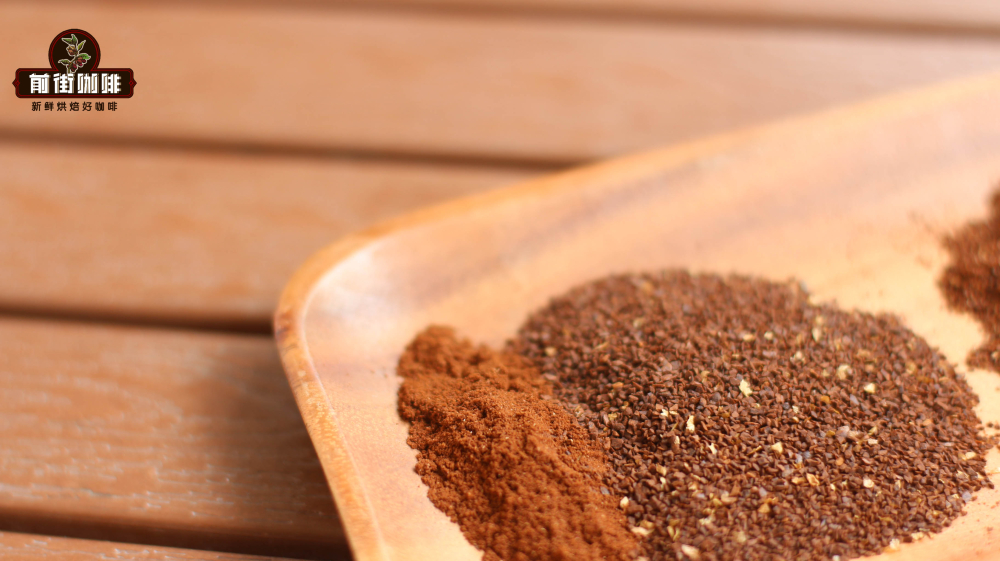
The grind size for pour over coffee should be flexibly adjusted according to the roast level of the coffee beans. Generally speaking, darker roasted beans are recommended to use a slightly coarser grind, making it more suitable compared to medium-dark roasted beans. Professional experience indicates the ideal grind size sieve percentages for different brewing methods are as follows: cold drip > pour over siphon 80% > moka & American drip 75–80% > cupping 70–75% > French press 65–70%. If you prefer convenience, you can choose to buy pre-ground coffee, but grinding your own preserves richer layers of aroma.
III. Matching Brewing Equipment
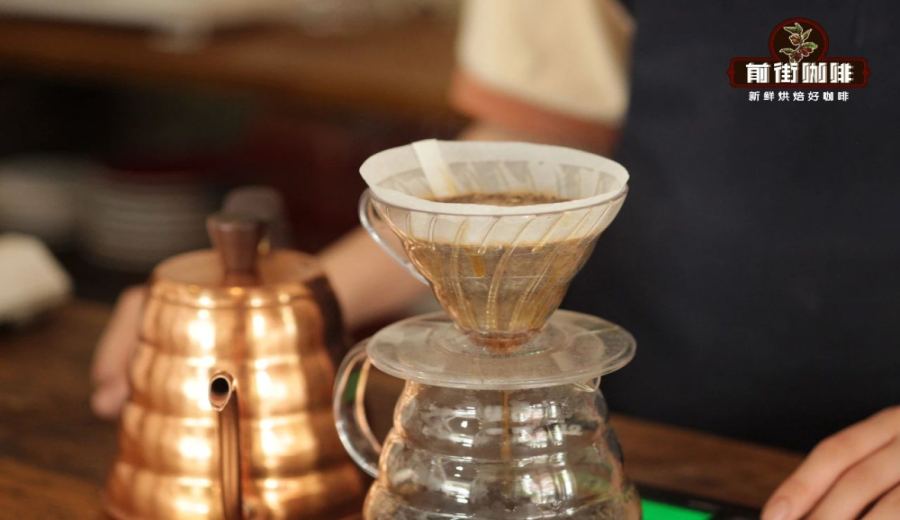
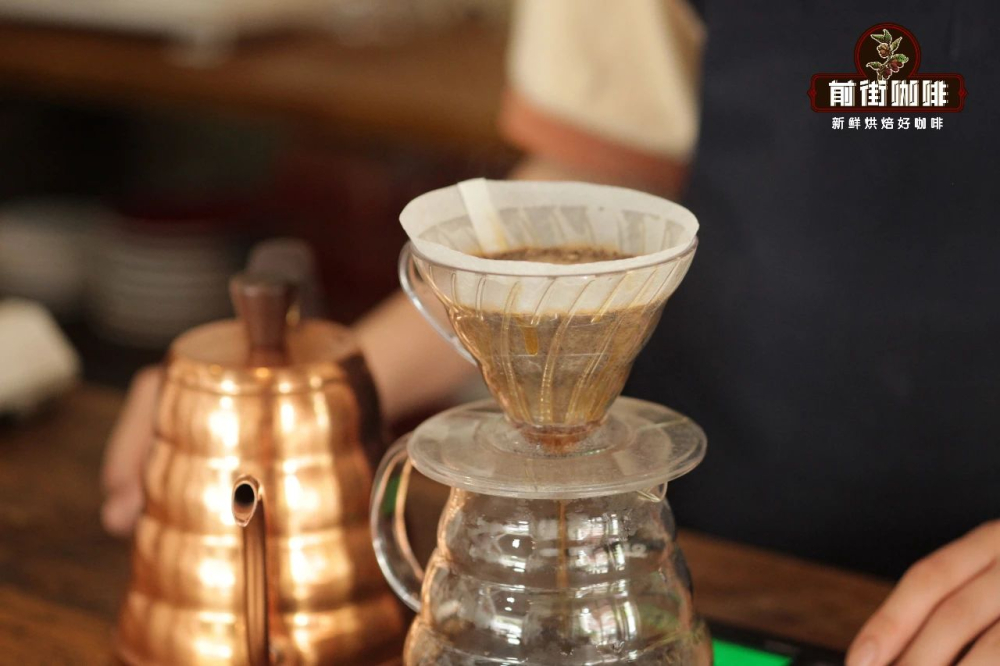
Pour over coffee mainly relies on three key components: filter paper, filter cone, and server. More meticulous brewers may also place a warming base under the server to prevent the coffee from cooling during the brewing process. Moreover, the specifications of the filter paper, filter cone, and server should match each other—for example, a two-cup filter paper should be used with a correspondingly sized filter cone to ensure even water permeation.
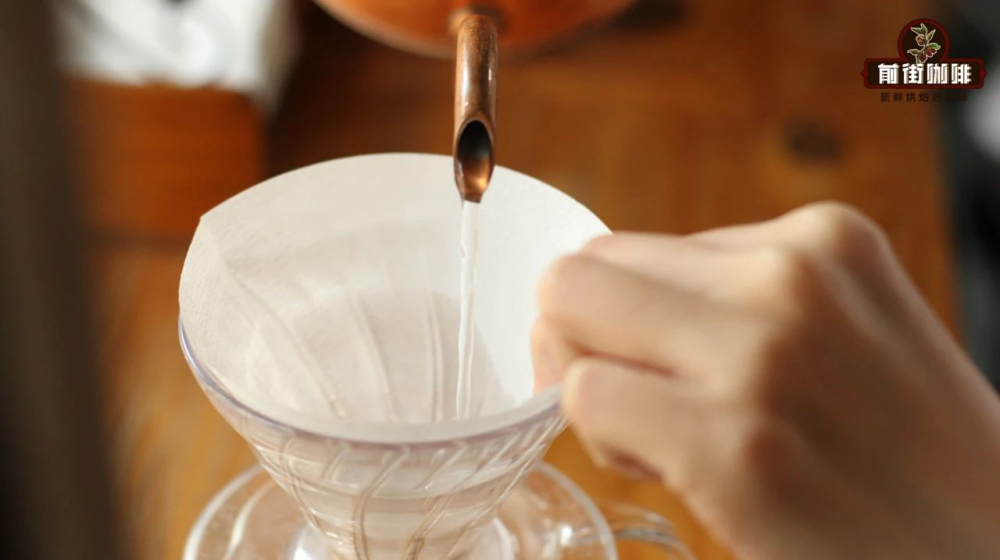
Common and popular filter cones include the V60 and Kono. The V60, with its large hole and spiral ridges, is particularly suitable for light roasted beans, enhancing layering and allowing flow rate adjustments to highlight specific flavors; whereas the Kono is better suited for dark roasted beans. Its short ribs design allows the filter paper to adhere more tightly, slowing the flow rate and thus emphasizing a rich mouthfeel. Choosing the right filter cone is one of the keys to shaping the desired flavor.
IV. Pouring and Leveling the Grounds
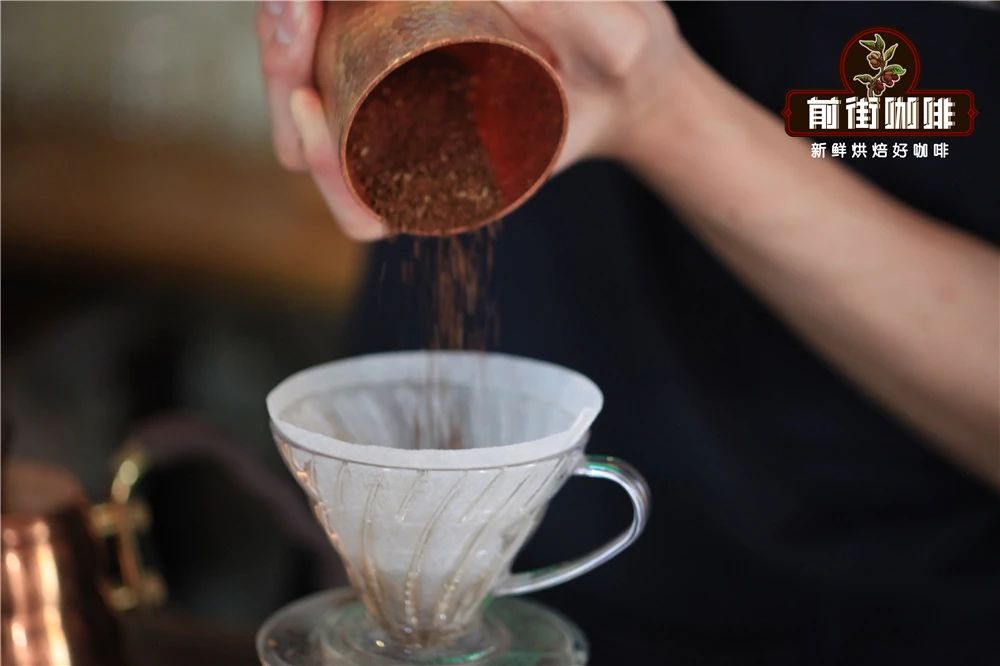
After pouring the ground coffee into the prepared filter paper, gently tap the filter cone to level the surface of the coffee bed. This ensures the coffee grounds receive water evenly during subsequent pouring, forming the foundation for stable extraction.
V. Preparing the Server
Before starting the actual pour, pour a small amount of hot water into the bottom server, gently swirl it, then discard the water. Then place the leveled coffee grounds on the filter paper. This step helps preheat the equipment and maintain the brewing temperature afterward.
VI. Blooming Technique
Blooming is a key step in unlocking coffee aroma. It is recommended to use 30 grams of water for a 30-second bloom. Pour water from the center of the coffee bed, spiraling outward 2–3 times, ensuring all coffee grounds absorb water evenly. Ideally, only 3–5 drops of water should fall. During blooming, the coffee grounds will gradually expand and form a rounded dome, and you can begin to smell a subtle, rich aroma. This step has a decisive impact on the final flavor of the coffee.
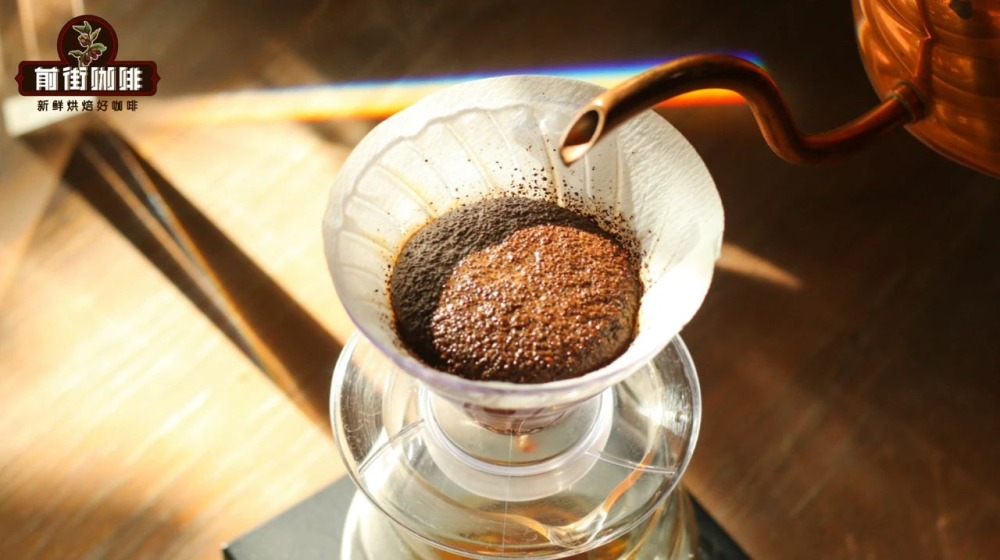
VII. Parameters for the Main Brew
After blooming, place the kettle on a damp cloth to cool down for about 25–30 seconds until the water temperature drops to 89–91°C, then you can begin the main brew. Generally, medium roasted coffee beans are recommended to use 91°C water to fully extract aroma, while dark roasted beans suit 89°C, a temperature sufficient to bring out aroma and bitterness. Water that is too cool may result in a flat flavor, while water that is too hot can easily lead to over-extraction and bitterness. The brewing flow can be slightly coarser than during blooming, but must remain stable. The pouring path is recommended to spiral from the center outward and then return to the center to finish, avoiding direct impact on the filter paper to prevent astringency. The total brew volume should typically be slightly above the bottom server’s fill line to ensure an adequate amount.
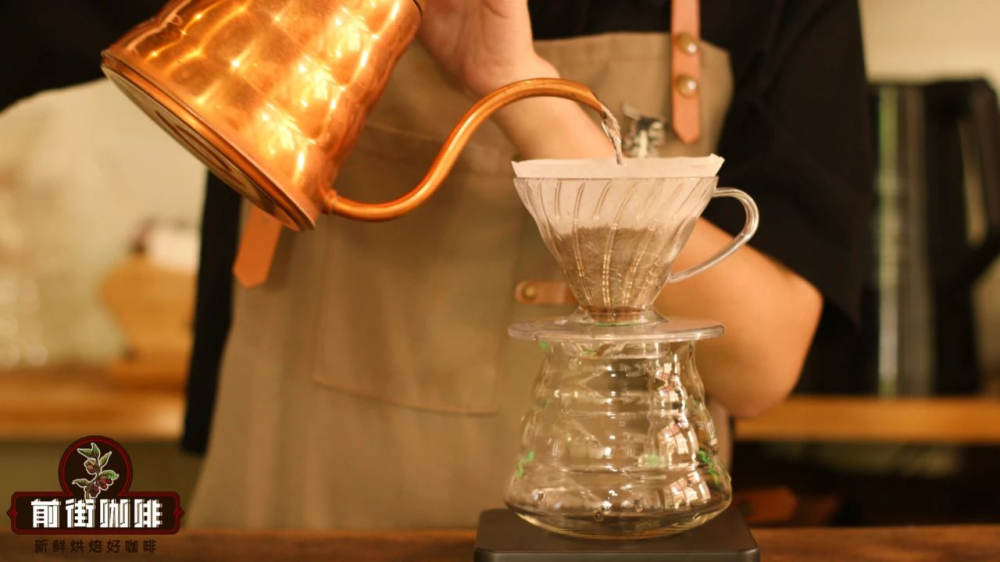
VIII. Serving and Flavor Integration
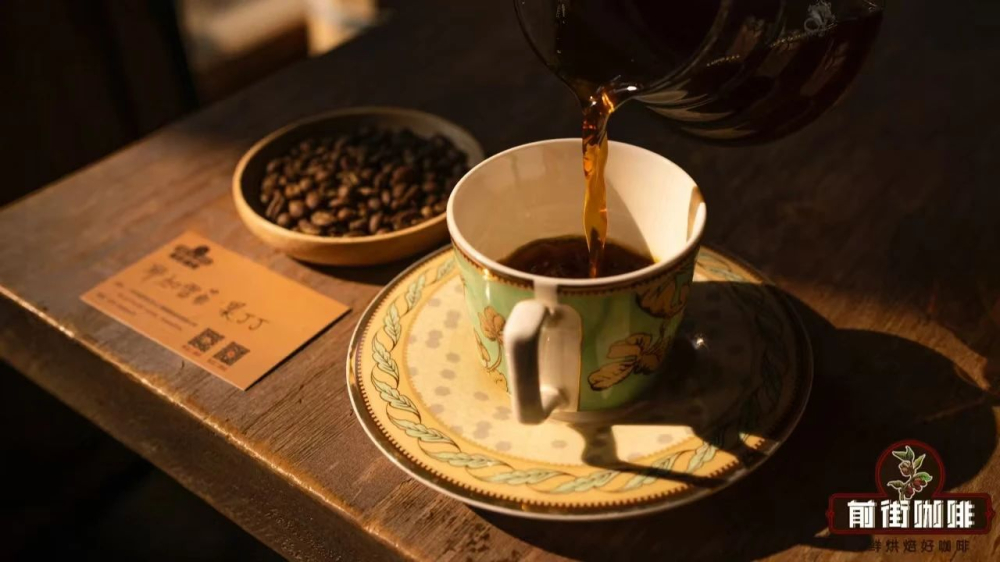
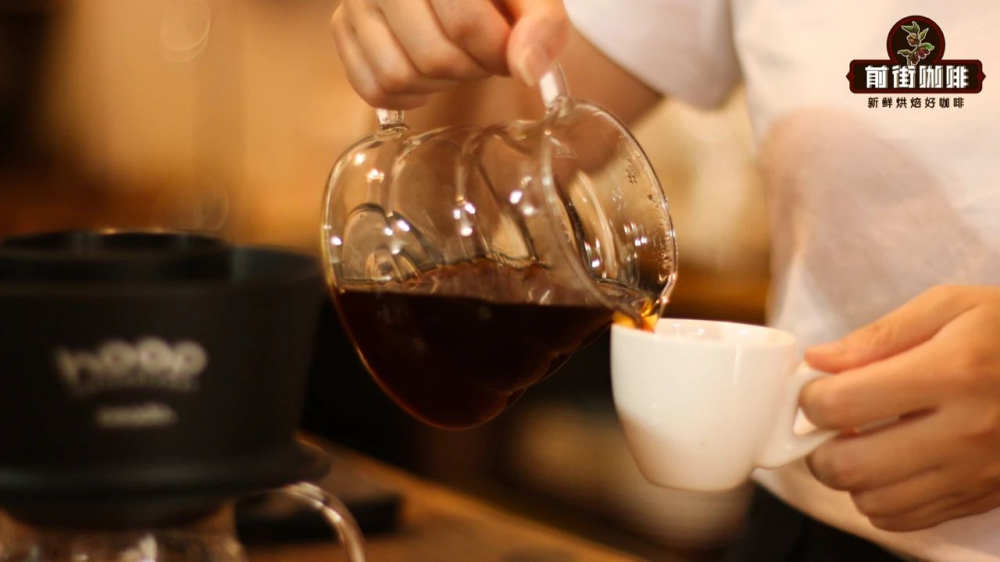
Before pouring the coffee into the cup, it is recommended to gently swirl the bottom server to evenly distribute the coffee concentration, ensuring consistent flavor in each cup. Then discard the cup-warming water, pour the coffee into the cup, and arrange the presentation to complete the entire pour over process. It is worth noting that from cup warming to drinking, the entire process should be completed within two minutes to avoid oxidation causing increased acidity or astringent mouthfeel, losing the aromatic richness that pour over coffee should deliver.
The above content is compiled by CoffeeHunters, a coffee news website.


