







Introduction:Want to brew rich, crema-covered coffee at home with a moka pot but always struggle with heat control, grind size, and coffee-to-water ratio? This guide takes you deep into the history and working principles of the moka pot, explains the correct brewing steps in detail, and offers practical bean selection advice. Learn how to use a medium-dark roasted blend to brew a well-balanced, crema-rich cup — even beginners can master it with ease.
If you’re aiming to brew a rich and bold cup of coffee at home, the moka pot is definitely a top choice for many coffee enthusiasts. However, many people often feel confused when it comes to heat level, coffee grind size, water volume, and bean variety, not knowing where to start. This article will deeply analyze the origin and background of the moka pot, the workings of its pressure-based extraction, and provide a step-by-step breakdown of the entire process — from filling the lower chamber with water and loading the coffee grounds into the filter basket, to heating techniques and knowing when to turn off the heat — so you can fully grasp all the key tips for using a moka pot. We’ll also give practical advice on choosing coffee beans to help you more easily brew coffee that’s rich in crema and full of captivating aroma.
When talking about the moka pot, we must mention its inventor — Alfonso Bialetti. In 1933, this Italian entrepreneur, originally from the metal industry, created the world’s first compact coffee machine suitable for home use, which is today widely known as the moka pot, originally named the Moka Express. At the time, espresso machines were large, complicated to operate, and most people could only enjoy a rich cup of coffee at cafes. Bialetti’s invention made it possible to “brew coffee at home that tastes like café-quality.” The moka pot, thanks to its compact size, affordable price, and simple operation, quickly became popular in Italian households, and even spread around the world through waves of migration, becoming one of the symbols of Italian home coffee culture.
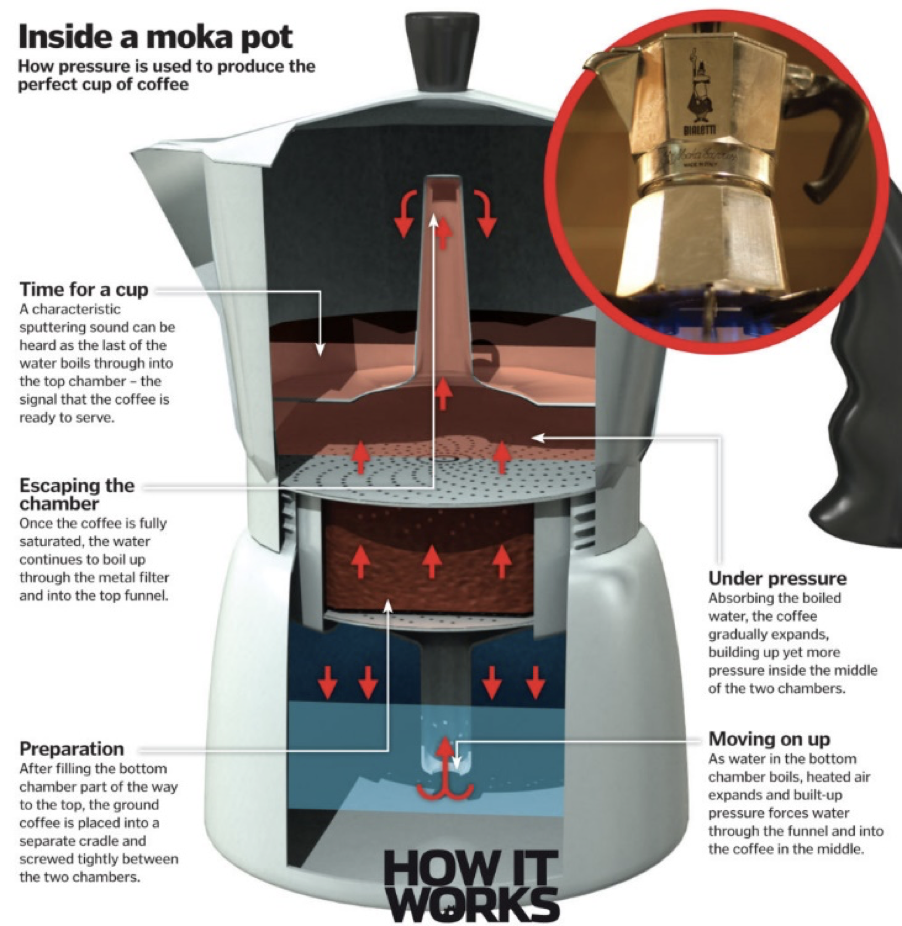
The reason the moka pot can brew such rich coffee lies in a simple yet effective pressurized brewing principle. The moka pot is mainly divided into three parts: the lower chamber that holds water, the middle filter basket that holds the coffee grounds, and the upper chamber that collects the brewed coffee. When the lower chamber is heated, the water inside gradually warms up and turns into steam, creating a pressure of about 1.5 to 2 atmospheres. This pressure pushes the hot water through the coffee grounds in the middle basket and then delivers the brewed coffee to the upper chamber. Although this pressure is far less than the 9+ atmospheres of a commercial espresso machine, it is still enough to extract a coffee liquid that is flavorful and relatively strong.
However, the coffee made by a moka pot is still different from what is commonly understood as “espresso.” True espresso requires extraction under a pressure of 9+ atmospheres to produce a thick, layered drink with crema. Even at its best, a moka pot can only reach about 2 atmospheres, so while the resulting coffee is rich, its texture and mouthfeel are somewhat lighter. But if you’re looking to quickly enjoy a cup of coffee at home with a “café-style” flavor, the moka pot is still an affordable and highly practical option.
To successfully brew great coffee with a moka pot, in addition to technique, selecting the right coffee beans is crucial. Generally speaking,medium-dark roasted espresso blendsare the most recommended choice because these beans more easily release rich crema, while highlighting the bold characteristics that espresso should have. Whether you drink it straight, make it into a moka pot Americano, or add milk to create a moka pot latte, it can display captivating aroma and taste.
If you’re a beginner just starting out with a moka pot, it’s recommended to choosea medium-dark roasted multi-origin blend, such as a blend made up of Brazilian pulped natural, Indonesian Mandheling, and Vietnamese washed beans. These beans combine characteristics of both American and Asian beans — not only do they offer prominent roast notes, but they also easily bring out a rich taste and abundant crema, making them easier for beginners to manage in terms of extraction balance. If you prefer fruity and bright acidic profiles, you might also consider a medium-roasted espresso bean, such as a blend of Costa Rican honey-processed beans, Ethiopian heirlooms, and Colombian Huila beans. These beans, when brewed with a moka pot, often exhibit a mild acidity and sweetness reminiscent of strawberry taffy, while maintaining good body and smooth texture.
In terms of actual operation, first fill the lower chamber of the moka pot with water. It’s recommended to use hot water to reduce preheating time and avoid the coffee grounds releasing too much flavor too quickly due to high temperatures, which can lead to bitterness. Make sure the water level is kept below the safety valve, generally around 130ml is ideal. Next, fill the filter basket with coffee grounds ground to the fineness of EK-43s#0.5, filling it to about nine-tenths full, and gently level the surface with your finger — there’s no need to tamp it down hard. Over-compacting the coffee layer can hinder water flow and negatively affect extraction uniformity.
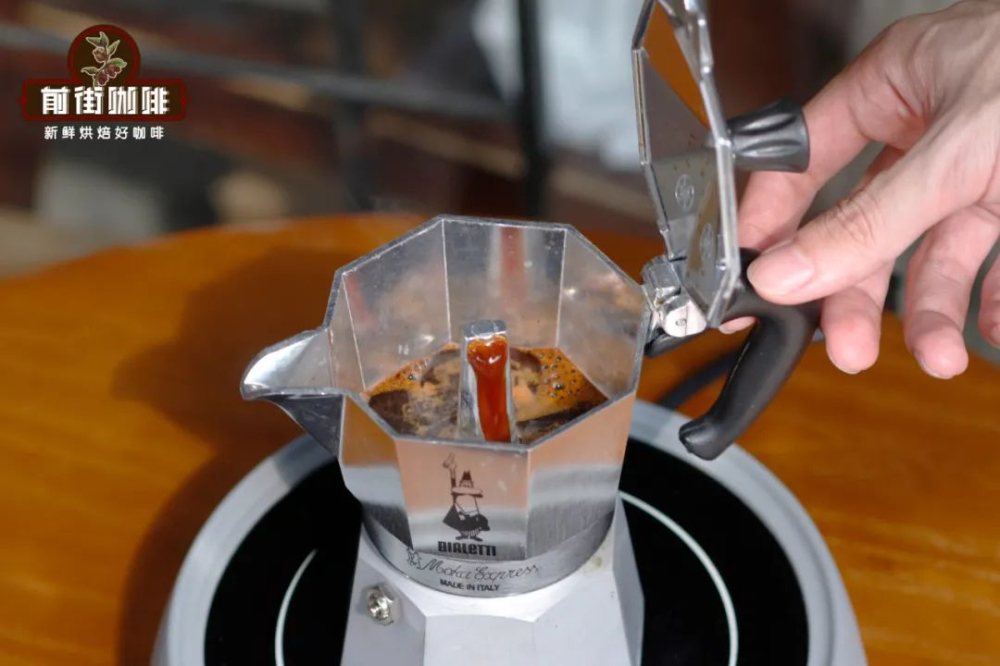
Once the upper and lower chambers are tightly screwed together, you can place the moka pot on a gas or electric stove to begin heating. If using an open flame, be especially careful that the flame does not extend beyond the base of the pot — it’s best to use low to medium heat. When you hear a hissing sound from the lower chamber, it means the water has begun turning to steam and generating pressure. At this point, reduce the heat and observe as coffee starts to drip into the upper chamber. When the upper chamber is about half full, you can turn off the heat. Let the remaining heat and pressure inside the pot finish the final stage of extraction, which also helps prevent over-extraction and bitterness.
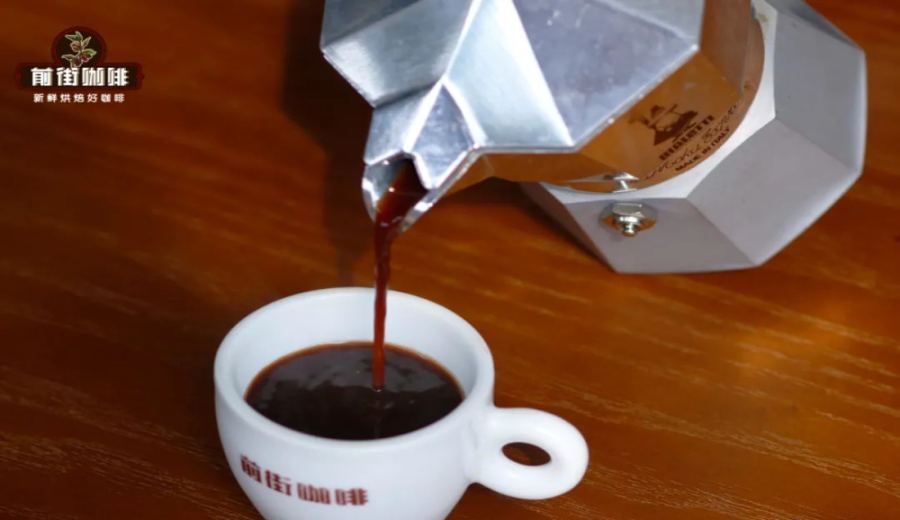
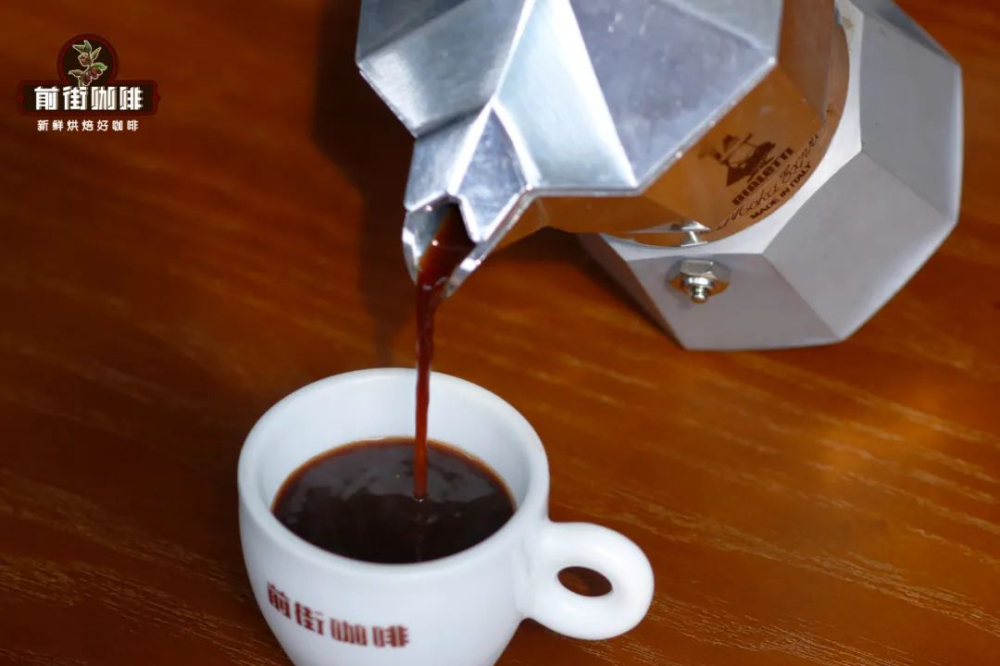
After carefully removing the moka pot from the heat source, you can pour the brewed coffee into a cup and enjoy. This cup of coffee usually carries rich notes of whiskey, cream, vanilla, and berry acidity, along with a strong roasted nut character. If you prefer a lighter taste, you can add some hot water to adjust the strength; if you pair it with milk, it can showcase a chocolate-like sweet and smooth flavor.
It’s important to note that the moka pot is a pressurized brewing tool, which is completely different from typical drip brewing methods, and therefore has specific requirements for the roast level and flavor profile of the coffee beans. Lightly roasted beans, while able to showcase bright fruit acids and floral notes in pour over brewing, can easily release overly sharp acids and off-flavors under the high pressure of a moka pot. Therefore, it’s recommended to usemedium-dark roasted beansto ensure more stable extraction and better flavor harmony. Additionally, no matter which brewing method you use, always opt for freshly roasted coffee beans — beans typically need about 4–7 days of degassing after roasting before entering their peak flavor period. It’s best to use beans roasted within 5 days to fully experience their complete aroma and layered complexity.
The above content is compiled by CoffeeHunters, a coffee news website.


