Introduction:Drip bags are a convenient alternative to pour over coffee, especially suitable for travel or office use. This article delves into the origins and design principles of drip bags, analyzes the types of single-origin coffee beans best suited for drip bag brewing, and explains in detail the optimal brewing water temperature, water-to-coffee ratio, and operational steps. From common beginner mistakes to professional parameter adjustments, it helps you extract balanced and layered coffee flavors using drip bags.
The Origin and Design Principles of Drip Bags
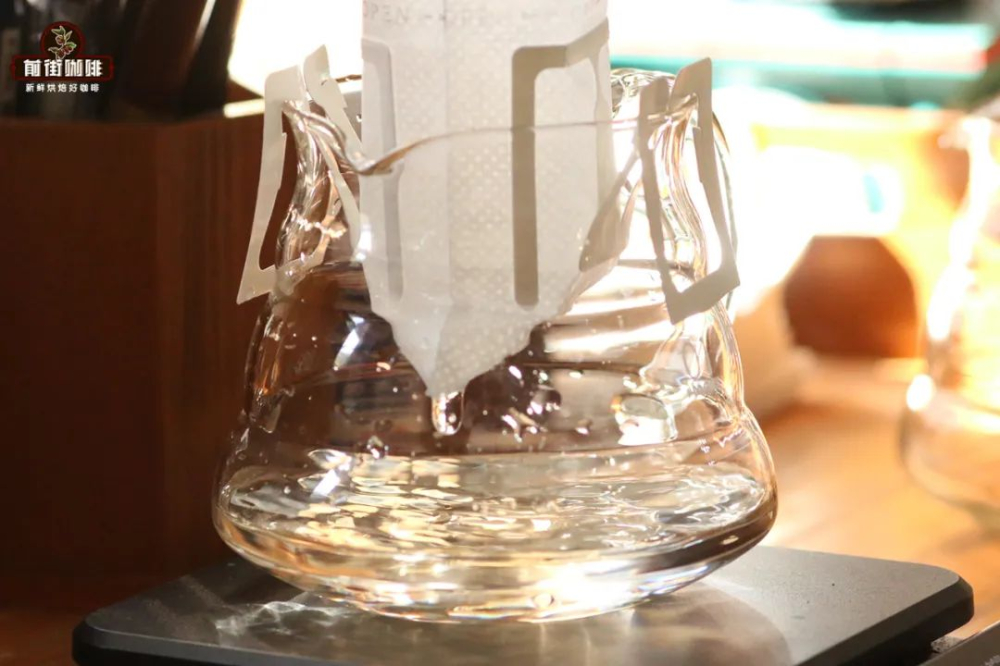
The prototype of drip bags was born in Japan in 1990, developed by Yamayan Sangyo Co., Ltd., inspired by traditional hanging tea bags. The original intent of this design was to simulate the brewing effect of professional pour over drip filtration. Pre-ground coffee is placed in a non-woven fabric filter bag, which is then suspended stably over the edge of a cup via two extended "ear" structures on either side—earning its name due to its ear-like appearance. After obtaining a patent in 2002, the design quickly gained popularity, becoming the go-to choice for coffee enthusiasts seeking convenience without compromising brewing quality.
Single-Origin Coffee Beans Suitable for Drip Bag Brewing
Not all coffee beans are suitable for making drip bags. High-flavor-profile beans with bright acidity such as Ethiopian Yirgacheffe, Indonesian Mandheling with its rich nutty tones, and Brazilian Cerrado that develops a unique sweetness, are all common premium choices. These regional beans can maintain a distinct flavor profile even after grinding, and when paired with appropriate brewing parameters, they deliver excellent performance. It should be noted that while dark roast beans are easy to extract, their aroma longevity is relatively low; light roast beans require precise temperature control to avoid under-extraction.
Fundamental Differences Between Drip Bags and Pour Over
Although both methods fall under filter brewing, drip bags eliminate the steps of grinding and setting up a filter cone, significantly lowering the barrier to entry. They use biodegradable non-w
Standard Brewing Parameters and Practical Tips
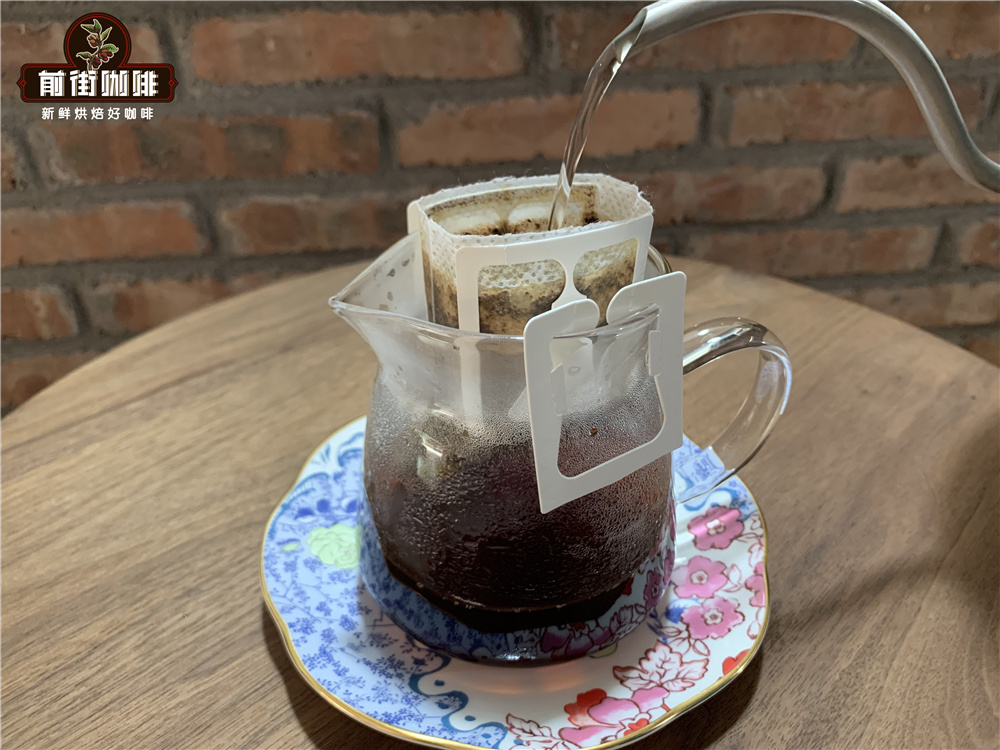
Taking the common 10g hanging filter pack as an example, it is recommended to use a 1:15 coffee-to-water ratio (i.e., 150ml of hot water), with the water temperature controlled between 86-93°C. In the initial stage, it is suggested to first pour a small amount of hot water (about 20ml) for a 30-second bloom to activate the coffee grounds; then continue pouring water steadily in a thin stream until the full water level is reached. Once the dripping speed slows down, add the remaining water to complete the brew. Common mistakes include pouring too quickly, which leads to uneven extraction, or using water that is too cool, causing bitter substances to not fully release.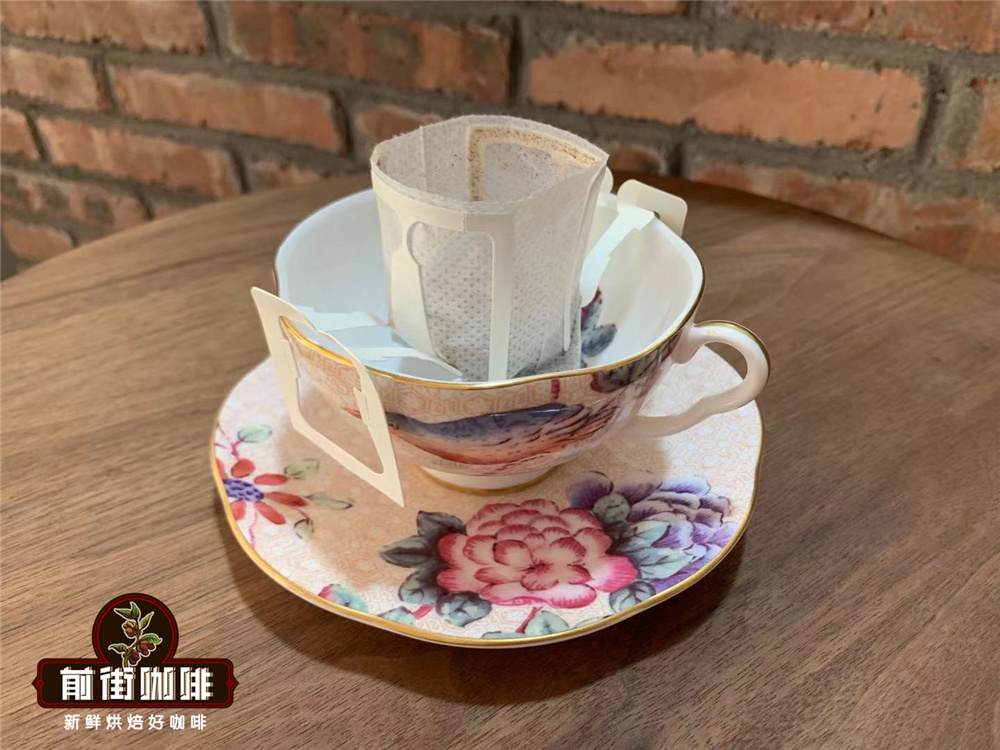 For those with special taste preferences, the ratio can be adjusted: those who prefer a stronger, espresso-like flavor can reduce the water to 120ml, while those who prefer a lighter cup can extend it to 180ml. However, the total brewing time should be correspondingly extended or shortened to between 2 minutes 30 seconds and 3 minutes for best results.
Breakdown of Step-by-Step Operation Details
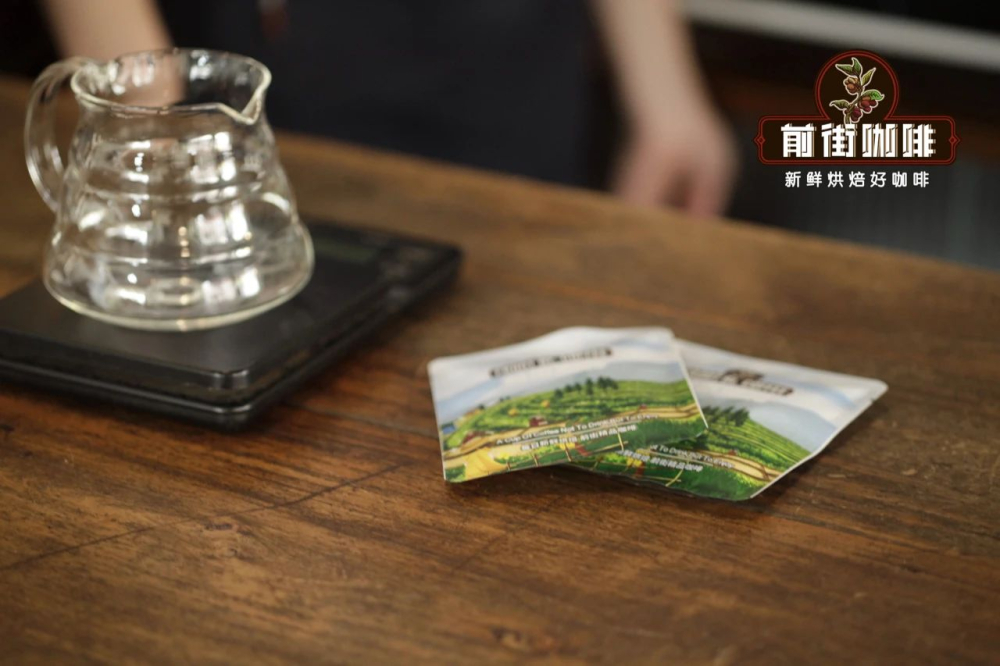
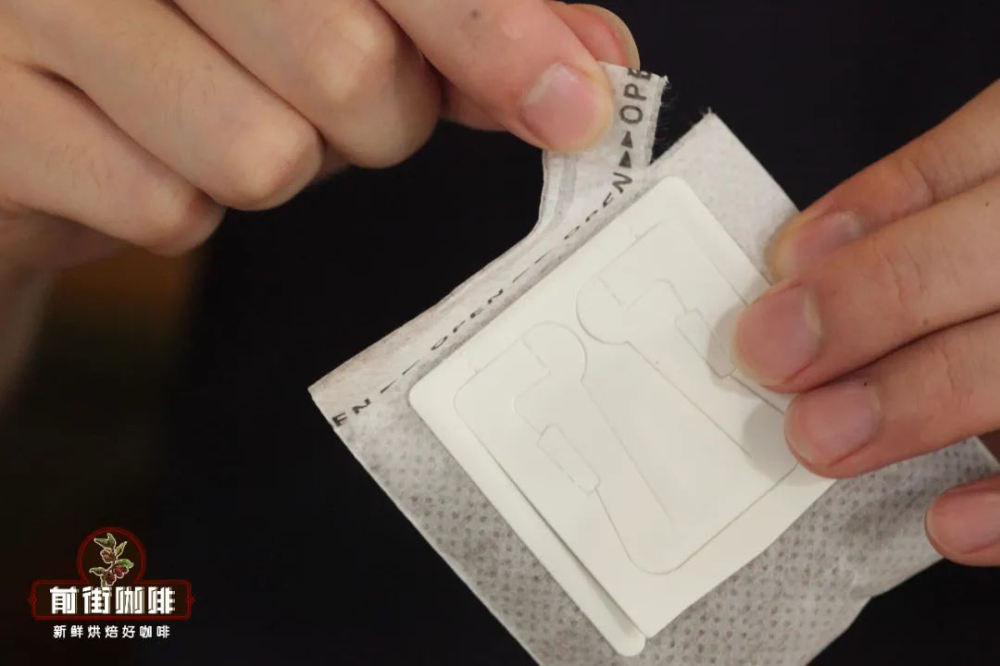
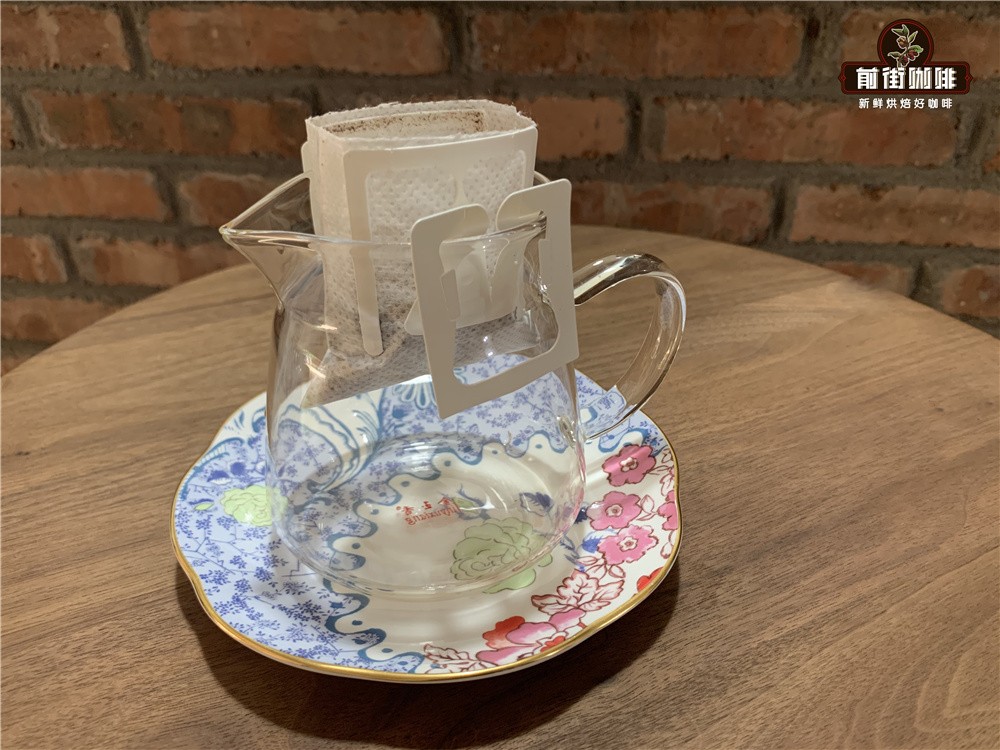
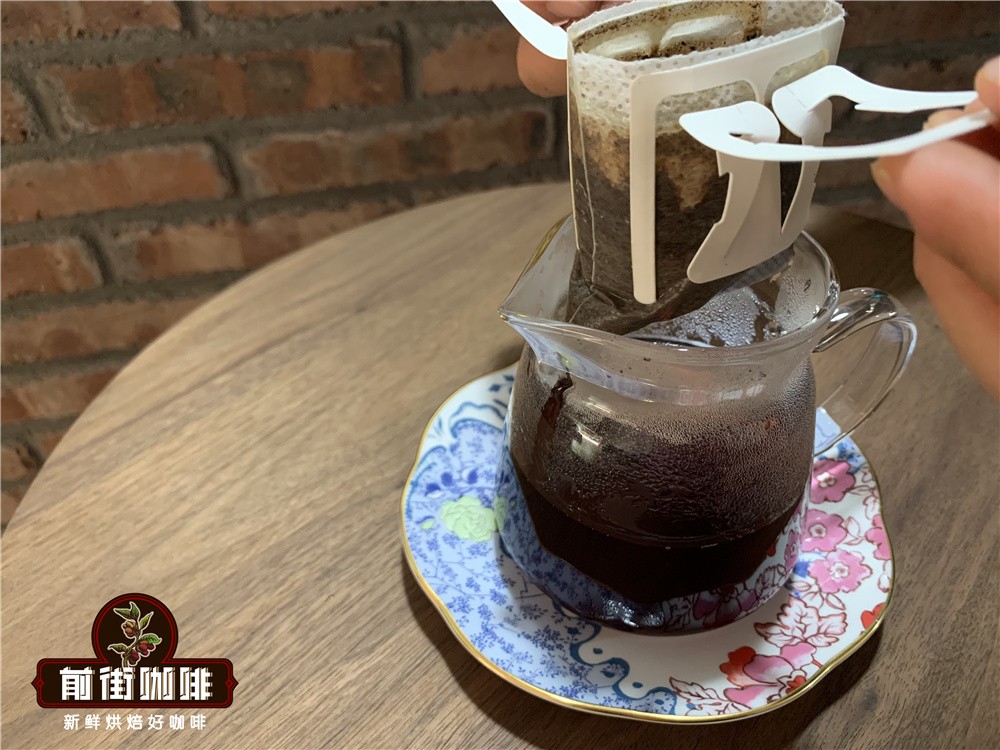
During the preparation stage, choose a cup with a diameter greater than 8cm to ensure the two sides of the hanging filter can fully unfold. After tearing open the aluminum foil packaging, cut along the dotted line on the non-woven fabric seal. Hold the ear-like wings of the hanging filter with both hands and suspend the filter bag on the rim of the cup. During the initial bloom phase, ensure all coffee grounds are evenly wetted — the carbon dioxide released at this time will cause the grounds to puff up and expand. In the subsequent pouring stage, it is recommended to use a pendulum-style pouring path: a circular motion from the center outward in a spiral and then back to the center. This helps improve extraction uniformity. In the final stage, observe the dripping speed — if the interval between drips exceeds 5 seconds, the filter bag should be removed immediately to avoid over-extraction and a dry, astringent taste.
Common Issues and Parameter Adjustments
If the water temperature is insufficient, you can compensate by extending the total brewing time by 10-15 seconds, but it should not exceed 3 minutes 30 seconds. If the coffee tastes thin or weak, you can increase the water temperature to the upper limit of 93°C or switch to a slightly coarser grind (closer to the texture of sugar granules). Conversely, if the taste is overly heavy or intense, check whether the water temperature exceeds 95°C or if the bloom time is too long.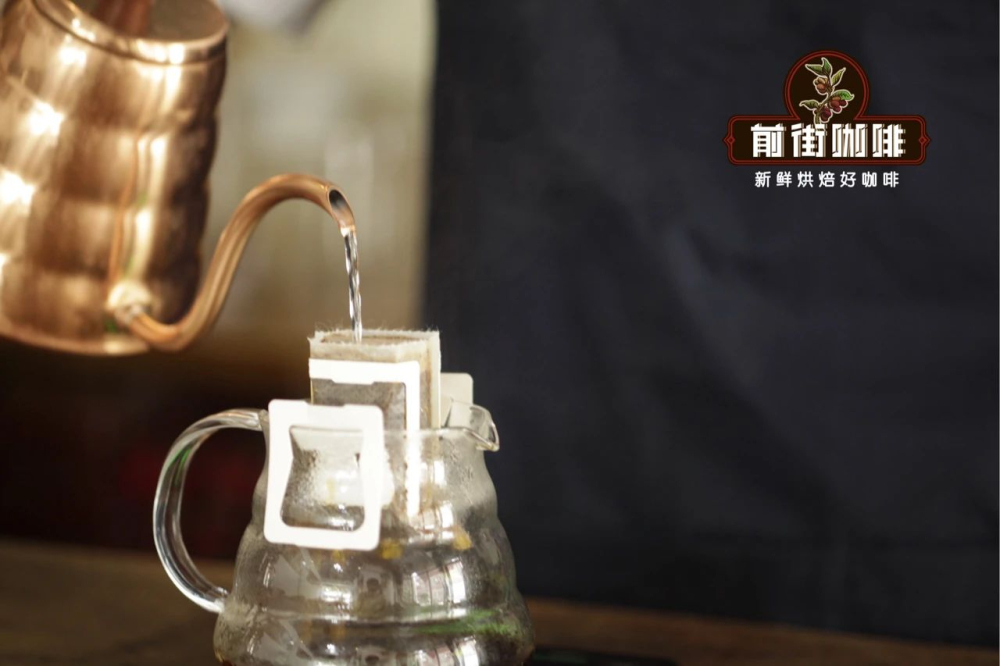 Pay attention to keeping the filter bag vertical throughout the brewing process to avoid tilting, which can lead to localized over-extraction. When using in an office setting, insulated cups can be chosen, but make sure to leave enough space to prevent overflow.
Suggestions for Diverse Flavor Profiles
Different regional bean varieties exhibit unique characteristics when brewed using the hanging filter method: Ethiopian beans enhance citrus and blueberry notes, and using a water temperature of 88-90°C can highlight bright acidity; Indonesian Mandheling’s herbal and smoky flavors require 90-92°C to balance the body; Brazilian beans, with their nutty and chocolatey profile, suit a low-temperature slow brew at 86-88°C. Seasonal limited editions such as Geisha varieties are recommended to be brewed at 90°C with a 1:16 ratio, which can clearly express floral notes and oolong tea undertones. Regardless of the flavor type selected, freshly ground coffee powder remains the fundamental guarantee for optimal flavor expression.
The above content is compiled by CoffeeHunters, a coffee news website.