
Introduction:To create beautiful and stable latte art patterns, besides technique, choosing the right coffee beans is key. This article will introduce the characteristics of espresso beans suitable for latte art, including roast level, freshness, and recommended bean options. It will also break down each step of creating a heart-shaped latte art in detail—from steaming milk to pouring techniques—to help you master professional-level latte art skills.
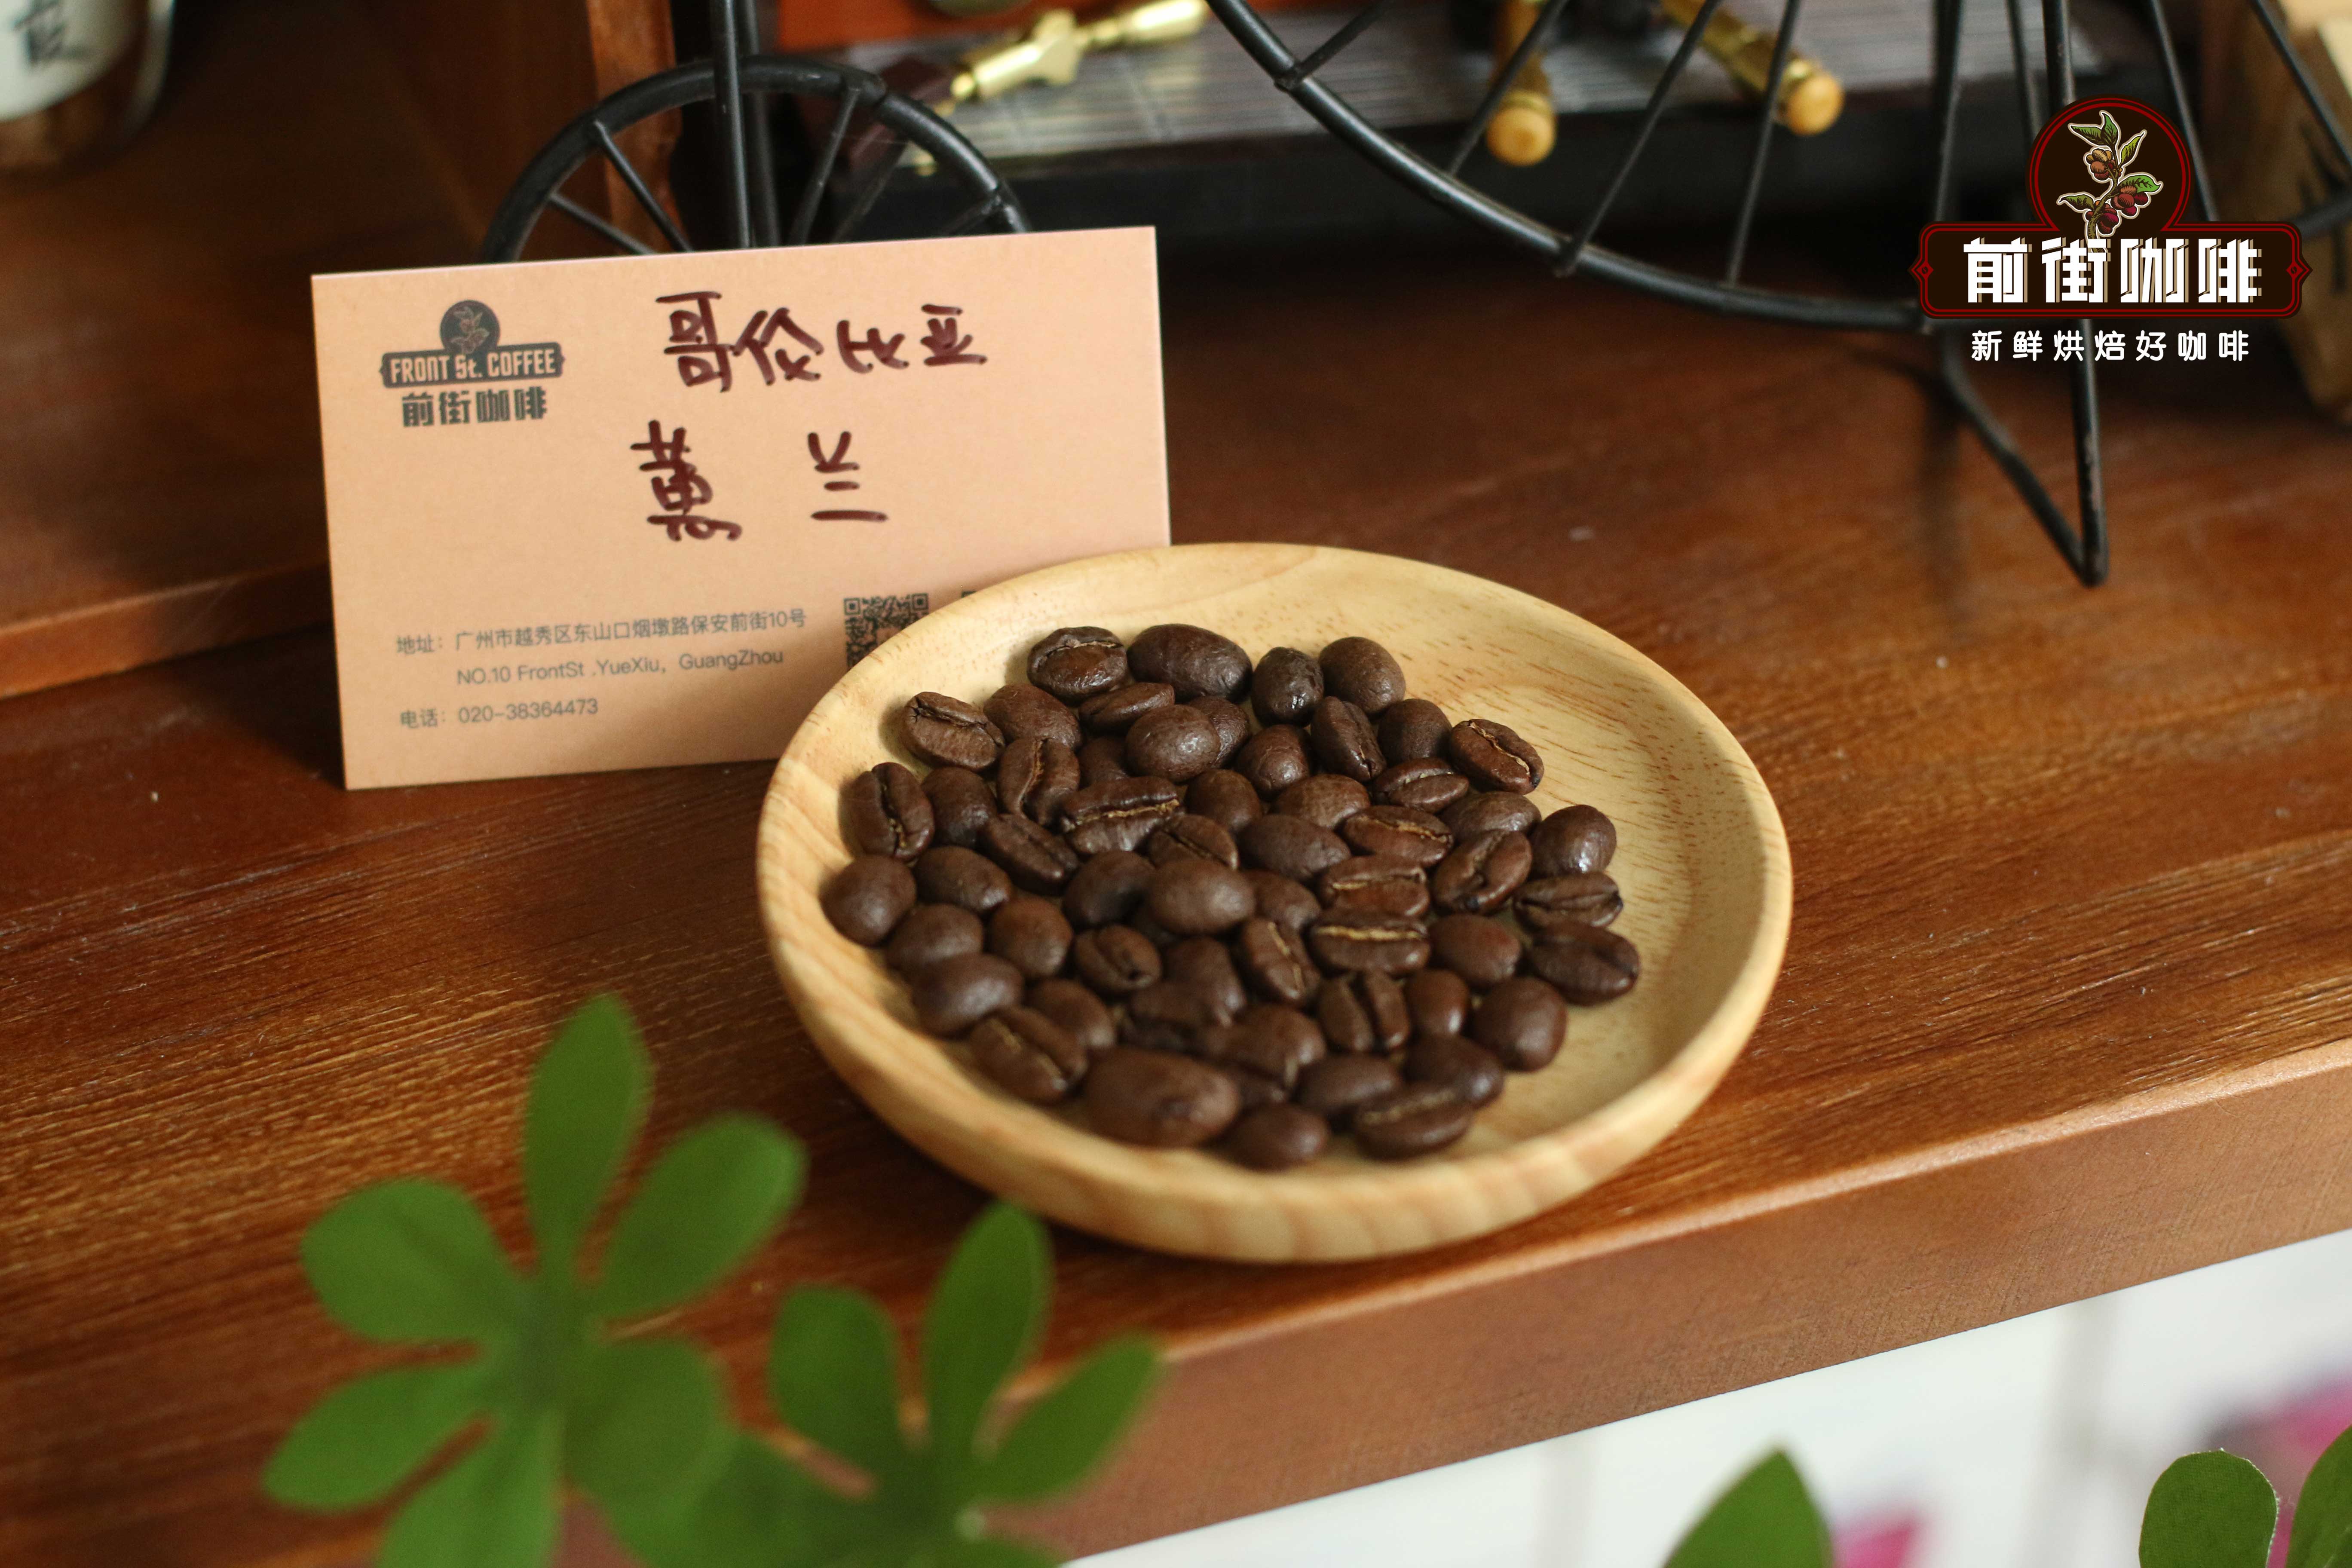
Latte art is almost always based on espresso, but to achieve clear and smooth patterns, selecting the right coffee beans is crucial. Based on practical experience, medium to dark roasted espresso blends can extract richer and finer crema, which helps the milk and coffee blend stably, making the latte art patterns more long-lasting and aesthetically pleasing.

The ideal latte art coffee beans should have a rich aroma and good body, delivering a balanced and smooth taste when paired with milk. If you prefer nutty notes, you can choose a medium-roasted blended coffee; if you like a richer crema feel, it’s recommended to go for a blend with a slightly higher proportion of dark roast; if you’re fond of caramel and spice flavors, consider Indonesian bean varieties with distinct sweetness.
In addition, the freshness of coffee beans directly affects crema performance. Freshly roasted beans contain a lot of carbon dioxide, and the released crema tends to be thick and loosely structured, which is not conducive to showcasing latte art details. It is recommended to let the beans degas for 5–7 days. Conversely, overly aged beans lack sufficient carbon dioxide, unable to produce fine and stable crema, leading to poor milk integration. The optimal state is coffee beans within 7–45 days after roasting, during which the crema structure is fine and dense, allowing for perfect interaction with milk.

For beginners choosing practice beans, it is recommended to prioritize espresso blends with stable crema performance and balanced flavor, which helps in mastering basic latte art control. At the same time, pay attention to purchasing products with a recent roast date to ensure the beans are in their best flavor and crema condition, effectively improving your practice results.
Next, we’ll delve into the practical steps of creating a heart-shaped latte art, from equipment preparation to detail control, guiding you step-by-step to complete a professional-level pattern.
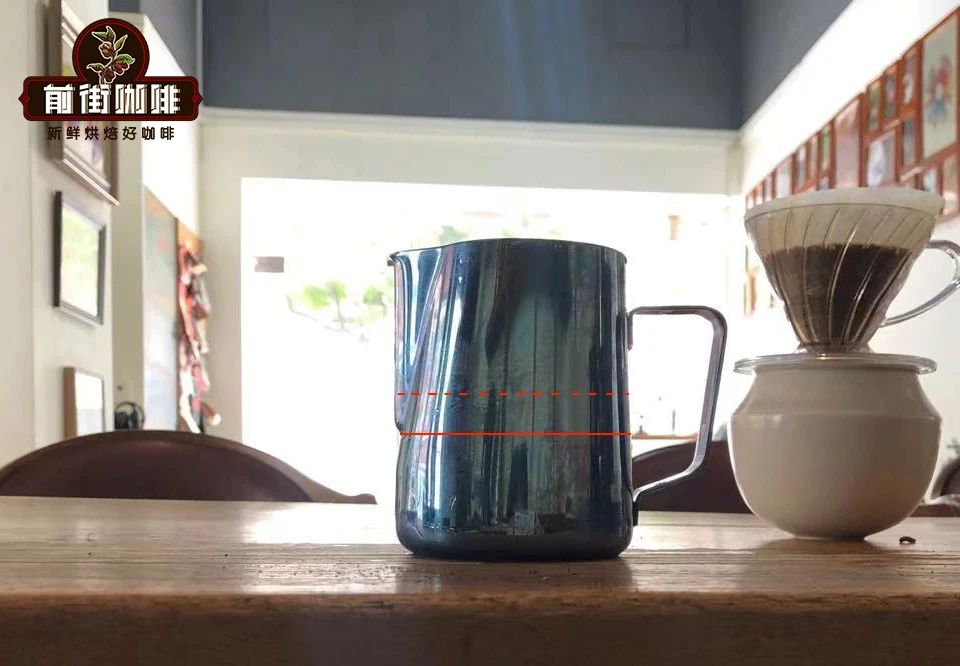
First is the choice of pitcher and milk quantity. Generally speaking, if using a 450ml pitcher, it is recommended to fill it with about 200–250ml of milk; for larger pitchers of 500–650ml, you can use 300–350ml of milk to ensure there is enough space for steaming and flow control.

Before steaming the milk, be sure to purge the steam wand first. The main purpose is to expel any condensed water inside the wand to avoid affecting the texture of the milk foam. Purge by turning the steam wand downward or upward for about 1–2 seconds until no obvious hissing sound of water is heard.
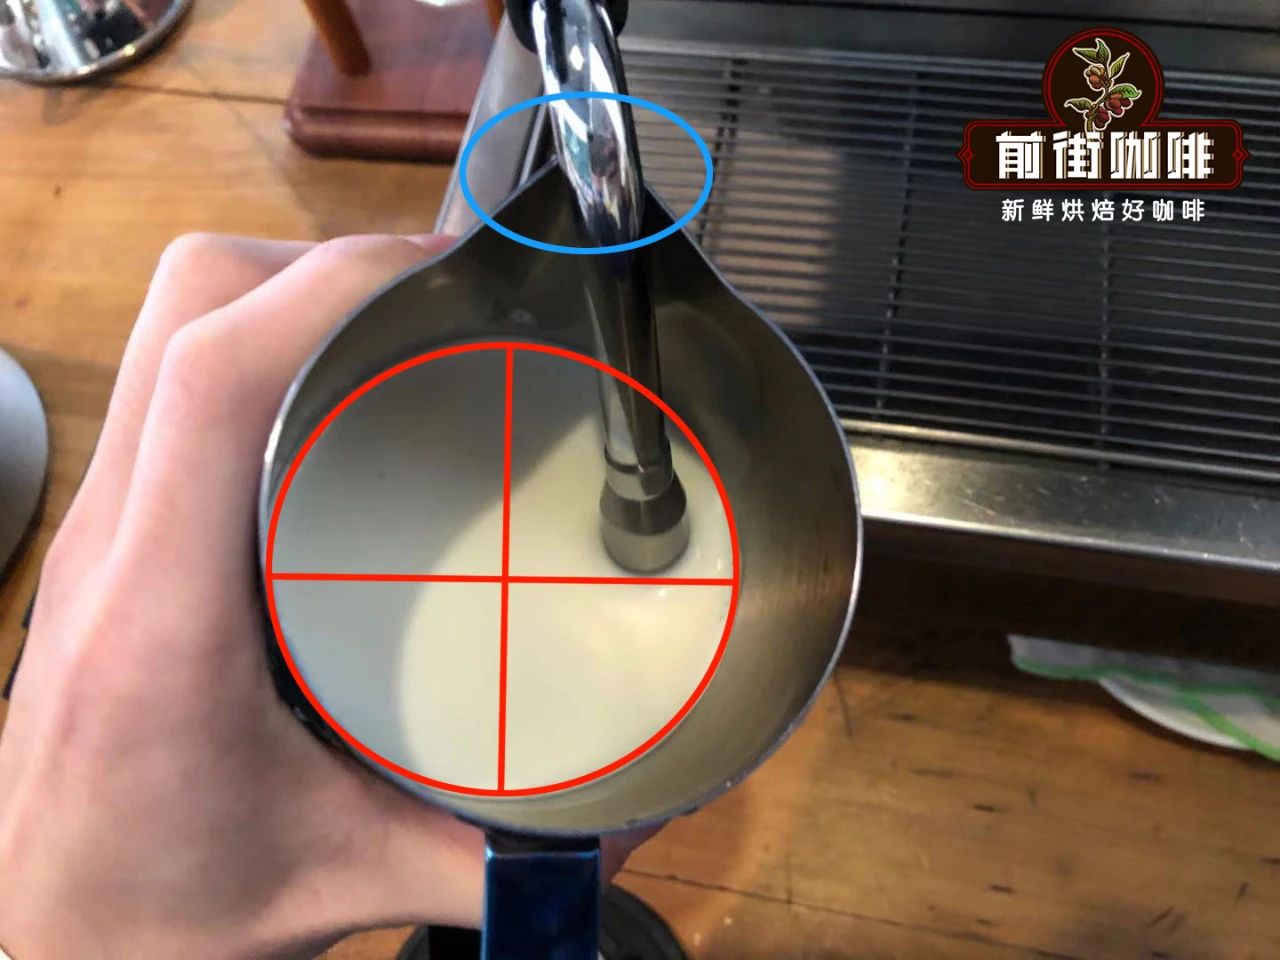
The angle of the pitcher is also extremely important. The steam wand’s nozzle should be positioned at the 2–3 o’clock or 9–10 o’clock direction, and the tip should be placed about two-thirds below the surface of the milk—neither too deep to touch the bottom of the pitcher nor too shallow to create large bubbles. The correct angle helps form a uniform and fine microfoam structure.
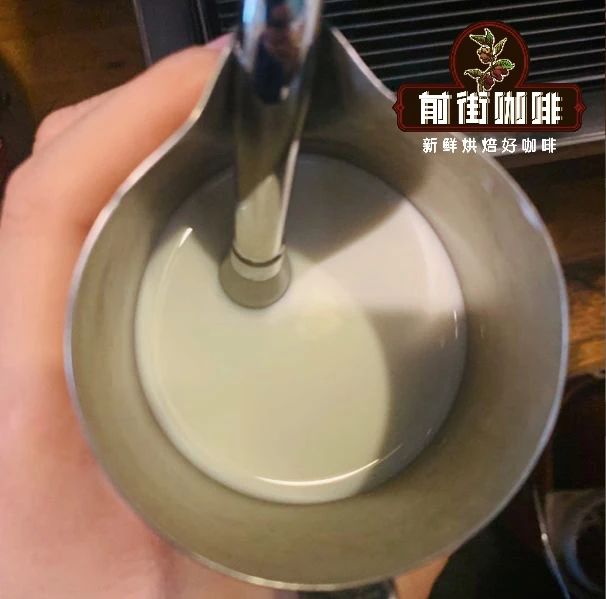
When entering the steaming phase, you’ll hear a distinct “hissing” sound of air being drawn into the milk—this is the sign that air is being incorporated. If you hear a harsh noise or complete silence, it means the steam wand position is incorrect and needs to be readjusted. The main task at this stage is to evenly mix air into the milk to form the initial foam base.
Then comes the texturing process. By adjusting the angle of the steam wand, guide the milk in the pitcher to form a whirlpool, gradually breaking down the large bubbles into fine microfoam and ensuring it fully integrates with the milk below, ultimately achieving a smooth and velvety milk foam texture. When the milk temperature reaches 55–65°C, immediately turn off the steam and remove the wand to avoid overheating, which can affect taste and foam stability.
After foaming, gently tap the bottom of the pitcher to help break up any remaining large bubbles on the surface, making the milk foam smoother and glossier, laying a solid foundation for the upcoming latte art pouring.

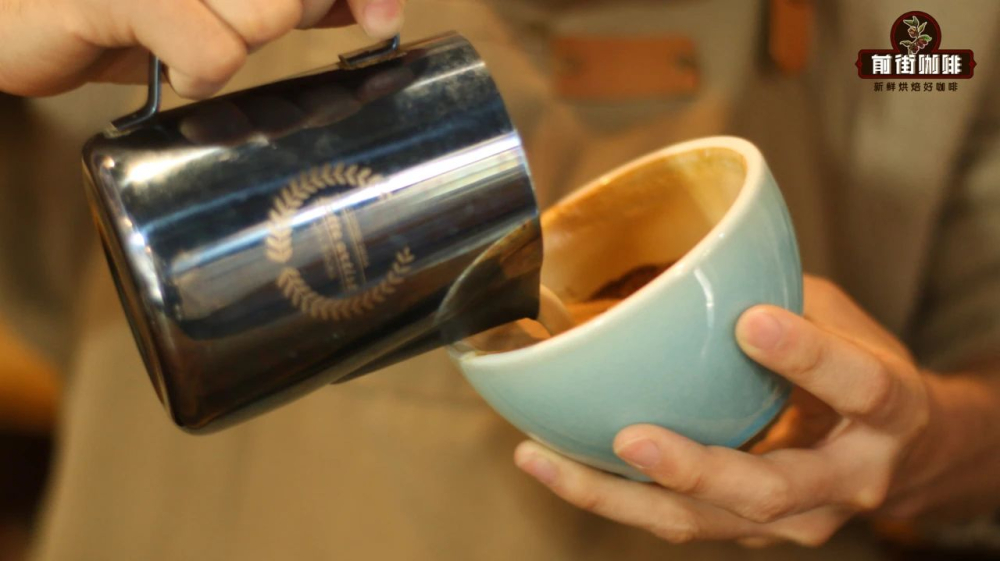
When starting the pour, first lower the pitcher close to the rim of the cup and steadily pour milk from the center of the liquid surface. Hold the cup steadily with your left hand while slowly raising the pitcher with your right hand and increasing the flow rate. At this point, you’ll see the milk foam gradually emerging and forming a circular expansion.
When the cup’s tilt angle approaches 180 degrees, the circular milk foam is mostly formed. At this time, slightly raise the pitcher while reducing the flow rate. Use the downward pressure of the stream to push the upper layer of coffee downward, creating a heart-shaped indentation in the center of the circle, with the liquid streams on both sides naturally converging toward the center.
Finally, gently push the pitcher forward to extend the stream and form a sharp pointed end of the heart shape, completing a plump and three-dimensional solid heart-shaped latte art pattern. From basic flow control to angle adjustments, every step requires repeated practice to gradually refine the details and stability of your latte art.



The above content is compiled by CoffeeHunters, a coffee news website.