







Introduction:Want to understand why milk can be frothed into fine, dense microfoam? Curious about creating smooth, layered latte art? This article dives deep into the science of milk frothing—from steam frothing principles and milk-coffee blending techniques to temperature control and common mistakes—guiding you step-by-step to master professional-level milk frothing. Whether you’re a beginner or a coffee enthusiast looking to refine your skills, you’ll gain practical insights here.
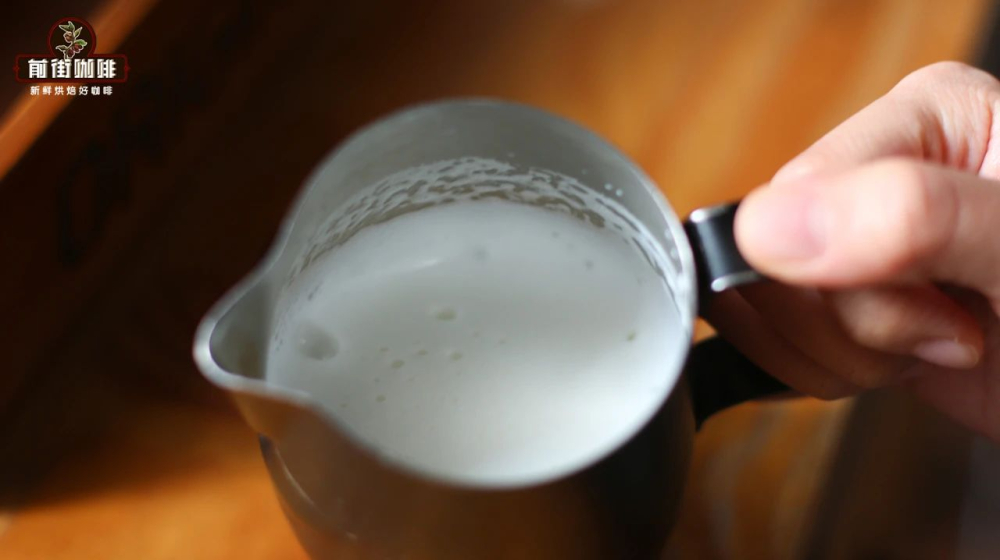
Frothing milk is a fundamental skill for baristas. The ability to steam fine, stable milk directly impacts coffee flavor and latte art performance. Take the latte, for example: ideal microfoam should be thin and velvety, with a smooth surface free of large bubbles, allowing it to blend seamlessly with espresso and deliver a silky texture.
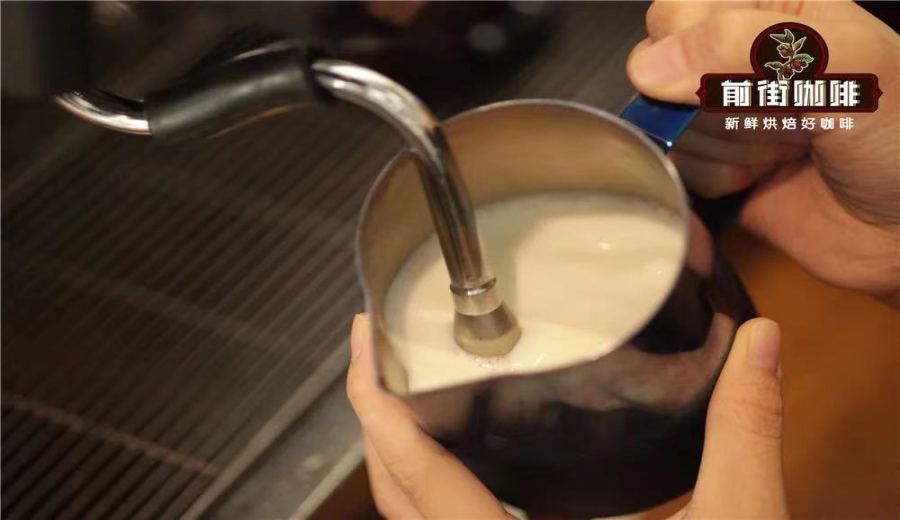
The Science Behind Milk FrothingIt lies in the steam wand injecting air into liquid milk. Thanks to the surface tension of milk proteins, tiny bubbles form, causing the overall volume to expand. During this process, rising temperature helps dissolve lactose, which gets trapped within the foam, while milk fat stabilizes the bubble structure. This ensures the foam gently bursts in your mouth upon drinking, releasing sweetness and rich flavors while enhancing the molecular bonding between coffee and milk.

A common issue is “poor milk-coffee integration”: if the espresso pours and immediately separates or the foam clumps and floats during pouring, it’s usually due to insufficient froth or poor integration. The former requires more steam-frothed milk, while the latter needs adjustment during the texturing phase. Integration quality depends on two main factors: steam pressure—higher pressure leads to more thorough milk rolling—and foam fineness—the finer the foam, the higher its density and lower buoyancy, resulting in more even blending.
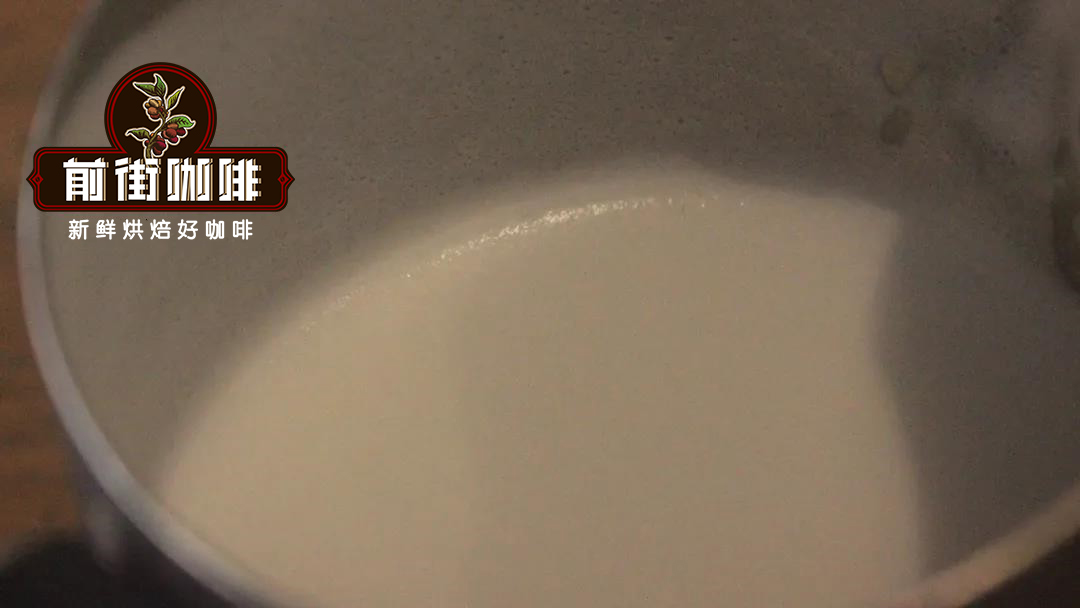
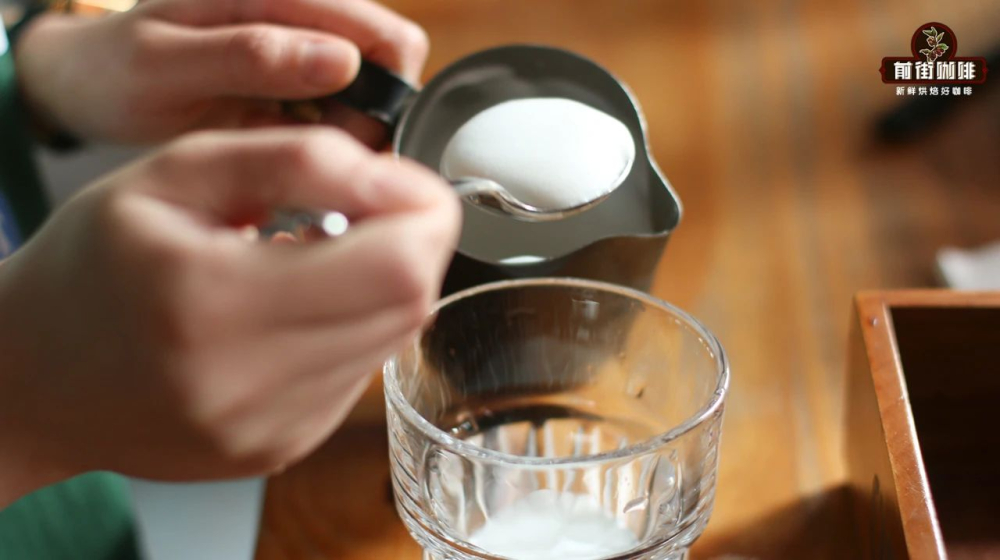
How to judge integration? Pour the frothed milk into a glass and let it sit: separation within 30 seconds is poor; 30–60 seconds is moderate; over 60 seconds is excellent. Note that frothed milk shouldn’t sit too long, or it will naturally separate.
Temperature control is equally crucial. It’s generally recommended to heat milk to around 60°C, never exceeding 70°C—beyond this, the milk protein structure breaks down. Experimental data shows: at 90°C, milk foam expands rapidly, easily overflowing and collapsing quickly; 60°C is the common target, with foam typically starting to collapse after approximately 10 minutes and 50 seconds; foam at 30°C and 12°C begins to degrade noticeably after around 4 minutes 20 seconds and 5 minutes 15 seconds, respectively. Milk foam in the 50–70°C range lasts longest, benefiting from sufficient mixing time and being in a stable denaturation phase.

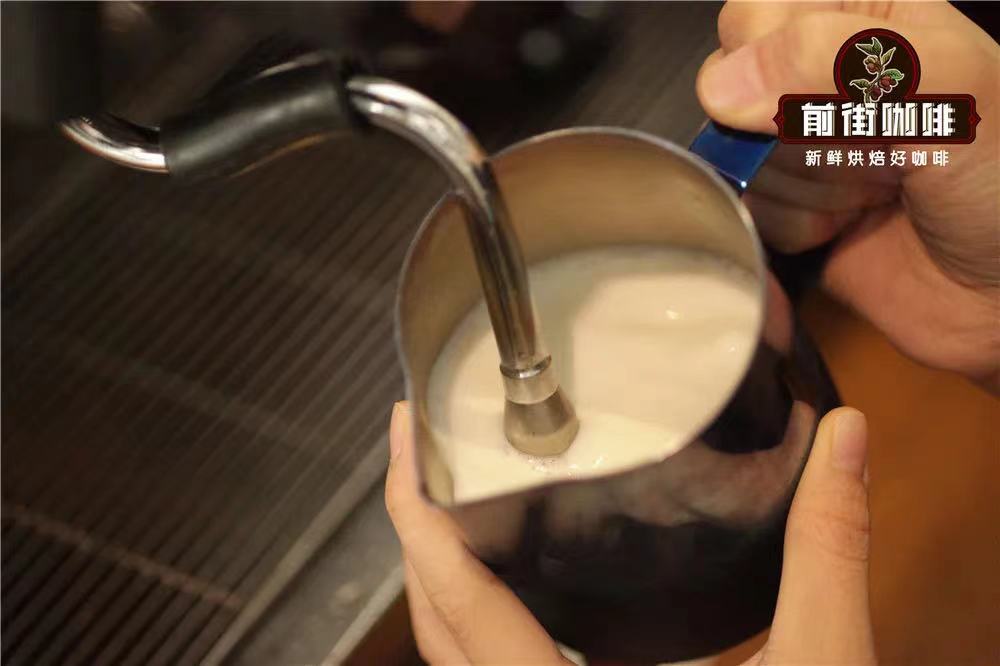
Practical Tips for Creating Fine Foam: Pour half a cup of milk into the pitcher, position the steam wand vertically at the center or edge of the cup, turn on about half the steam power, and do not move the cup. Once the temperature reaches 50°C, gradually reduce the steam until completion around 66°C. This “foolproof frothing method” effectively controls both temperature and froth level.

Steam Frothing vs. Manual Frothing: There’s a clear difference. The steam wand uses high-speed airflow to create fine, uniform foam with wide coverage and good mixing, while manual methods squeeze milk through small filter holes, producing coarser foam. When practicing, start with water to get familiar with vortex formation and use a thermometer for precise temperature control—manual technique tip: place your right hand on the milk pitcher wall; when it feels too hot to touch, stop steaming, then check the thermometer to confirm it’s within the ideal 55–65°C range (this temperature range maximizes lactose sweetness without sacrificing nutrients).


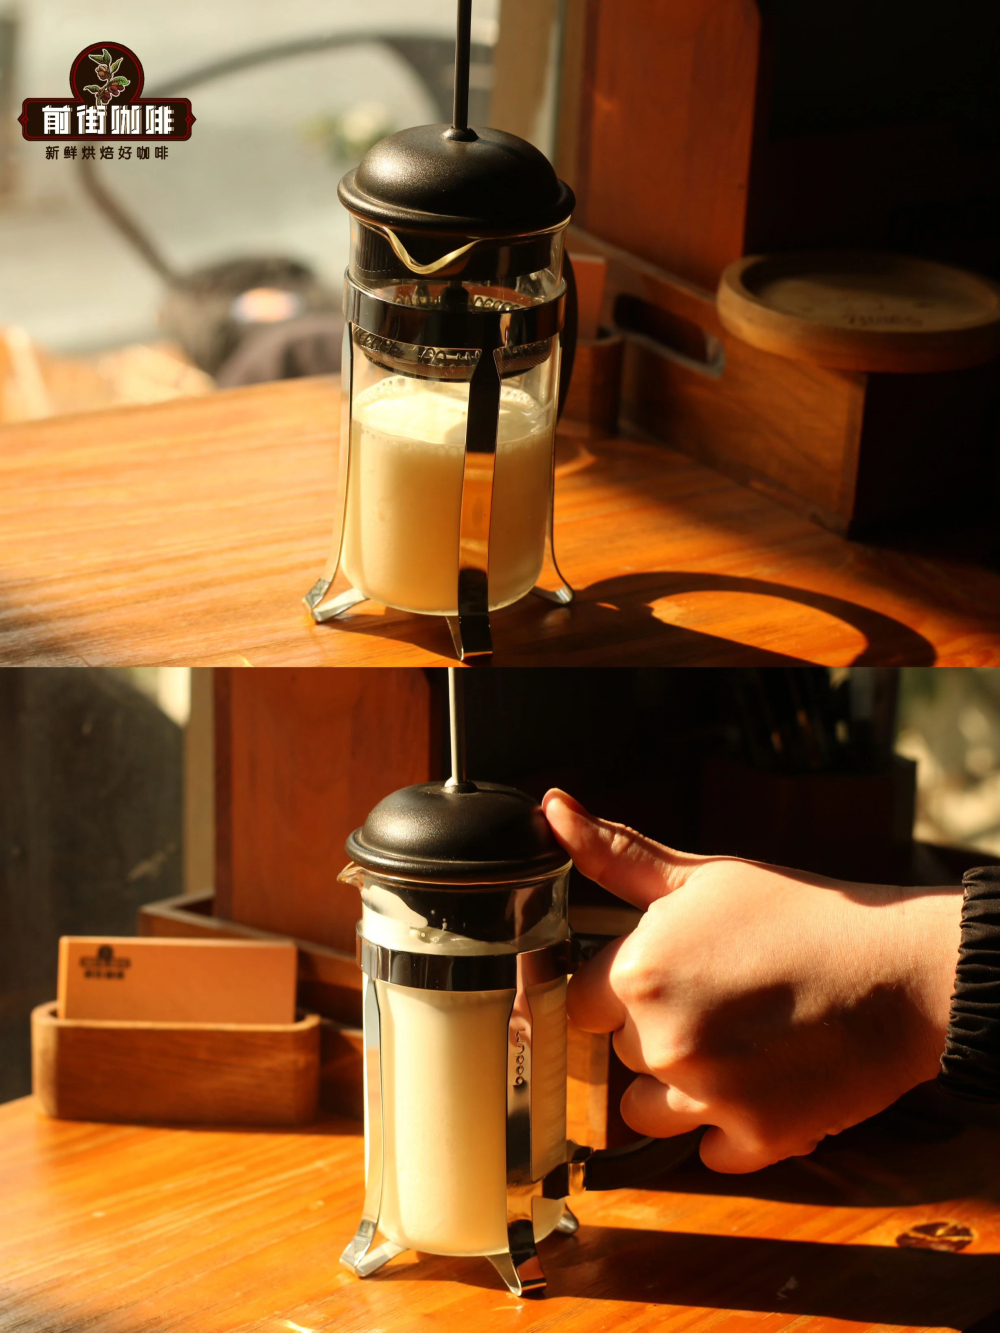
Alternative Methods for Making Milk Foam Include: The manual method—pour milk no more than halfway up a frothing pitcher, heat to 60°C, then cover with the lid and filter, rapidly pumping the filter about 30 times, and finally scraping off any surface coarse foam; the steam machine method—first purge the steam wand of condensation, insert it diagonally into the milk to about 1cm above the liquid surface, adjust the angle until you hear a steady “hissing” sound, wait until there’s enough foam, then deepen the nozzle for warming, ultimately controlling the temperature between 60–70°C, and clean any milk residue left in the steam wand.

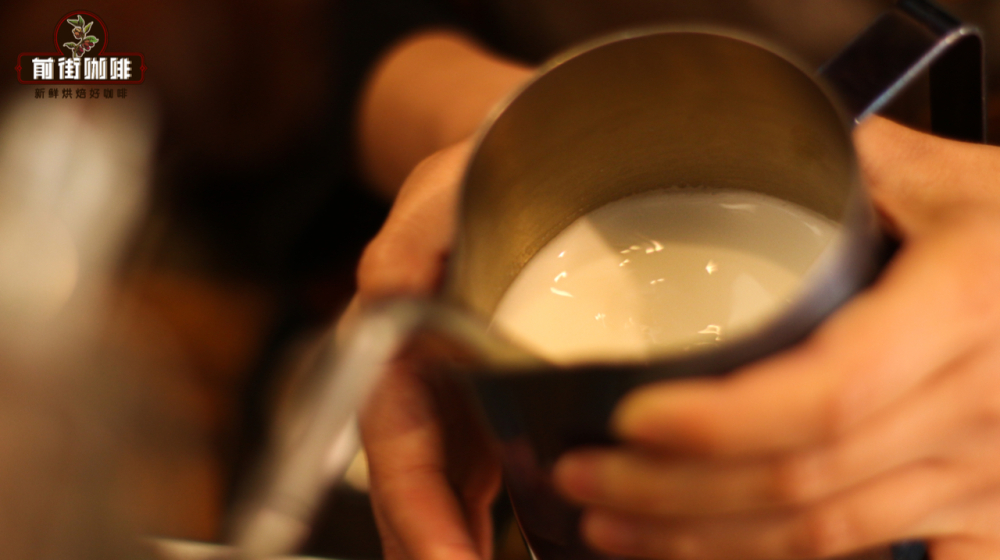
Five Common Milk Frothing Mistakes to Avoid: Over-relying on shaking or scooping out coarse foam to mask poor technique; letting frothed milk sit too long, causing separation; pouring from a height to integrate, which stirs up more bubbles; mistakenly blaming insufficient steam pressure on equipment (generally, 0.8 BAR pressure is suitable for practice—stable and easy to understand the principles). Stable milk foam quality is the foundation for complex latte art patterns.


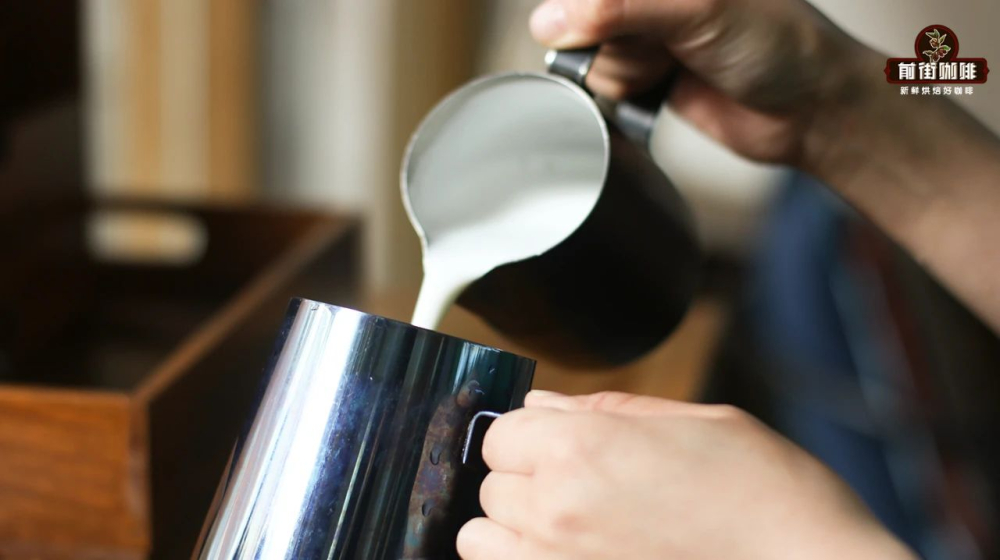
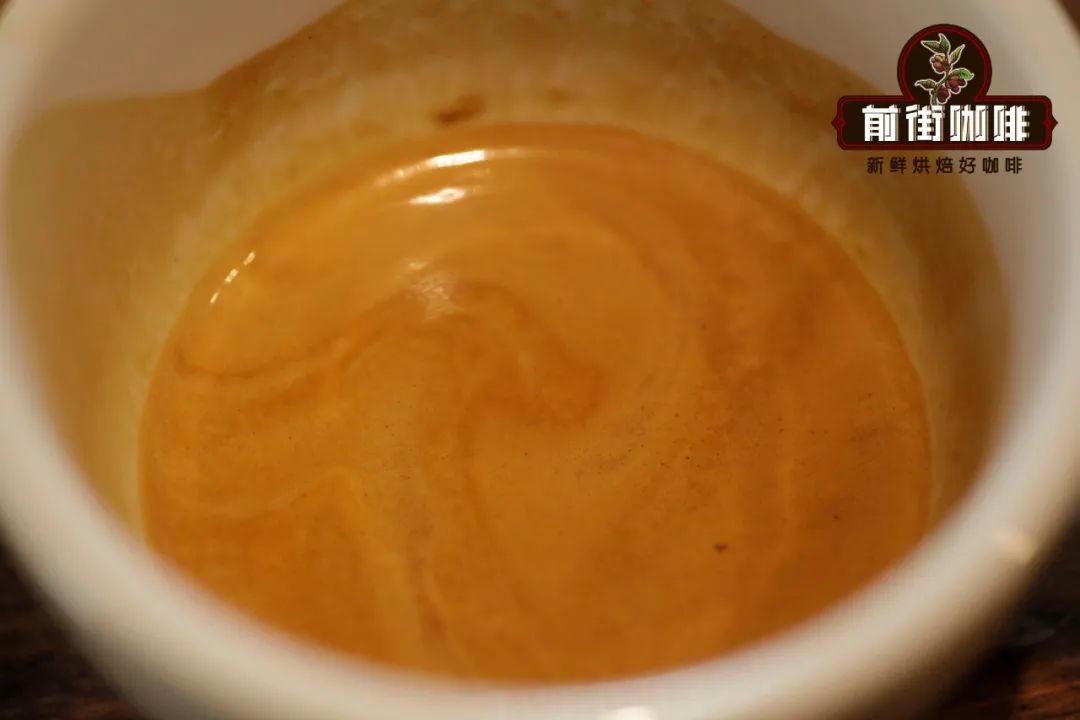
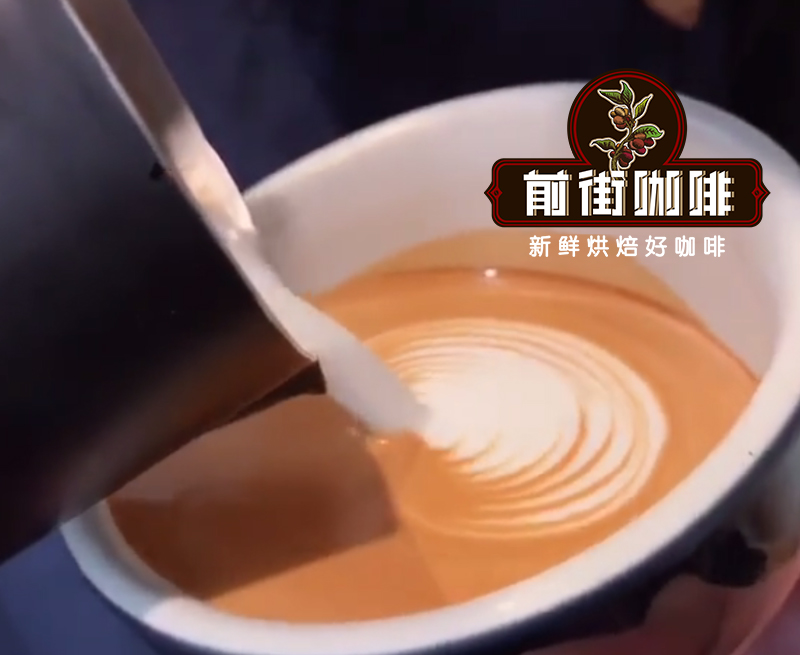
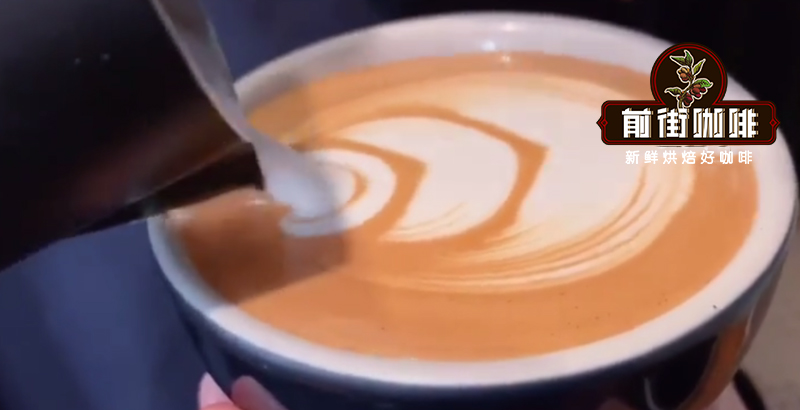
Extended Application: Take the “tulip pour” as an example. First, extract a well-balanced espresso (e.g., using a Honduras sherry cask and Yirgacheffe red cherry sundried blend, 14.5g coffee, 20g yield, 28s extraction time), then proceed with steps such as integration, center pour, pressure wave flow adjustment, and swing amplitude control. Through repeated practice, master the coordination between flow rate and pour height, gradually enhancing pattern detail and layering.


The above content is compiled by CoffeeHunters, a coffee news website.


