







Introduction:Drip bags are a convenient choice for busy lifestyles—just add hot water and a cup to enjoy pour over-level flavor. This article explains the brewing principles, correct steps, and key techniques for drip bags, covering everything from coffee-to-water ratio and temperature control to flavor variations. It helps you brew a richly layered cup and answers practical questions like “How many times can you use a drip bag?”
In recent years, coffee culture has become increasingly popular, and many office workers rely on a cup of coffee to boost their energy. But not everyone can visit a café at any time, making drip bags a convenient yet quality-conscious solution.
What is a drip bag?
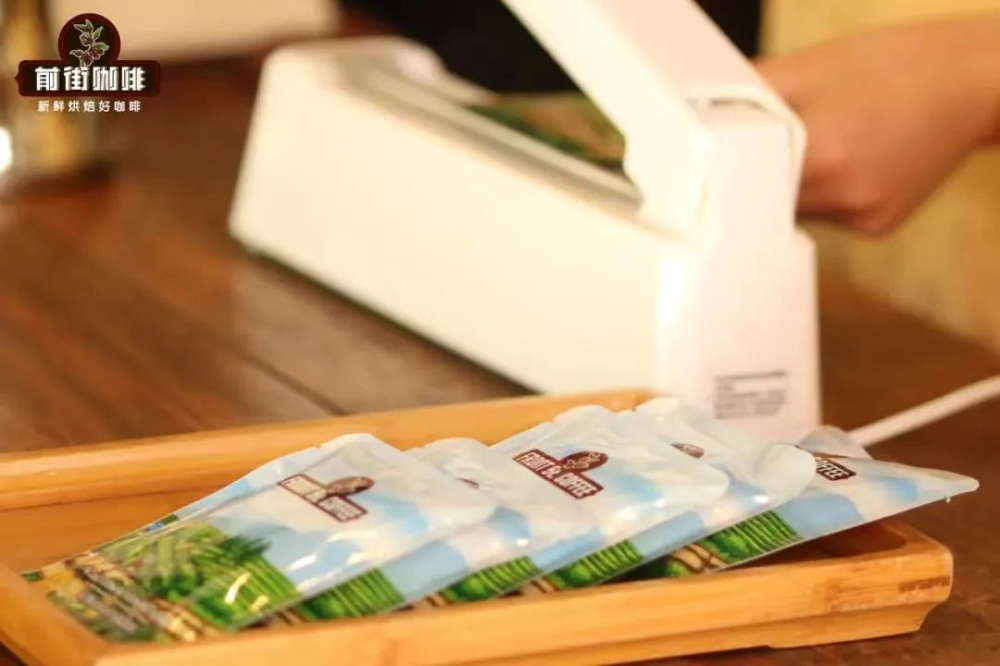
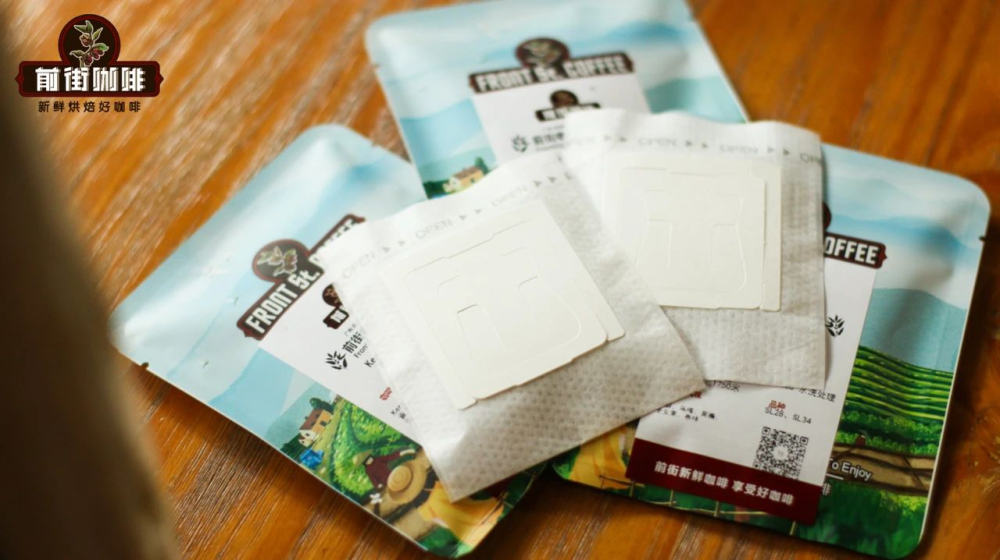
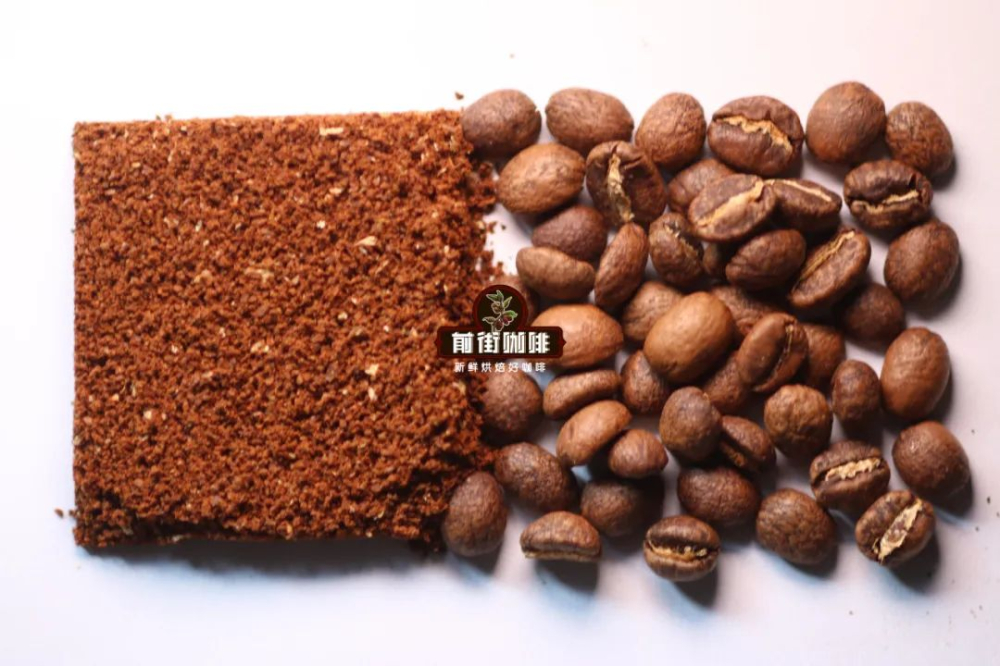
This design seals pre-ground coffee in a filter pouch with a built-in filter cloth, featuring two “ear-like” handles that secure the pouch to a cup or container. All you need is hot water and a vessel to enjoy filtered coffee anytime. Compared to pour over, which requires various tools, drip bags eliminate the need for a grinder, filter cone, and other equipment.The filter pouch is often made of biodegradable non-woven fabric.This allows the coffee liquid to naturally drip through.
Similarities and Differences Between Drip Bags and Pour Over
Both methods involve filtered extraction, but drip bags are simpler to use. Pour over requires tools like a gooseneck kettle, thermometer, filter cone set, and precision scale, whereas drip bags come with pre-ground coffee.They eliminate the grinding step.The non-woven filter pouch also filters out coffee grounds, removing the need for extra paper filters.
Standard Brewing Process
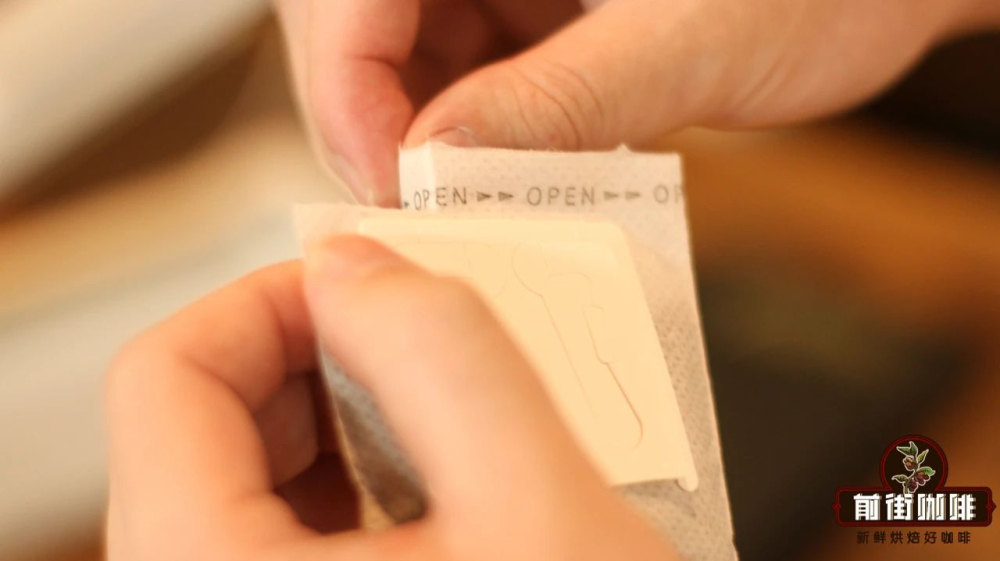
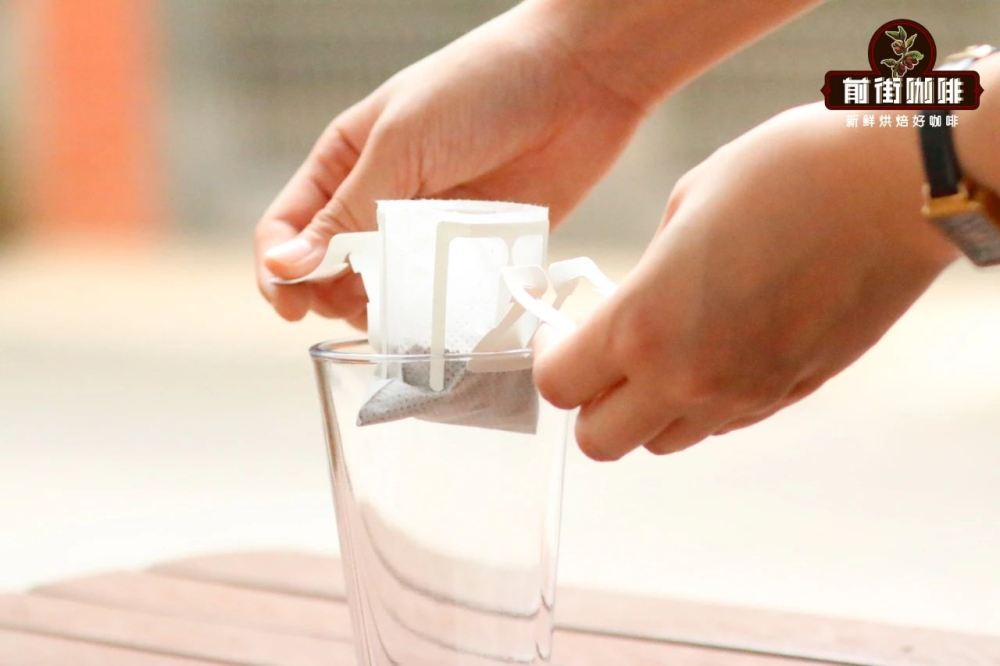
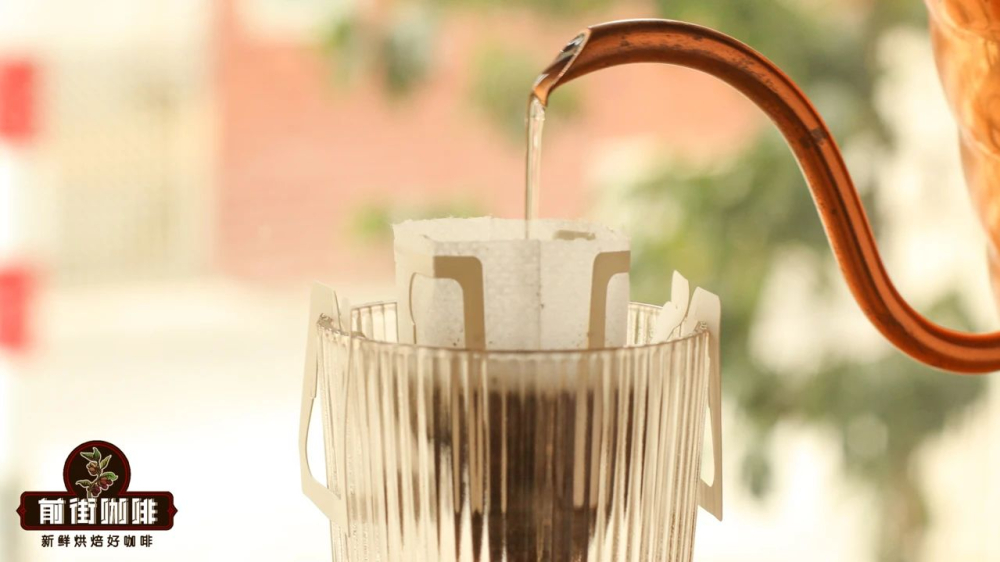
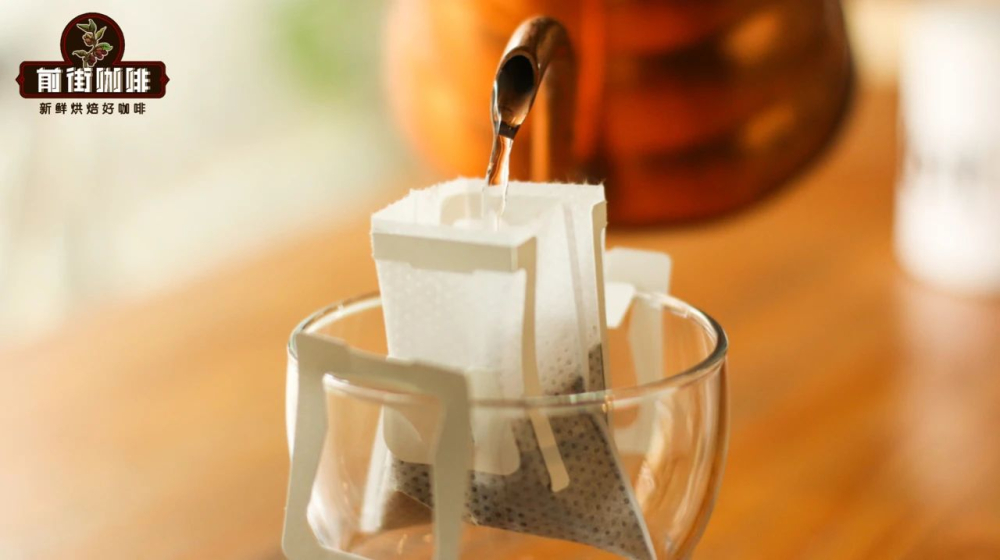
Taking a common 10g drip bag as an example, using a 1:15 coffee-to-water ratio requires pouring 150ml of hot water.The first step is to prepare a vessel(such as a sharing pitcher or mug) and a kettle capable of stable pouring. After opening the package, tear along the dotted line to open the non-woven pouch and unfold the two ears to hang over the rim of the cup.
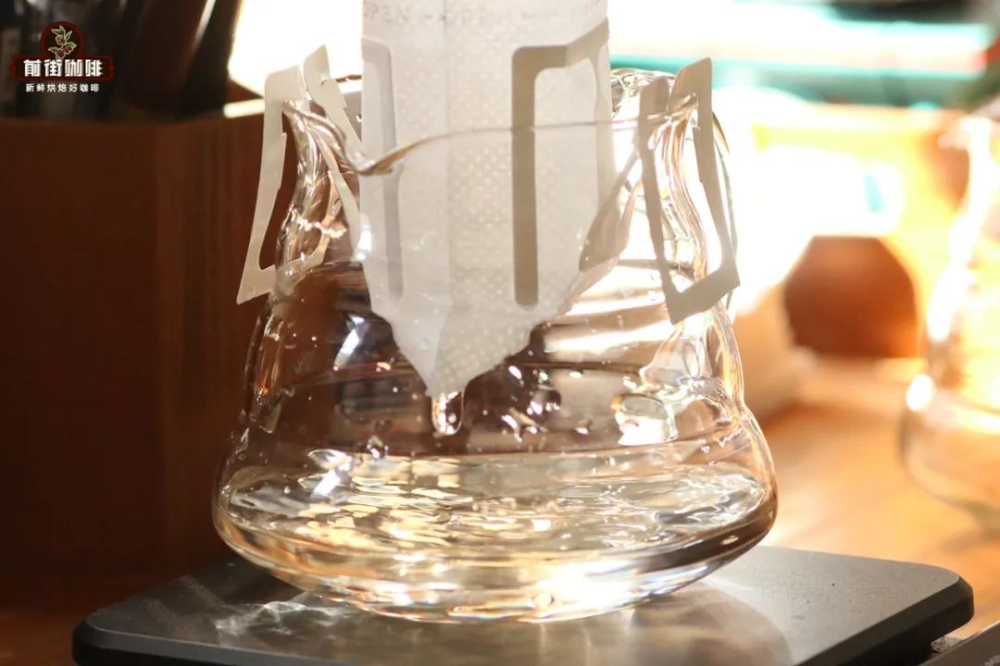
Brewing is divided into three stages:
1.Blooming Stage: Start by evenly wetting the coffee grounds with a small amount of hot water and let it sit for 10–20 seconds to release aroma.
2.Main Extraction Phase: Pour water in a thin, steady stream until the water level nears the top, then add more water as the liquid level drops.
3.Finishing Stage: After the final pour, wait for all the dripping to finish, then gently shake the cup to even out the flavors.
Key Points to Note
• Freshness has a significant impact.: Ground coffee has a larger surface area exposed to air, causing aromatic compounds to dissipate easily. It’s recommended to choose drip bags made within 5 days of roasting, with a typical shelf life of 1–2 weeks after opening.
• Water Temperature Control: The ideal range is 86–93°C. Insufficient temperature may lead to incomplete extraction, but if your equipment has limitations, you can extend the steeping time to compensate.
• Parameter Adjustments: The pouring speed should be steady—pouring too quickly can result in uneven extraction. The coffee-to-water ratio can be fine-tuned based on taste preference. For a stronger brew, adjust to 1:13; for a lighter one, extend to 1:17.
Frequently Asked Questions
Q: Can drip bags be reused?
A: In principle, it’s not recommended. A single brew already releases about 90% of the soluble substances, and a second brew will yield noticeably weaker flavor with more impurities.
Q: Why does it sometimes taste woody?
A: Coffee grounds exposed to air for too long can oxidize, producing stale flavors. Store them in a sealed, light-proof container in a cool place.
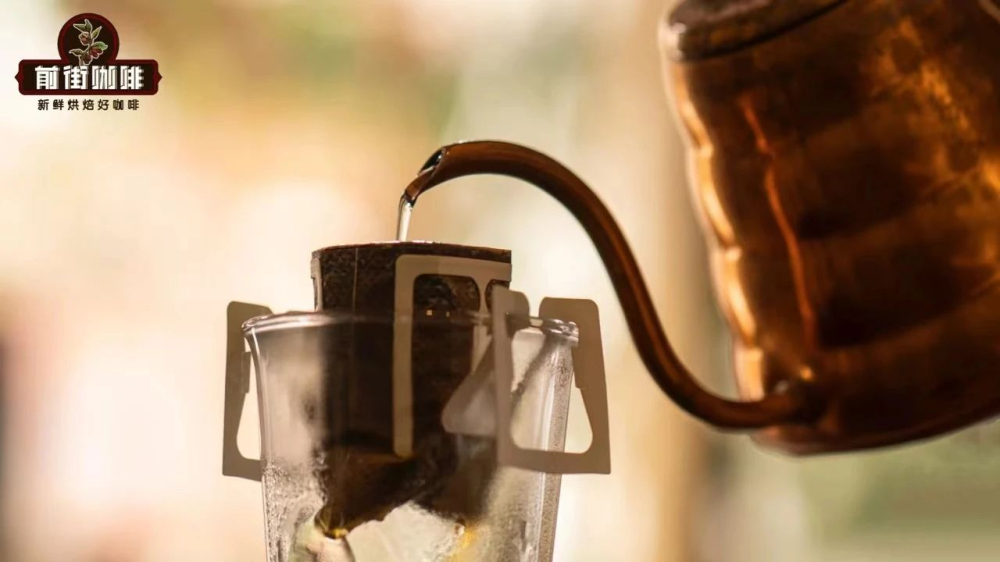
With the correct technique, drip bags can deliver a layered experience similar to pour over—from bright fruit acidity and sweet caramel undertones to delicate body.The key lies in stable control of variables.Through practice and adjustments, even beginners can consistently brew satisfying flavors.
The above content is compiled by CoffeeHunters, a coffee news website.


