Introduction:Want to deeply understand how coffee bean roast levels affect flavor, or trying home roasting for the first time but not sure where to start? This article explains in detail the color changes, aroma development, and taste differences from light to dark roasts, and provides three practical home roasting methods — including drum roaster, frying pan, and electric oven operation tips — to help you master heat control and know when to stop roasting, enhancing your coffee flavor experience.
As specialty coffee culture becomes more popular, many people are no longer satisfied with just brewing coffee and have started exploring the mysteries of coffee bean roasting. Understanding how different roast stages affect coffee flavor is one of the keys to improving brew quality. This article will guide you from the basics of coffee roast levels to practical at-home techniques, helping you gradually master this fascinating skill.
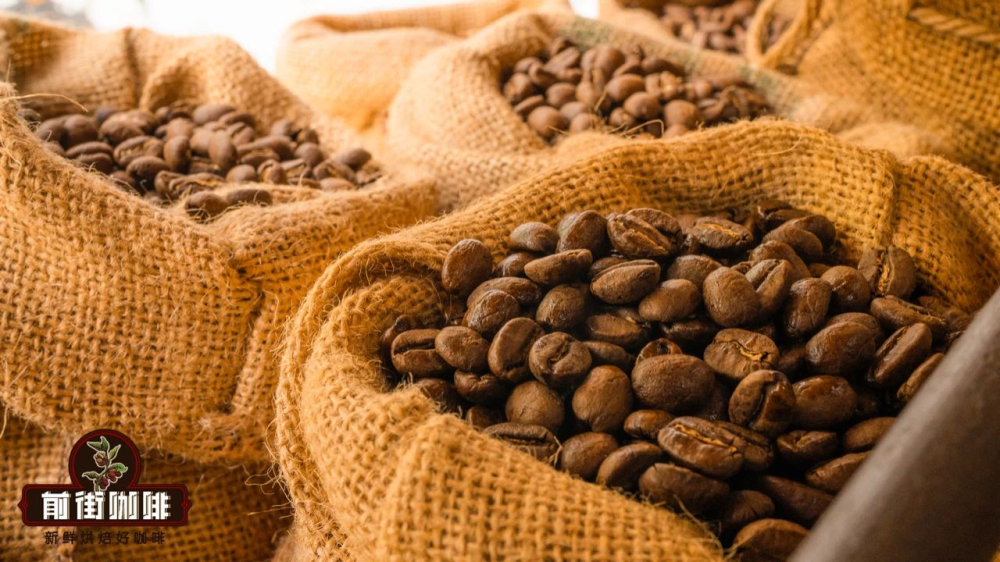
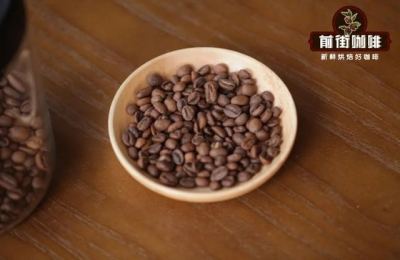
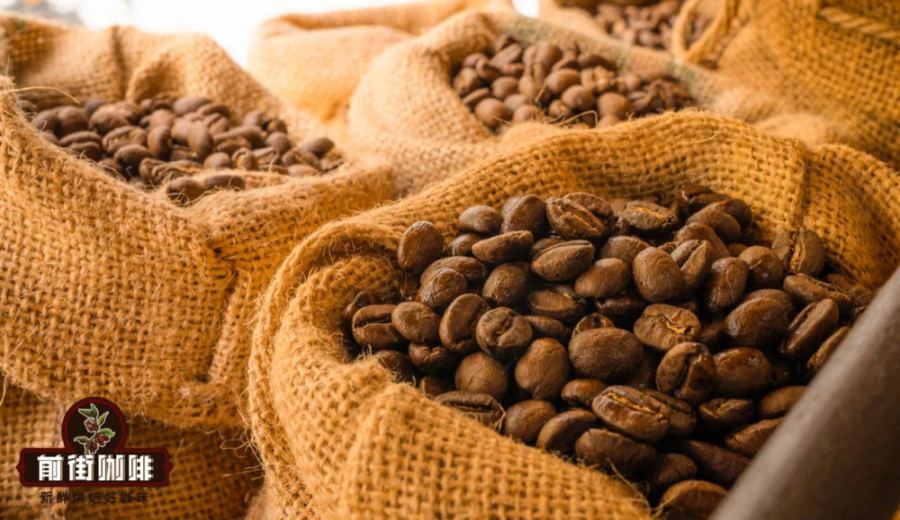
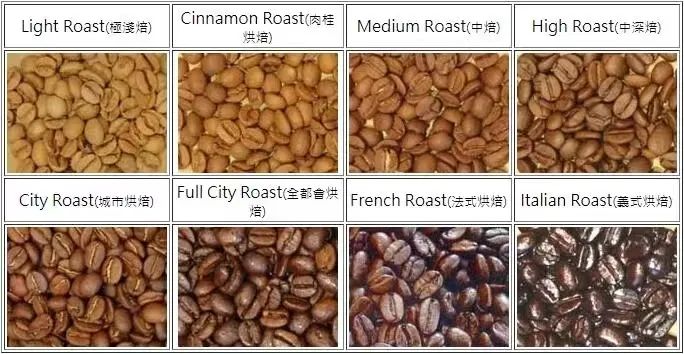
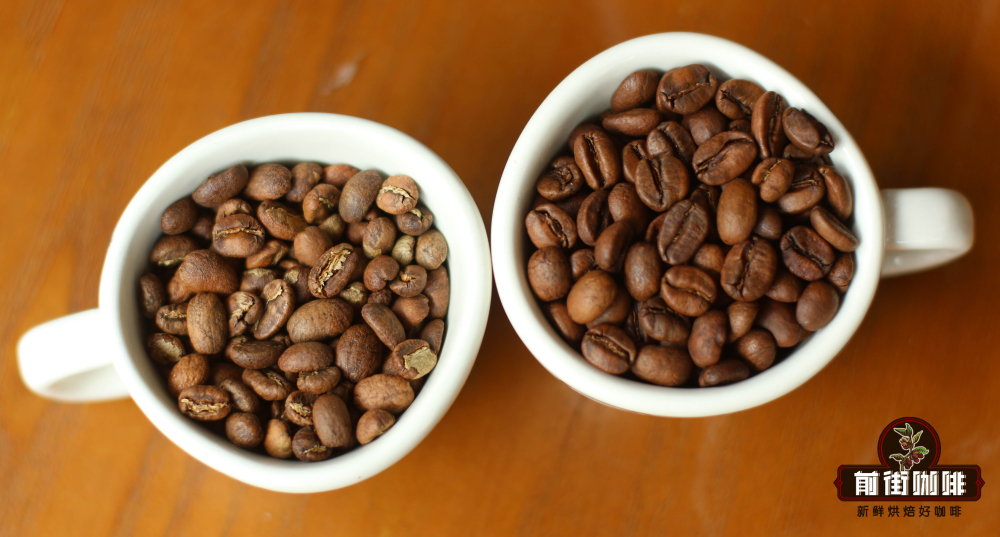
The roast level of coffee beans directly determines the final flavor profile. Light roasts usually exhibit herbal, floral notes, and bright acidity, ideal for highlighting origin characteristics; medium roasts showcase caramel, nuts, and a balanced acidity-bitterness harmony; dark roasts bring intense chocolate and smoky notes, but may mask the bean’s original flavors. Observing bean color changes and listening for the “first crack” and “second crack” sounds are intuitive ways to judge roasting progress.
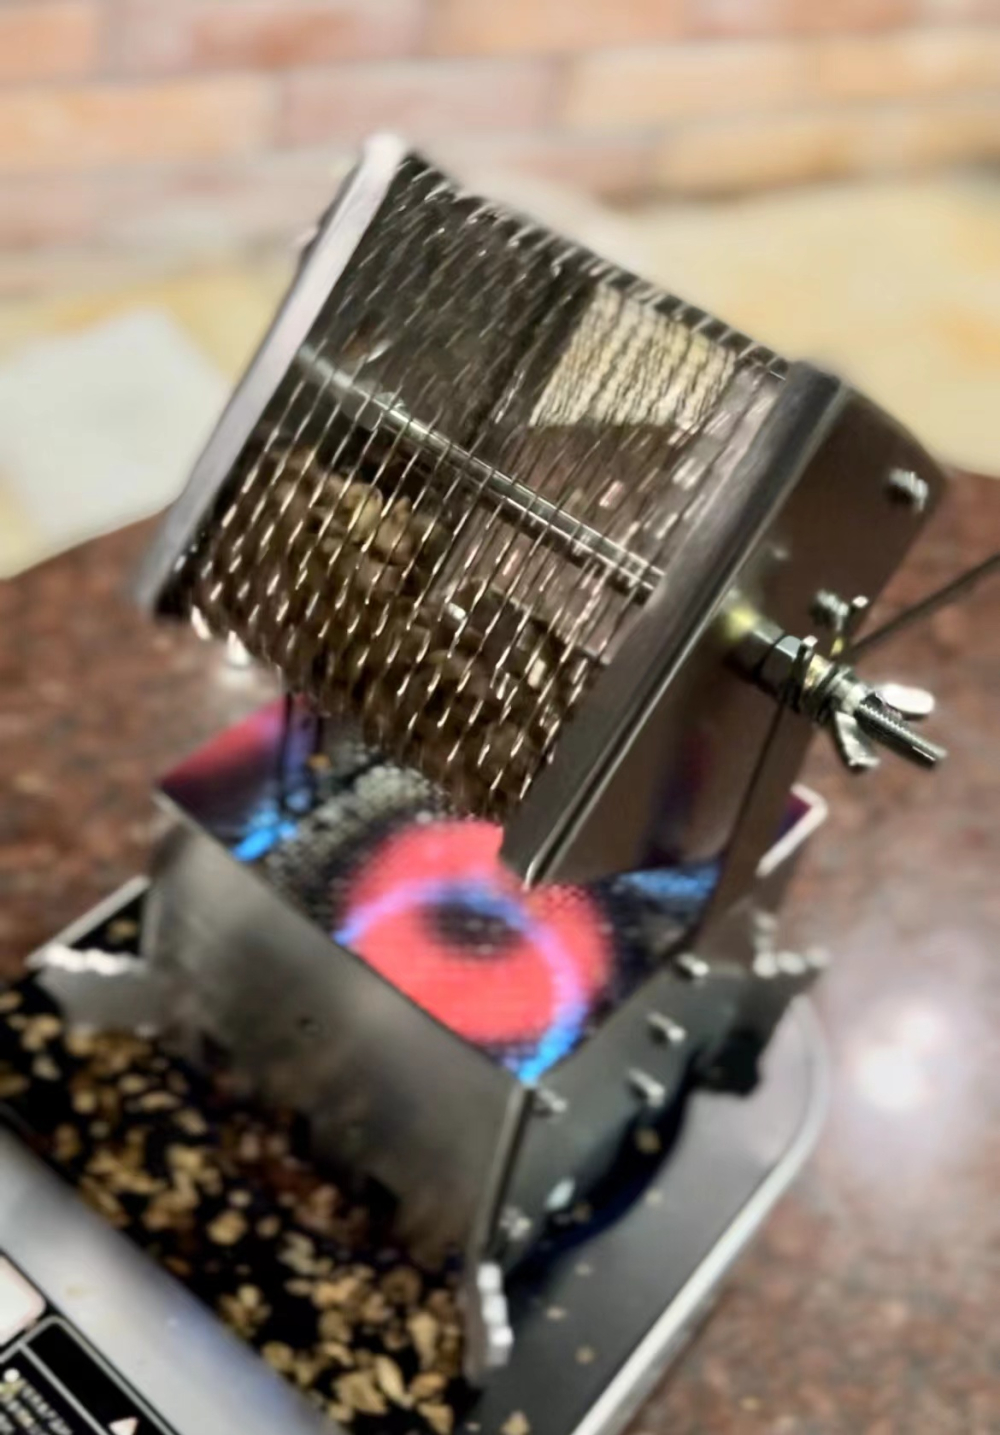
For those trying home roasting for the first time, it is recommended to start with a low flame and continuously stir the green beans evenly. Observe whether the bean color transitions progressively; if you notice localized rapid color change, it may be due to excessive heat or insufficient stirring. In this case, immediately reduce the flame intensity and temporarily move the heat source away to let the pan cool down. Conversely, if there is little to no color change over time, you’ll need to moderately increase the heat. When the bean color changes steadily and uniformly, and you listen for the cracking sounds, you can more accurately judge the right time to stop roasting.
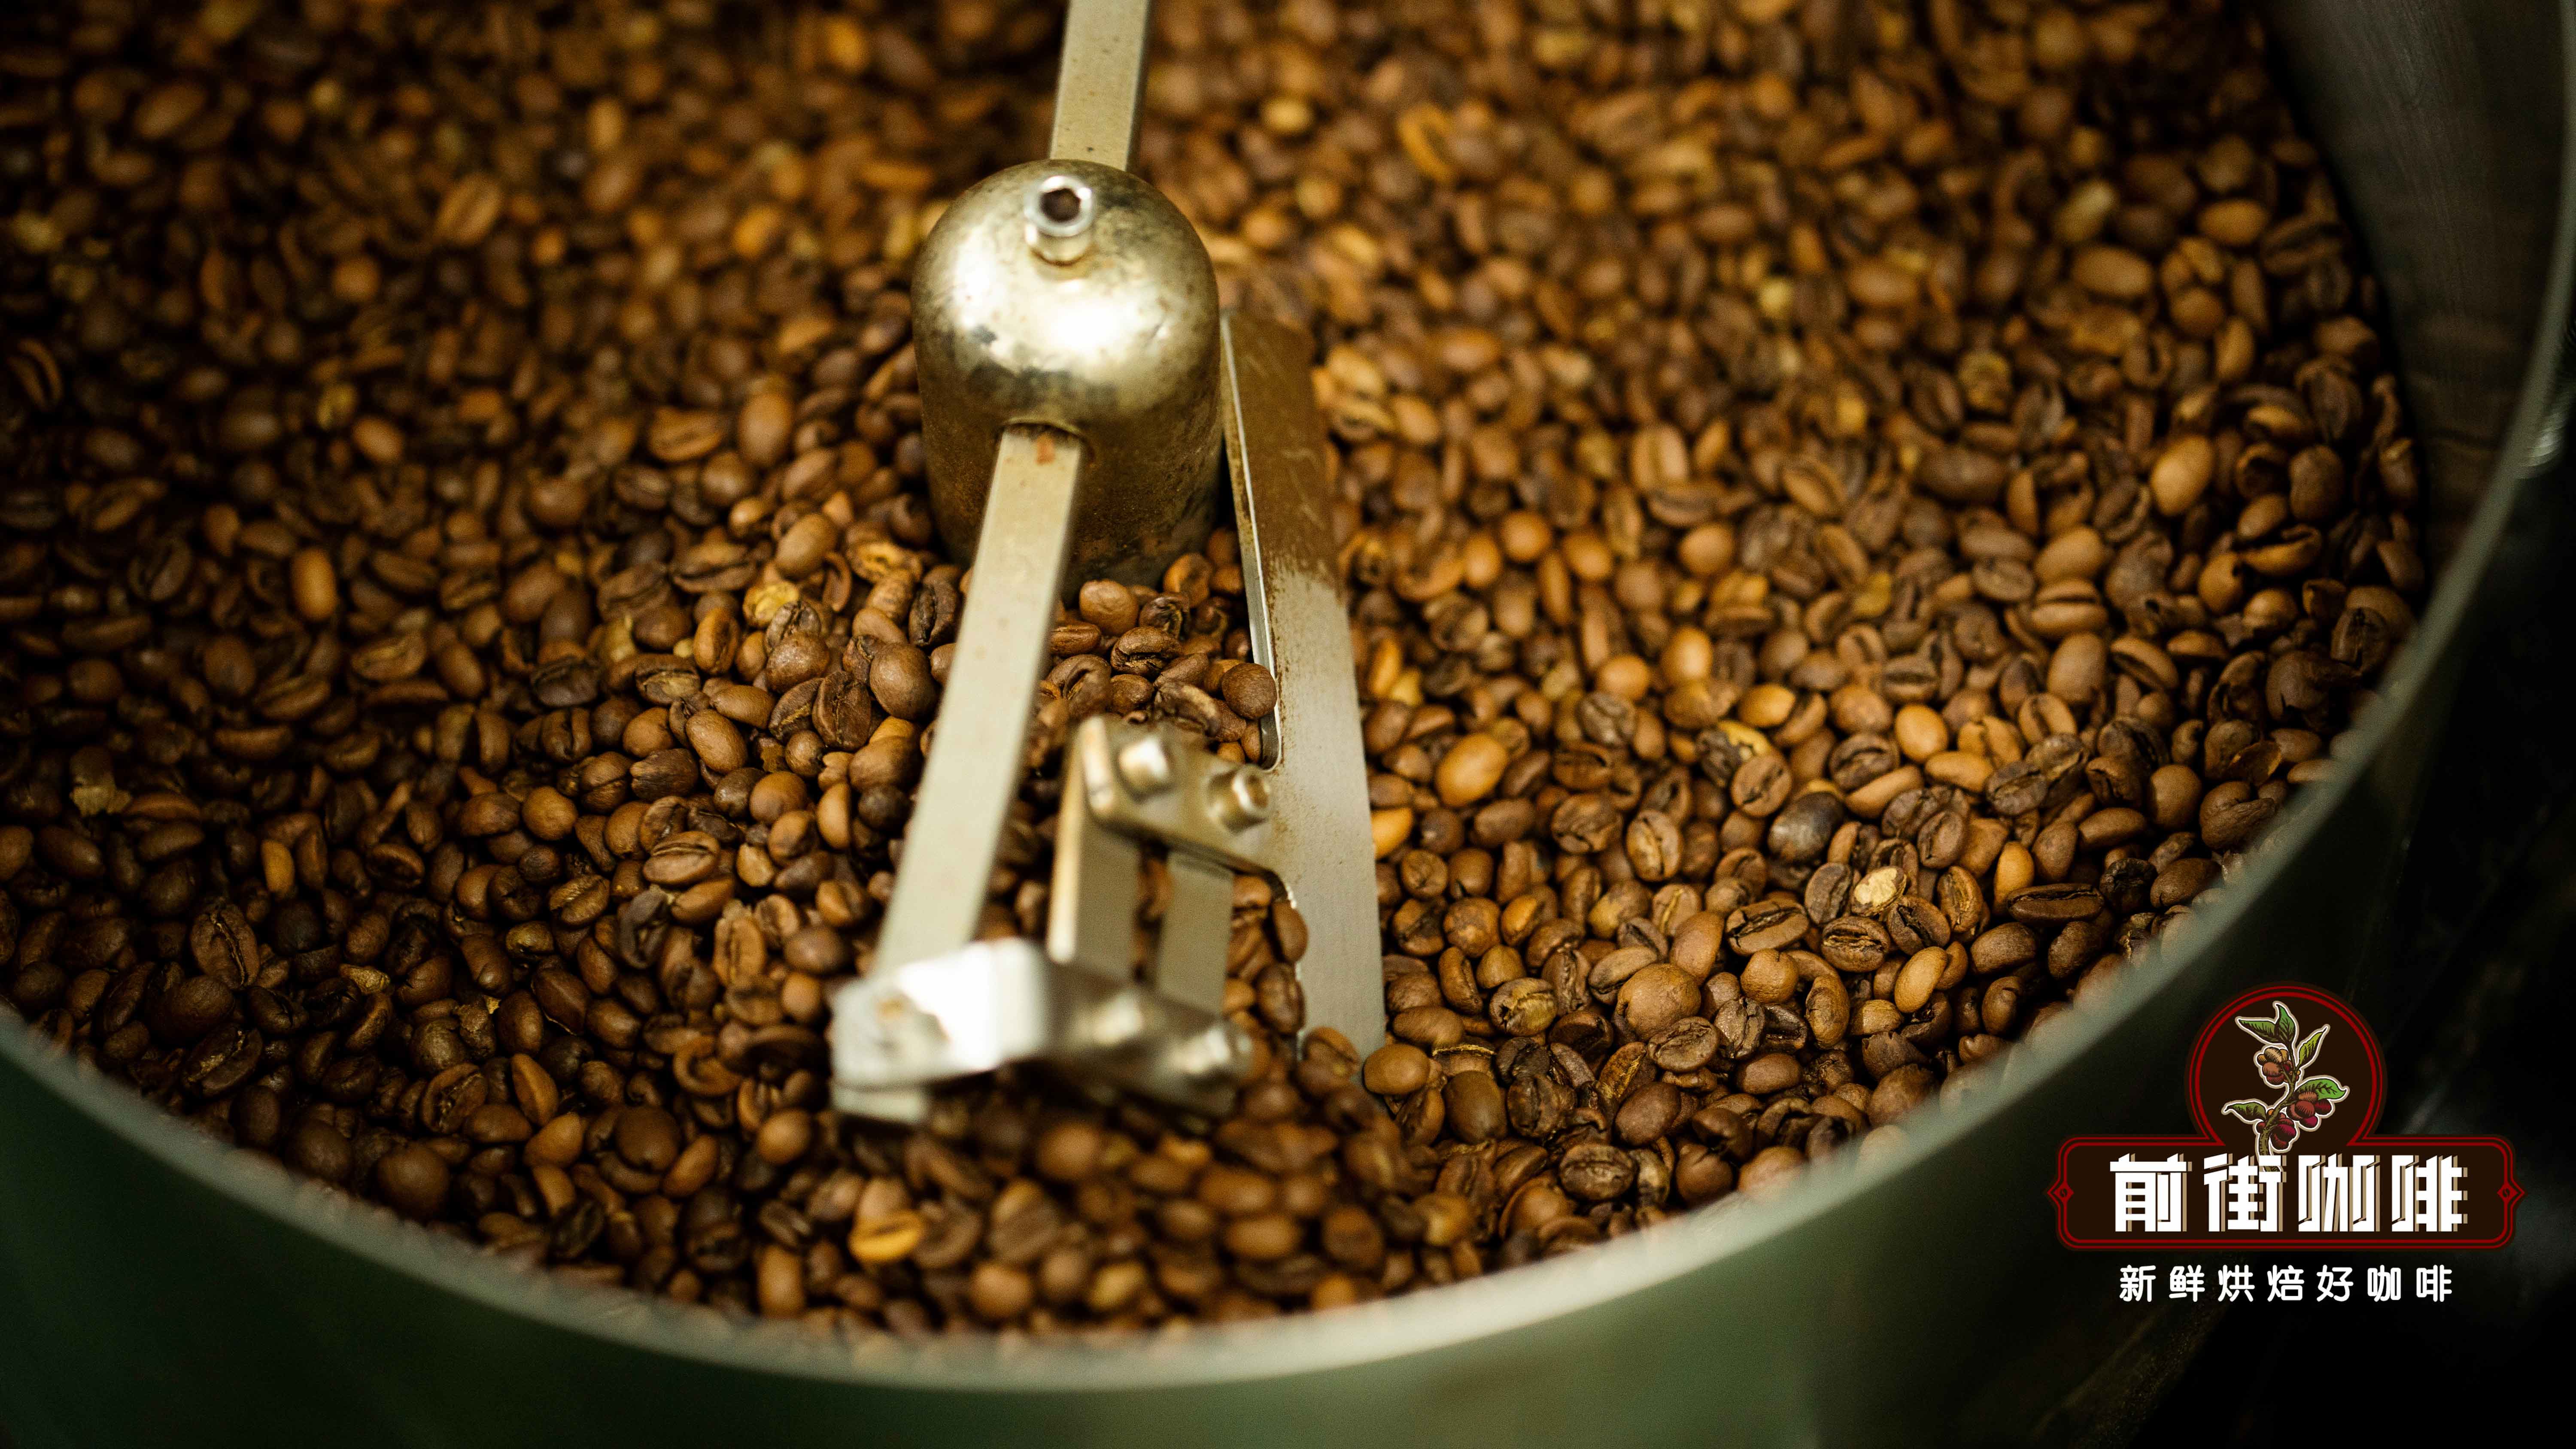
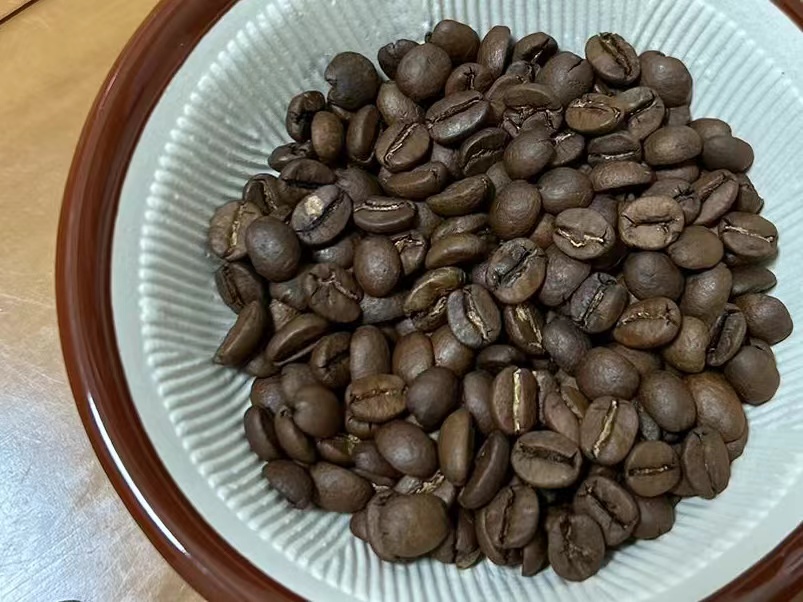
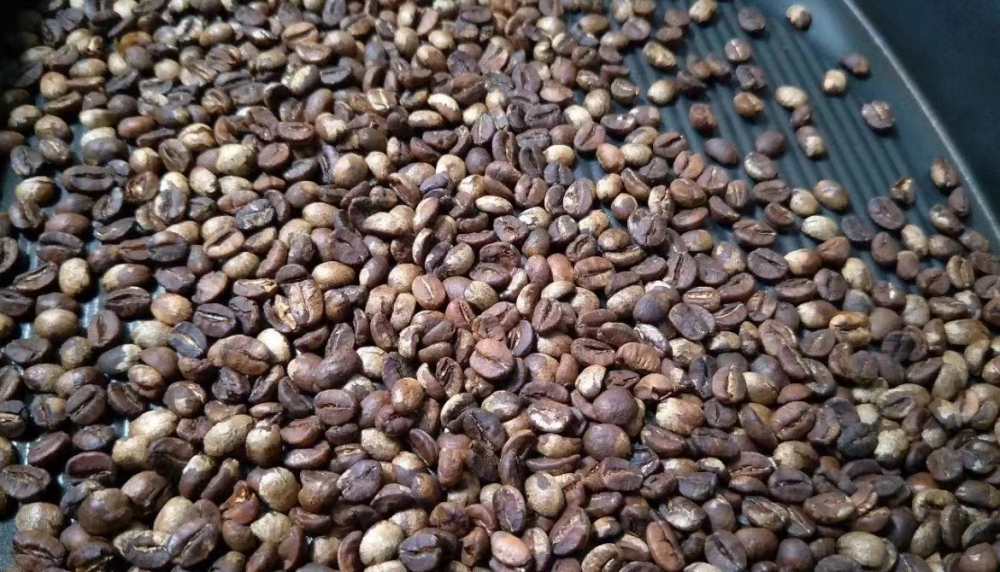
During the roasting process, beans transition from their initial green color to yellow, then amber, brown, and eventually into dark brown or nearly black stages. The “first crack” occurs as the beans shift from yellow to brown, producing short and low-frequency popping sounds, lasting about 3–5 pops; while the “second crack” is accompanied by dense and loud crackling noises, lasting around 2–3 minutes. Many coffee enthusiasts choose to stop roasting at the beginning of the second crack to achieve a balanced medium-dark roast flavor, at which point the beans have a slight sheen and show tiny dark spots.
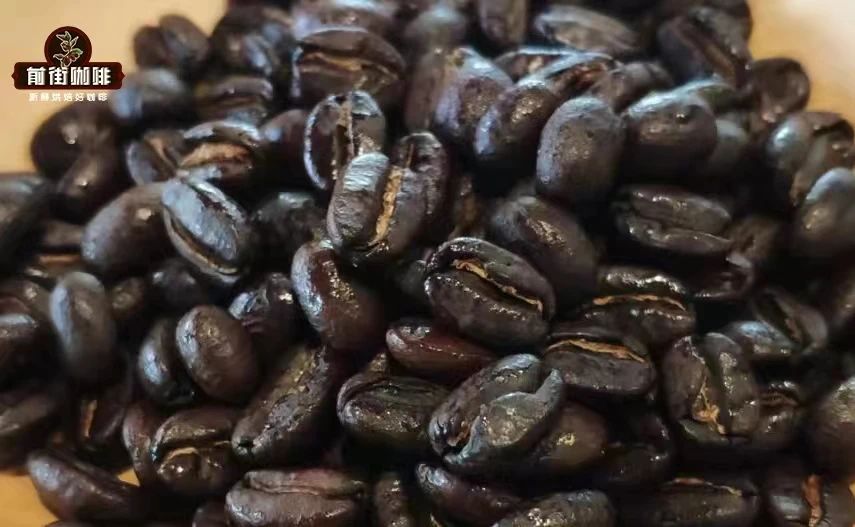
If you continue roasting into the later stage of the second crack, the beans will gradually carbonize, producing intense burnt flavors and a heavy mouthfeel. Although some drinkers prefer these unique characteristics, the nutritional value and complexity are significantly reduced. In fact, you can stop roasting at any stage from light golden to deep black — the key lies in personal taste preference. Beginners are advised to try different stopping points multiple times, recording color changes and flavor differences, gradually establishing their own roasting benchmarks.
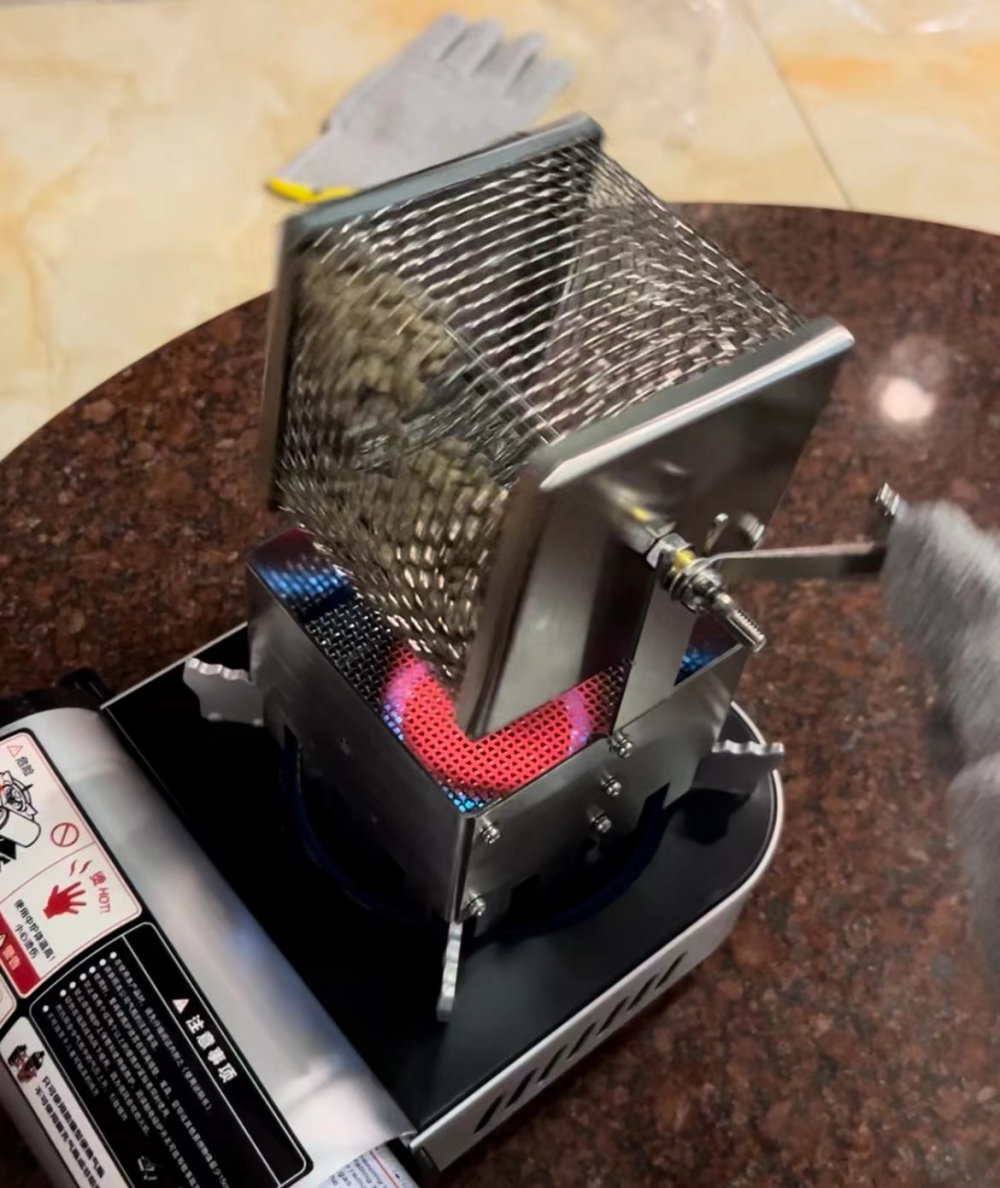
Among home roasting tools, the professional-grade drum roaster is the most recommended option. This equipment simulates the drum rotation principle of commercial roasters, ensuring even heating through continuous rotation. During operation, maintain a low flame, with a recommended rotational speed of 60–65 revolutions per minute, and keep stirring to ensure consistent heating. Compared to professional machines, drum roasting takes longer — for example, roasting Brazilian Cerrado Red Bourbon beans from first crack to medium-dark level takes about 31 minutes, far exceeding the 13 minutes of commercial machines. But this process allows you to witness firsthand the full transformation of the beans from green to sweet corn notes, and then evolving into caramel and nut flavors, making it highly educational.
If you don’t have professional tools, a frying pan is also a viable alternative. Be sure to thoroughly clean the pan surface of any grease to avoid affecting the beans’ flavor. Place 100–200 grams of green beans on a dry pan surface, apply medium heat, and stir continuously. While this method may not achieve the uniformity of commercial equipment, it allows you to clearly observe the progressive color change from green to deep brown, making it an economical choice for experiencing the basic principles of roasting. Note that heat control is crucial — overly concentrated heating can cause the exterior to burn while the inside remains under-roasted.

Electric ovens, while convenient, are not recommended as a first-choice tool. Because they do not allow for continuous stirring, uneven heating is common. It is advised to roast no more than the tray capacity at a time and spread the beans in a single layer. During the roasting process, you’ll need to remove and stir the beans multiple times to ensure even heating. This method is time-consuming and requires high concentration, but it is suitable for users who already grasp basic roasting concepts to conduct experimental tries. No matter which tool you choose, keeping records of each session’s heat settings, roasting duration, and resulting flavors can help you gradually refine your home roasting skills.
The above content is compiled by CoffeeHunters, a coffee news website.