







Introduction:To create a delicate and smooth latte, the steaming and blending of milk foam is key. This article delves into the principles of frothing milk, techniques for integrating milk foam with coffee, and how to achieve the perfect foam texture by controlling temperature, steam, and technique. It also guides you step-by-step through the latte art pouring and blending process to elevate both the flavor and visual appeal of your coffee.
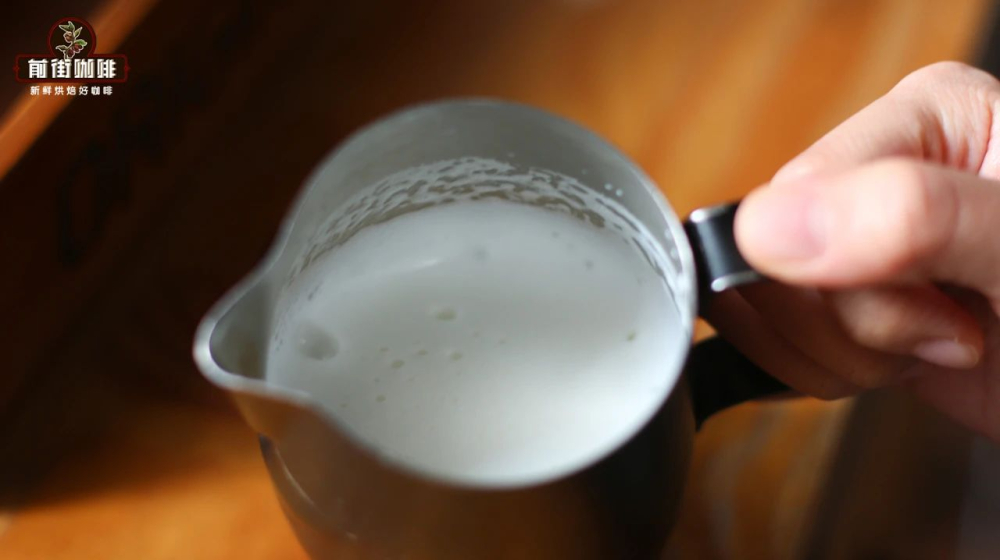
For baristas, steaming milk is not only a basic skill but also one of the criteria for evaluating professional ability. For example, the milk foam required for a latte should be fine and smooth; overly thick foam not only affects texture but can also disrupt the overall flavor profile. Therefore, the key to making a successful latte lies in the texture, temperature, and integration of the milk foam with the espresso.
Milk can be frothed into foam mainly because steam injects air into the liquid milk, and the surface tension of milk proteins wraps around the air to form tiny bubbles. These small bubbles cause the milk to expand in volume, resulting in a dense, velvety foam. In addition, lactose dissolves into the milk during heating, while milk fat helps stabilize these bubbles, allowing the foam to release richer aroma and sweetness when it bursts in the mouth.

A common issue is why the milk foam you produce doesn’t blend well with the coffee. This is usually because there isn’t enough foam or the foam is too thin, causing the hot milk to be too heavy and preventing good integration. In such cases, it’s recommended to increase the amount of froth to achieve a more balanced ratio between foam and milk.
Additionally, some people may seem to have a smooth blending process, but when it comes to pouring latte art, the foam floats to the surface and forms a clump. This is often due to poor integration between the milk foam and milk, leading to layering. The solution is to pay attention to steam pressure and the fineness of the foam during the frothing process. Generally speaking, the higher the steam pressure, the more the foam churns and the better the integration; the finer the foam, the lower the air content, and the higher the density means less buoyancy and better blending results.
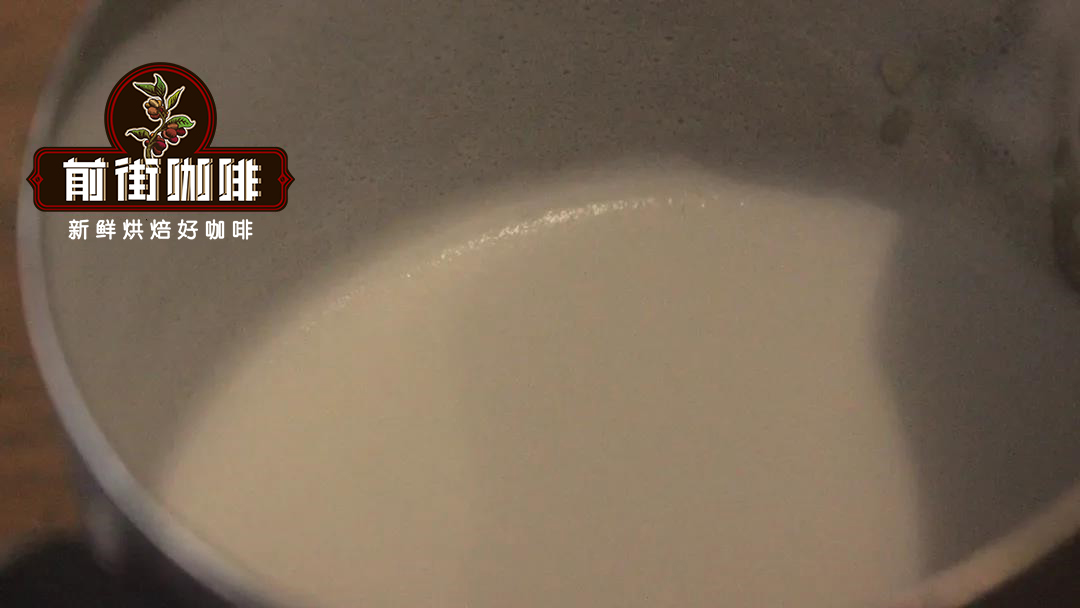
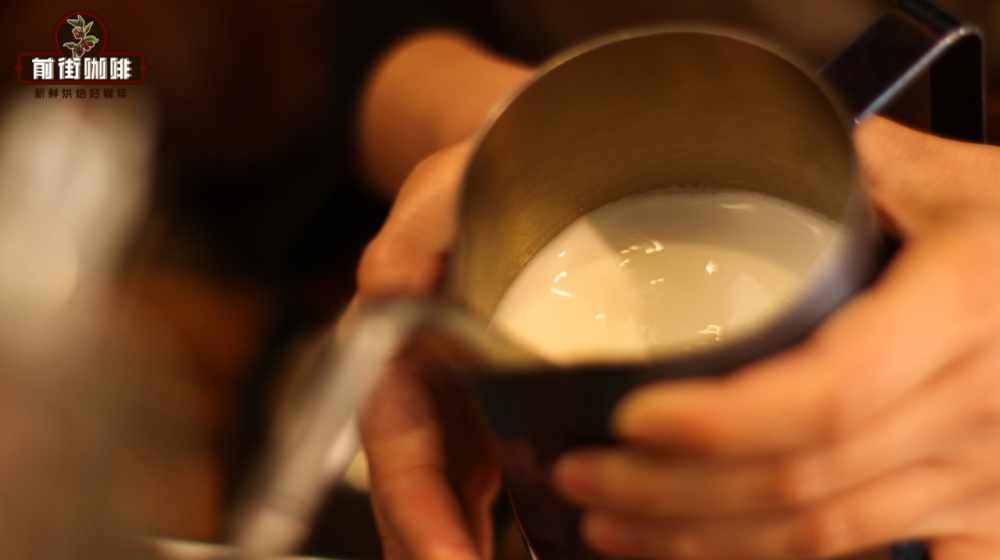
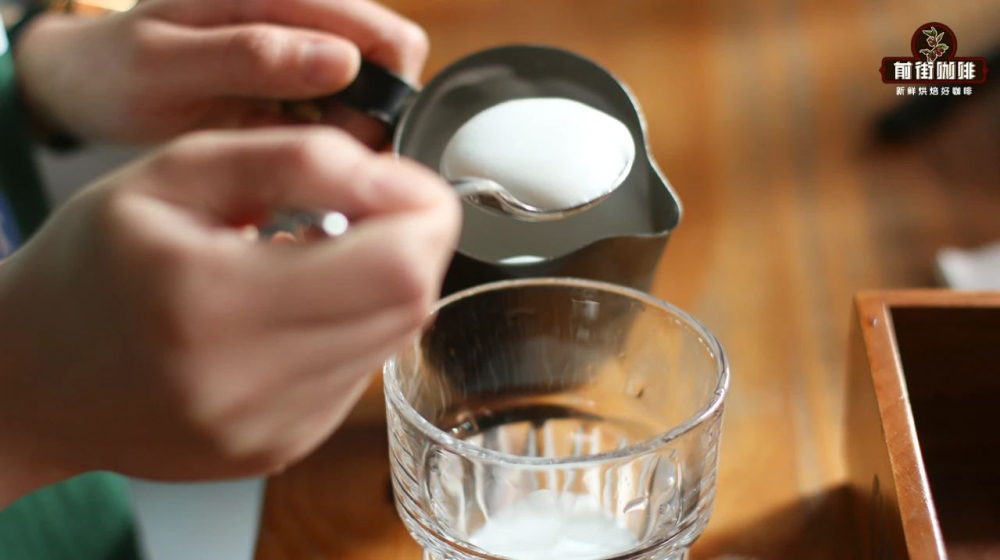
Judging the integration of milk foam is simple: pour the finished foam into a clear glass and let it sit. If clear layering appears within 30 seconds, the integration is poor; between 30 to 60 seconds is moderate; and if it remains uniform after 60 seconds, the integration is good. Please note that frothed milk should not be left standing for too long, as it will also separate over time.
As for milk foam temperature control, it is recommended to heat the milk to around 60°C, and no higher than 70°C, otherwise it will damage the protein structure in the milk, affecting texture and foam stability. Practical test data shows that at 90°C, the foam will over-expand and quickly collapse; 60°C is the most commonly used and stable temperature; while at 30°C or below, the foam collapses noticeably faster and is unsuitable for lattes and other coffees that require integration.

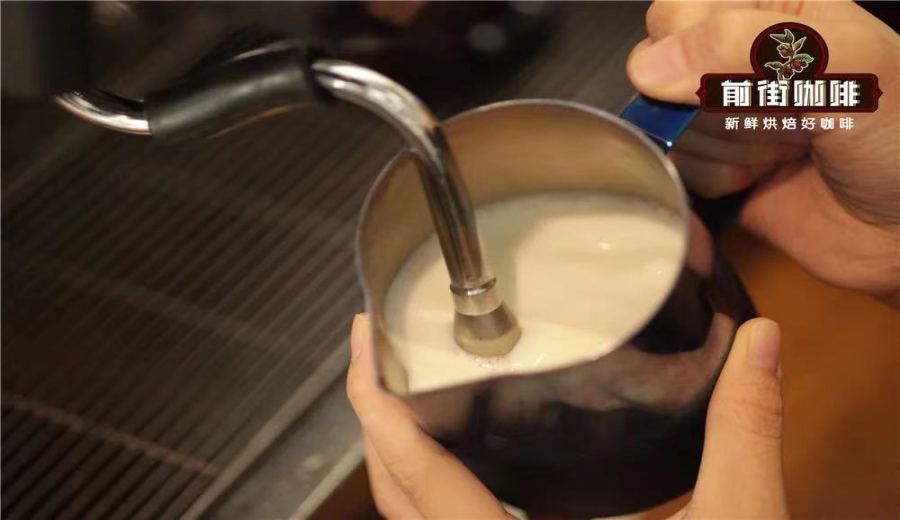
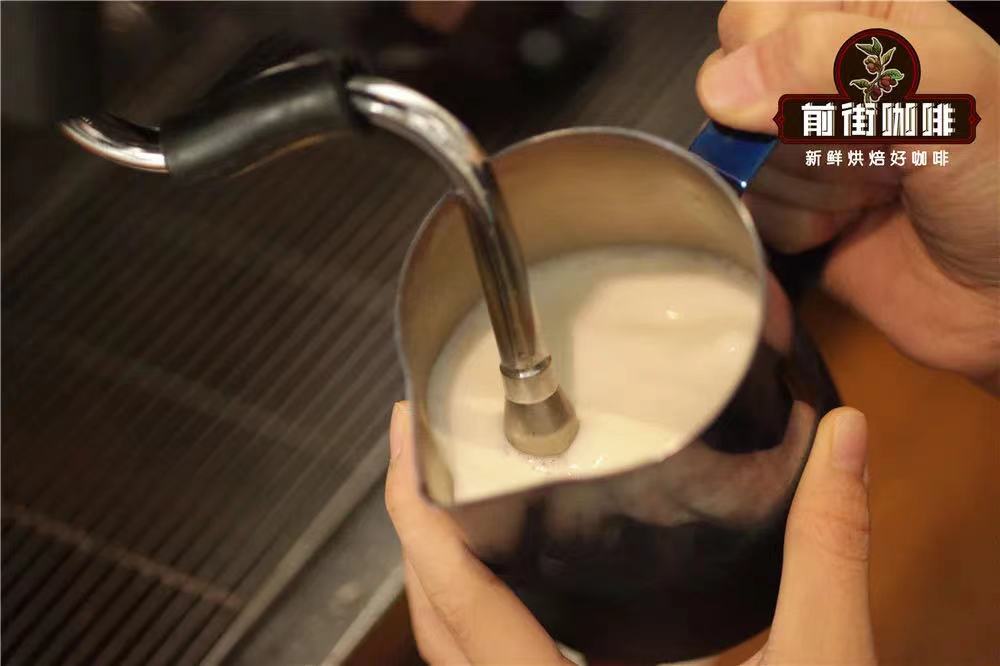
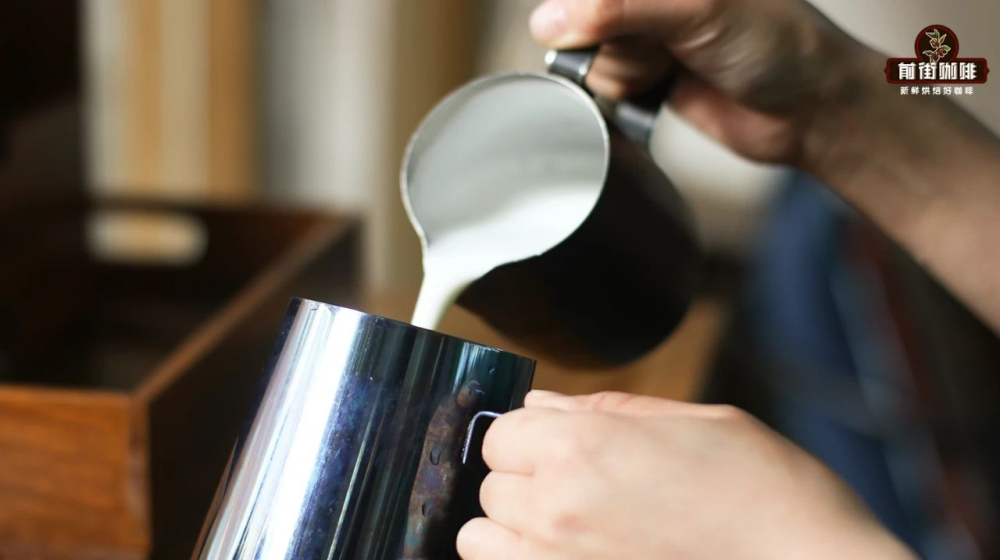
To create fine and rich milk foam, you can use the following basic method: pour milk into the pitcher to about half full, insert the steam wand vertically into the center or near the edge of the milk, turn on the steam to about half power, and keep the steam tip just touching the milk surface. When the milk temperature approaches 50°C, gradually adjust the angle to create a whirlpool, and finally turn off the steam at around 60°C, with an ideal final temperature of about 66°C. This method is simple and suitable for beginners.
Regarding equipment, the 3-hole, 4-hole, or 5-hole steam wands found on most espresso machines can all produce decent milk foam, but the dryness/wetness of the steam, air pressure, and nozzle size all affect the outcome. For beginners, it’s recommended to use a thermometer for assistance, and you can also practice creating whirlpools and observing bubble formation with water first, which helps in mastering milk frothing techniques later on.
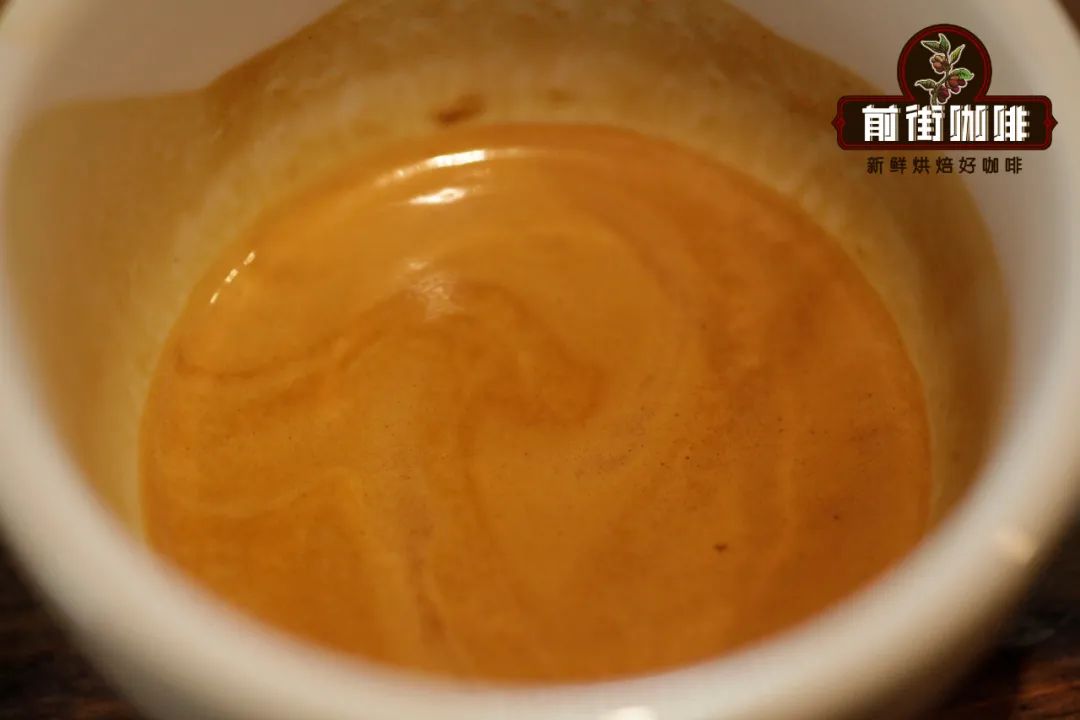
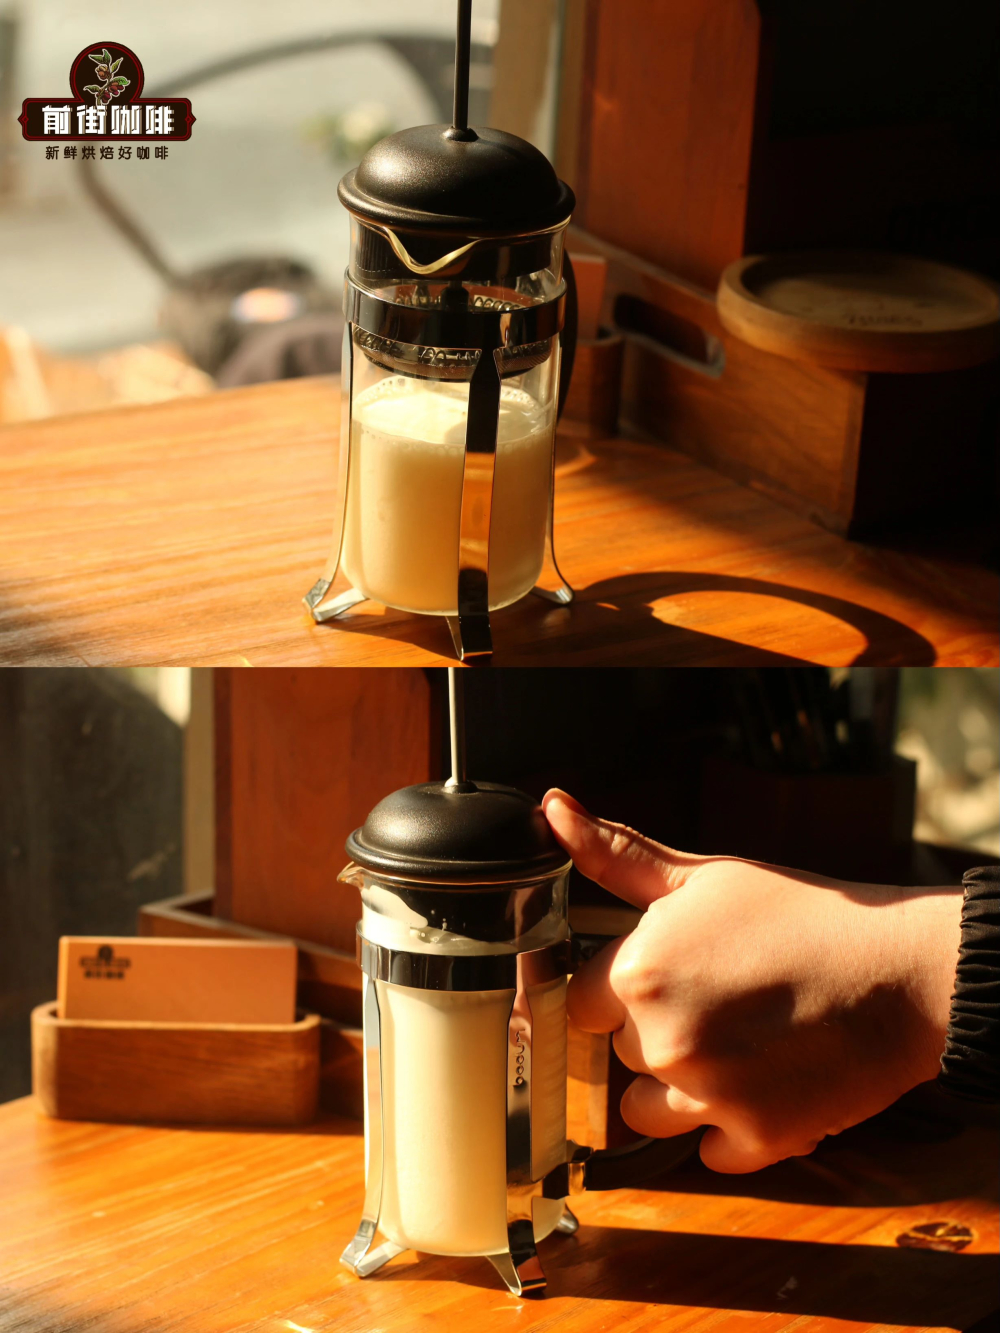
If you want to try making milk foam manually, there are two simple methods: one is to use a milk frothing pitcher or French press, heat the milk to below 60°C, cover it with the lid and filter, and rapidly pump the filter about 30 times to allow air into the milk, then scrape off any large bubbles on the surface to complete the process; another method is to use a steam-powered milk frother, first purge any excess water from the steam wand, then tilt the nozzle slightly into the milk, adjusting it to just below the surface. When a steady “hissing” sound is heard, it indicates the steam is working correctly. Finally, heat the milk to 60–70°C, turn off the steam, and clean the steam wand.
Hand-testing the milk foam temperature is also a skill. It’s recommended to place your right hand on the outside of the pitcher; when it becomes too hot to touch comfortably, you can turn off the steam, then confirm the temperature with a thermometer to ensure it falls within the ideal range of 55–65°C. This temperature range can enhance the aroma of lactose while avoiding protein denaturation, ensuring good integration and texture between the foam and coffee.

Finally, here are a few common mistakes to avoid when frothing milk: for example, relying too much on shaking or scooping off large bubbles to fix the foam, which actually masks a lack of fundamental technique; leaving the foam to sit unused, leading to separation; or using excessively high steam pressure, which can create foam quickly but is not conducive to forming fine foam. Beginners are advised to first stabilize their basic technique before fine-tuning details.
In summary, from understanding the principles of milk frothing, mastering steam and temperature control, to practicing blending techniques and latte art steps, each stage influences the final flavor and presentation of the coffee. With continuous practice and observation, you too can produce professional-grade, fine-textured milk foam to add soul to every cup of latte.







The above content is compiled by CoffeeHunters, a coffee news website.


