








Introduction:Want to add both visual and taste enjoyment to your coffee? Latte art is not only a barista’s signature skill but also the key to elevating a cup of latte. This article will guide you through everything from milk selection and frothing to latte art techniques, revealing how using the right milk and proper steaming methods can help even beginners consistently produce fine, velvety microfoam and gradually draw simple yet beautiful patterns. Follow the steps to enjoy professional-level latte art at home.
The charm of coffee lies not only in its flavor but also in its presentation. Especially for many first-time coffee drinkers, a latte with beautiful latte art often piques more interest than a plain black espresso. And the key to creating beautiful patterns lies first and foremost in the quality of the milk foam — fine, velvety, and stable milk foam not only makes the design clear and attractive but also enhances the overall smoothness and richness of the drink.

Before starting to practice latte art, selecting the right coffee beans and milk is crucial. It is recommended to use a classic espresso blend, typically composed of beans from regions such as Brazil, Indonesia, and Vietnam. After dark roasting, it can deliver a rich and bold aroma, and it can also easily extract a dense and stable coffee crema, making it suitable for both Americano and milk-based drinks like lattes.
As for milk, it is recommended to prioritize fresh whole milk, especially chilled fresh whole milk. Because whole milk has higher protein and fat content, it helps create finer, more stable, and easier-to-shape milk foam, which is essential for latte art. If possible, choose a brand of fresh milk that is delivered daily to ensure better freshness and foam performance.

There are two main methods for steaming milk: one is to aerate and texture simultaneously, and the other is to aerate first and then texture further. To help everyone understand more clearly, this time we will detail the method of “separating aeration and texturing” to help you master milk foam techniques from the basics.
First, you’ll need a semi-automatic espresso machine equipped with a steam wand, as well as a suitable pitcher (also called a latte art pitcher). These tools will greatly improve your success rate and efficiency. Additionally, regarding milk selection, although room-temperature milk, cold milk, whole milk or skim milk can all be used to create foam, if you’re aiming for better texture, foam stability, and taste, it is recommended to use chilled whole fresh milk, which will help produce foam that is more velvety, fine, and long-lasting.

The principle of steaming milk mainly involves using the high-temperature steam released by the steam wand to inject air into the milk while heating it. When you partially submerge the steam wand into the milk surface, the steam forms bubbles beneath the surface, thereby creating milk foam; but if you fully submerge the steam wand into the milk, it will only heat the milk without producing foam.
During operation, you can observe the steam wand’s nozzle holes. Different machines may have single-hole, double-hole, or triple-hole designs, but the basic principle remains the same: controlling the position and angle of the steam wand allows you to adjust the texture and thickness of the milk foam.
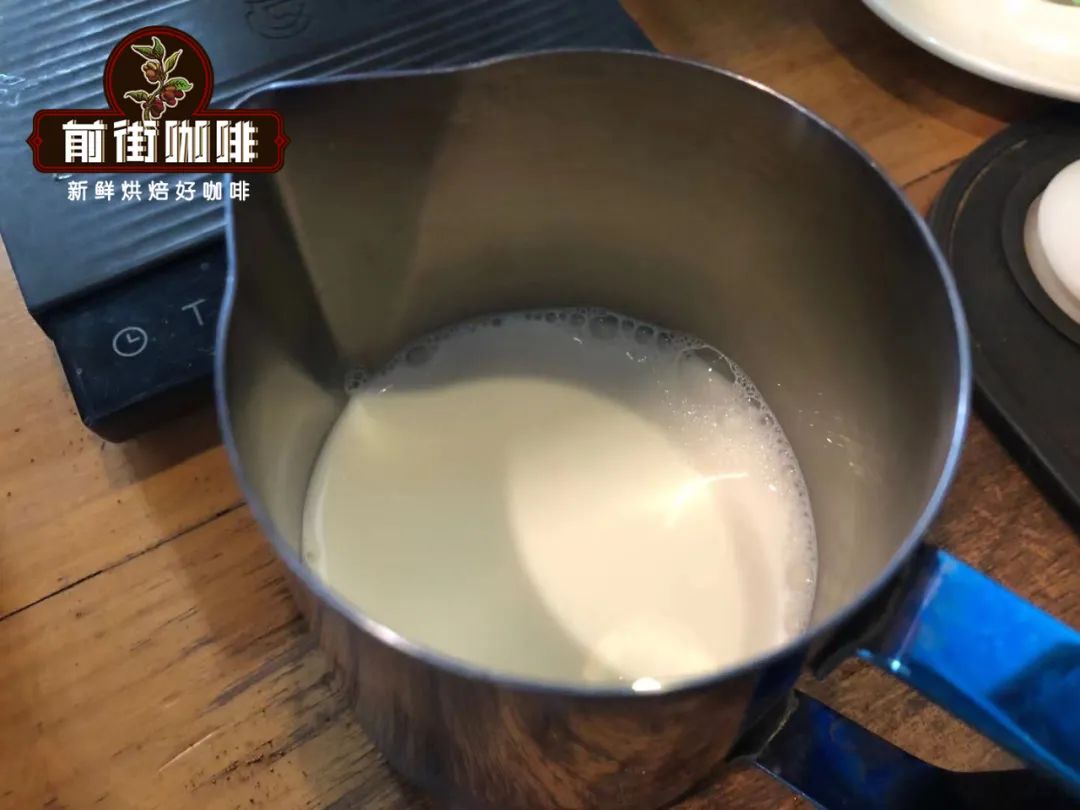
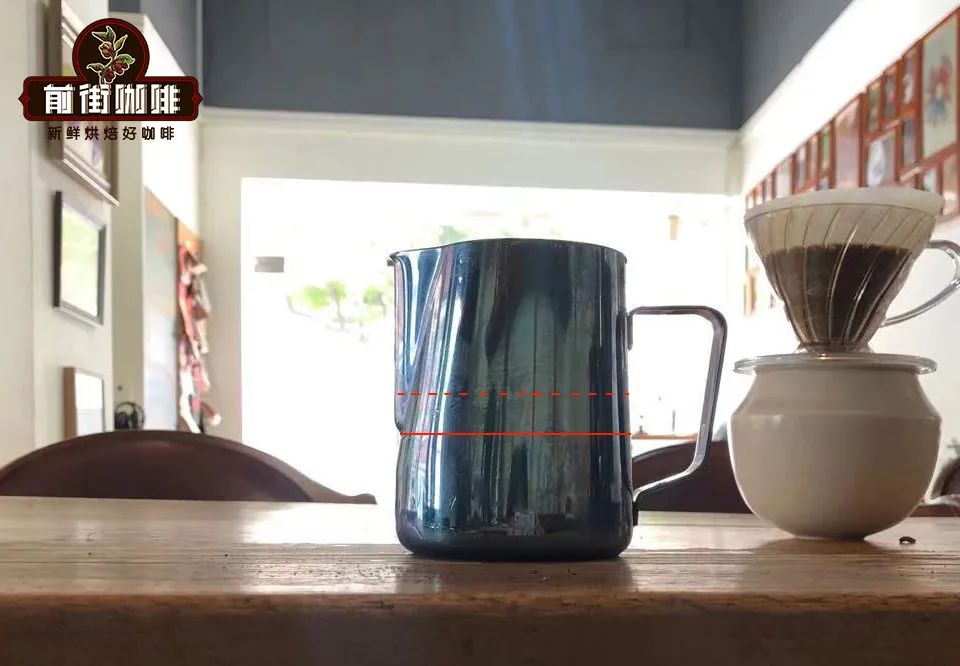
Next, we’ll detail the actual steps for steaming milk. First is the milk volume for steaming. It is recommended to use 40% to 60% of the total pitcher capacity. Too little milk is hard to control, while too much may increase the difficulty of operation and can also lead to waste. Taking a common 550ml pitcher as an example, it is recommended to pour about 250ml of milk, which is just enough to steam the foam to an appropriate thickness while avoiding excessive leftovers.

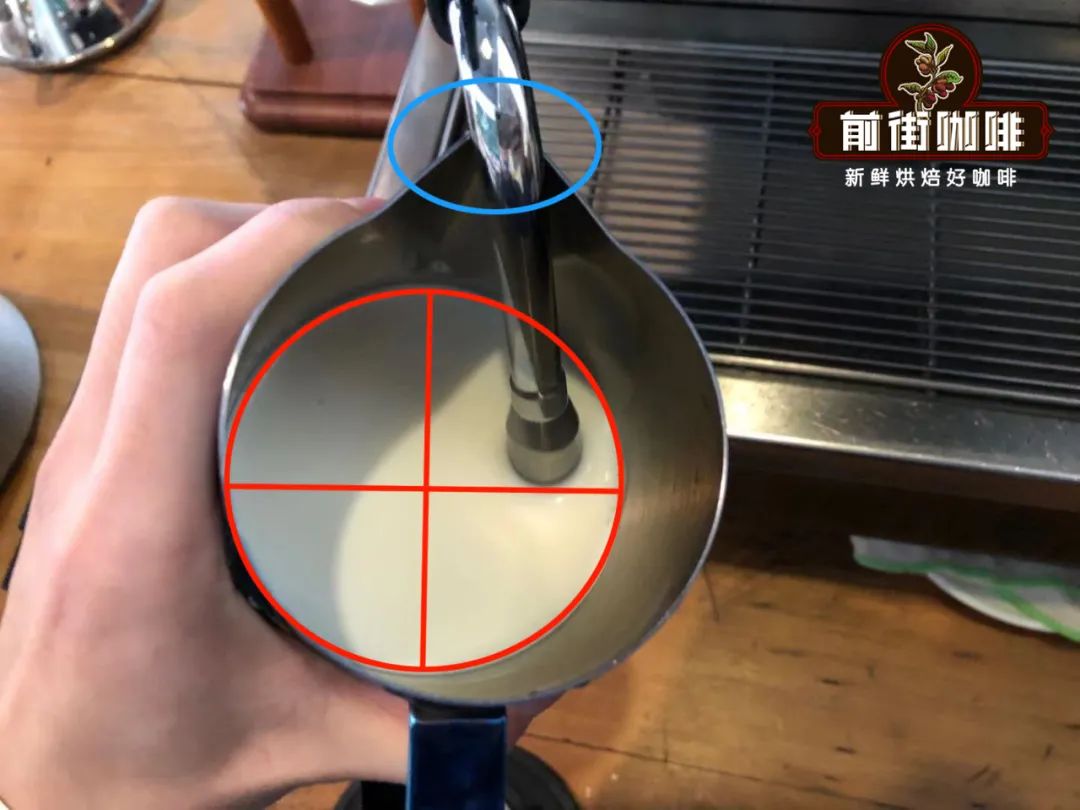
The steaming position is equally important. Before starting, first release the built-up condensation water from the steam wand to avoid affecting the quality of the milk foam. Once released, insert the steam wand into the milk at about a 45-degree angle, preferably slightly to the right of the center of the milk surface, allowing the steam to form a counterclockwise vortex. This rotation not only helps with even aeration but also results in more consistent milk foam texture.
When you turn on the steam switch, you’ll hear a distinct “shhh—shhh” sound, indicating that the steam is aerating the milk and forming foam. This stage is called the “aeration phase.” Depending on the desired foam thickness, adjust the time accordingly. Generally speaking, to aerate the milk to about 1.2 times its original volume (approximately 300ml), it takes about 3 seconds, which is suitable for most lattes. Remember to keep the milk swirling to ensure even foam formation.
Once the desired amount of foam is achieved, move on to the “texturing phase.” At this point, fully submerge the steam wand into the milk, but do not touch the bottom. It is recommended to position it in the middle of the foam layer. The purpose of this phase is to use the heat of the steam to further refine the larger milk foam particles, making the overall foam finer, smoother, and giving it a silky texture.
The duration of texturing depends on the final temperature of the milk, with the ideal range being between 55°C and 65°C. Exceeding 65°C may cause the proteins in the milk to begin denaturing, not only affecting the taste but also potentially reducing the stability of the foam. When you feel the outer wall of the pitcher becoming warm, or when using a thermometer to measure and reach the target temperature, you can turn off the steam.
Successful milk foam should feel thick and gel-like like yogurt when shaken, have a smooth mirror-like surface, and offer a silky, fine, and particle-free touch. Such milk foam is not only ideal for latte art but also enhances the overall richness and smoothness of the latte.

The above content is compiled by CoffeeHunters, a coffee news website.


