







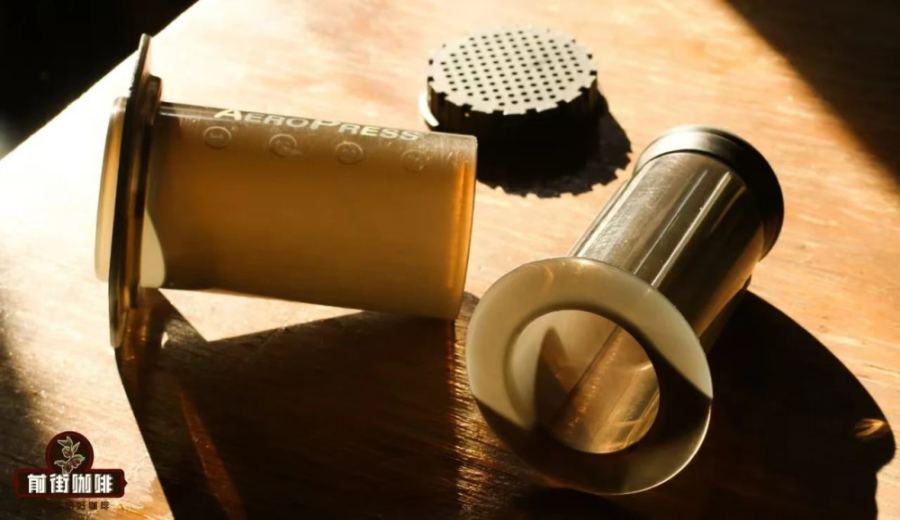
Introduction:The AeroPress is an innovative coffee brewing device that combines elements of the French press, pour over, and espresso extraction methods. It is known for its simplicity of use, clean flavor profiles, and portability. This article delves into the origins, design principles, ideal user profiles, and common pros and cons of the AeroPress. It also provides detailed recommendations on coffee-to-water ratios, water temperature control, and practical brewing steps to help you get started quickly and brew clean, layered coffee.
Unlike traditional pour over methods, the AeroPress utilizes both immersion and pressure mechanisms to achieve high extraction efficiency. It can produce a rich, espresso-like intensity while effectively filtering out coffee grounds and impurities through its paper filter design, resulting in a cleaner and purer flavor. Additionally, its simple structure and ease of cleaning make it a top choice for many coffee beginners and travelers.
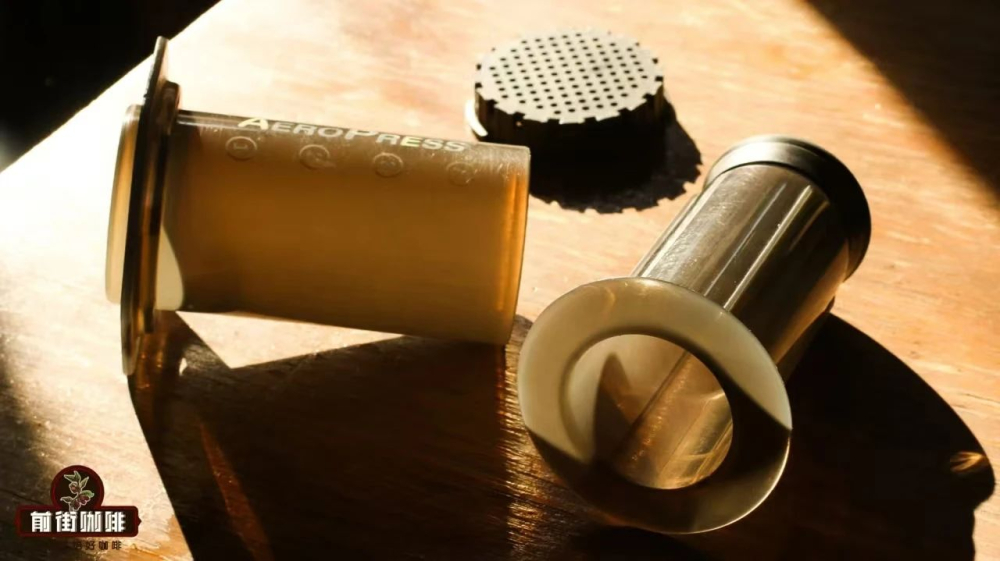
The AeroPress was created by an inventive engineer — Alan Adler. As a lecturer at Stanford University, he grew frustrated with traditional electric drip machines and manual brewing methods. In 2005, he designed this uniquely shaped device capable of producing high-quality coffee quickly. Its paper-filter design avoids the sludge and excessive bitterness often associated with French presses, and it quickly became a hot topic among coffee enthusiasts upon its release.

The core principle of the AeroPress combines the immersion brewing of a French press, the precise filtration of a pour over with paper filters, and the pressure-based extraction method of espresso. To use it, coffee grounds and hot water are mixed thoroughly to allow flavor extraction, after which pressure is applied by pressing the plunger down. The air pressure pushes the brewed coffee through the filter cap, extracting a coffee that is flavorful and smooth. By adjusting grind size and water volume, it’s even possible to approach the intensity of espresso.
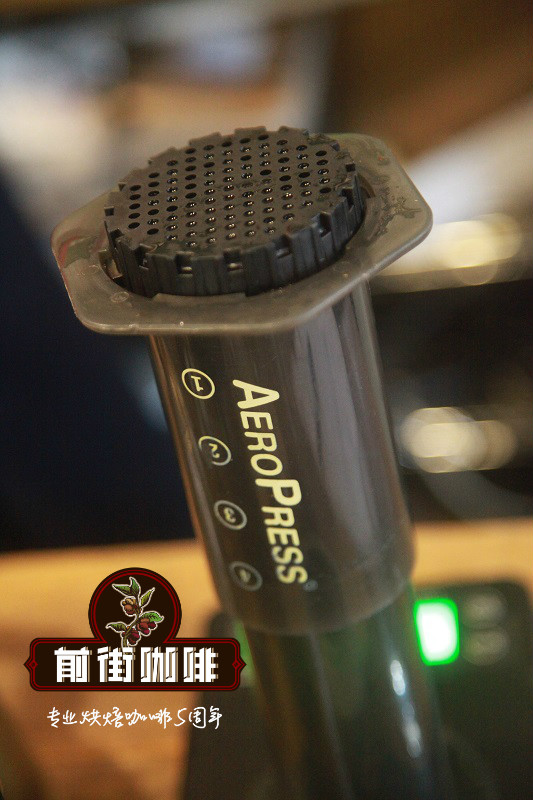
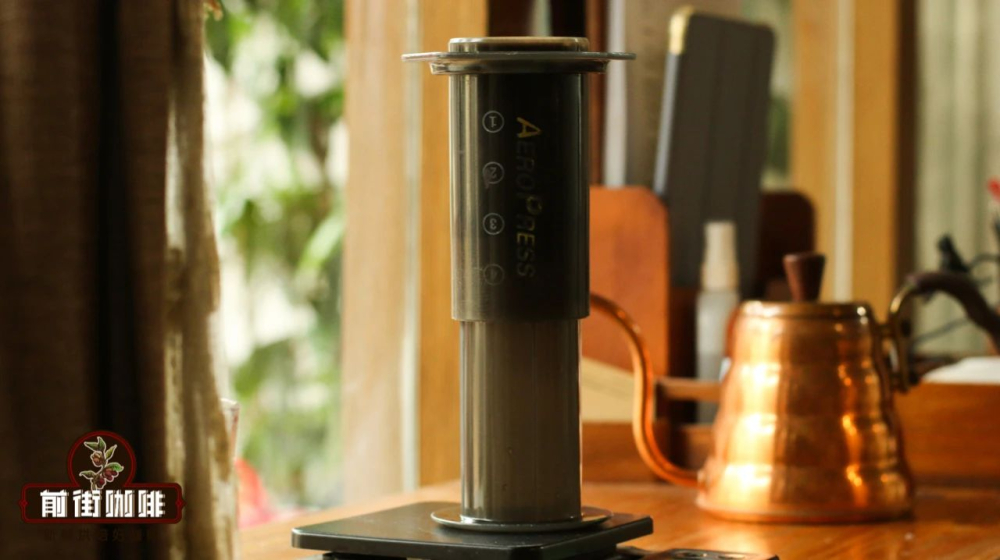
The overall structure consists of three main parts: the chamber, the filter cap, and the piston plunger. It typically requires paper filters but can also use a dedicated metal filter as an alternative. While the metal filter retains some fine particles, it enhances mouthfeel complexity and offers environmental and cost benefits. The original package also includes handy accessories like a funnel, scoop, and stirring stick, making it beginner-friendly.
Why do so many people become instant fans? The AeroPress boasts six major appeals: First, it has an extremely low learning curve — no need for a professional grinder or precise technique. Just control water temperature, coffee amount, and pressure to brew. Second, it's affordable — a full kit with paper filters costs around 300 yuan, and metal filters can be reused long-term. Third, it’s mostly made of durable plastic, making it lightweight and highly travel-friendly. Fourth, the entire process takes just about 60 seconds, saving significant time. Fifth, it clearly highlights the inherent flavors of the beans, making it great for appreciating single-origin profiles. Finally, cleanup is a breeze — simply remove the filter cap, take out the puck-like coffee grounds, and rinse quickly.
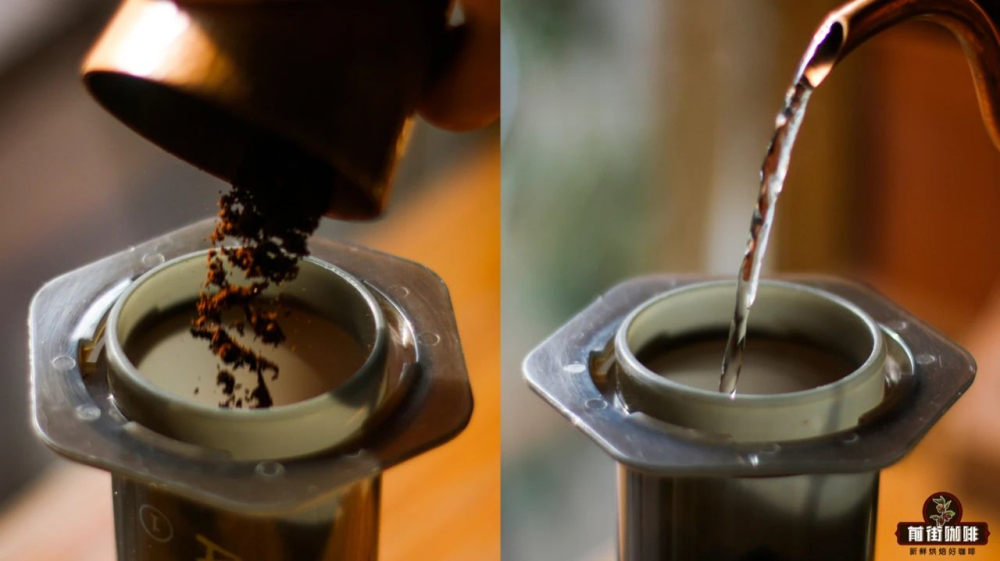
Of course, the AeroPress has its limitations. For instance, it can only brew 1–2 cups at a time, making it less suitable for sharing. Also, its utilitarian appearance may seem plain to users who prioritize aesthetics. But this device, which resembles a medical tool, actually hides surprising extraction potential.
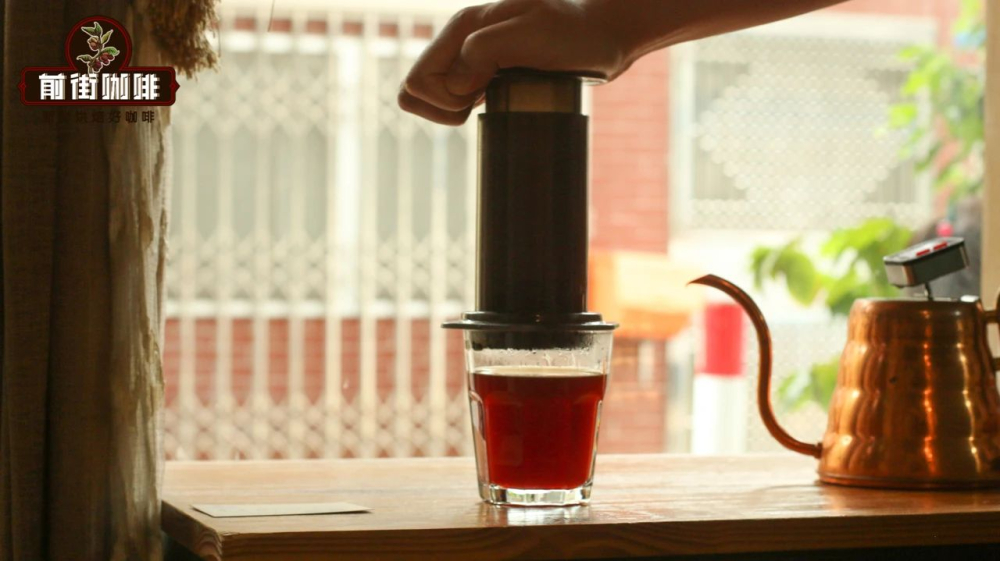
To brew ideal coffee with the AeroPress, the key lies in mastering three parameters: water temperature, grind size, and coffee-to-water ratio. The recommended water temperature range is 88°C–92°C, which can be adjusted based on roast level — lighter roasts benefit from higher temperatures to highlight fruit acids and aromas, while darker roasts should use slightly lower temperatures to avoid over-extraction and burnt bitterness.For grind size, it is recommended to aim for a medium-fine consistency similar to that used in pour over brewing. Too fine may lead to over-extraction and off-flavors, while too coarse may under-extract, resulting in sourness.
The most crucial factor is the coffee-to-water ratio — 1:15 is recommended.A ratio that’s too small will make the coffee overly intense, with concentrated flavors that may taste sour. A ratio that’s too large may dilute the flavors, even bringing out woody notes and impurity sensations. In practice, slight adjustments can be made according to personal taste to find your ideal balance.
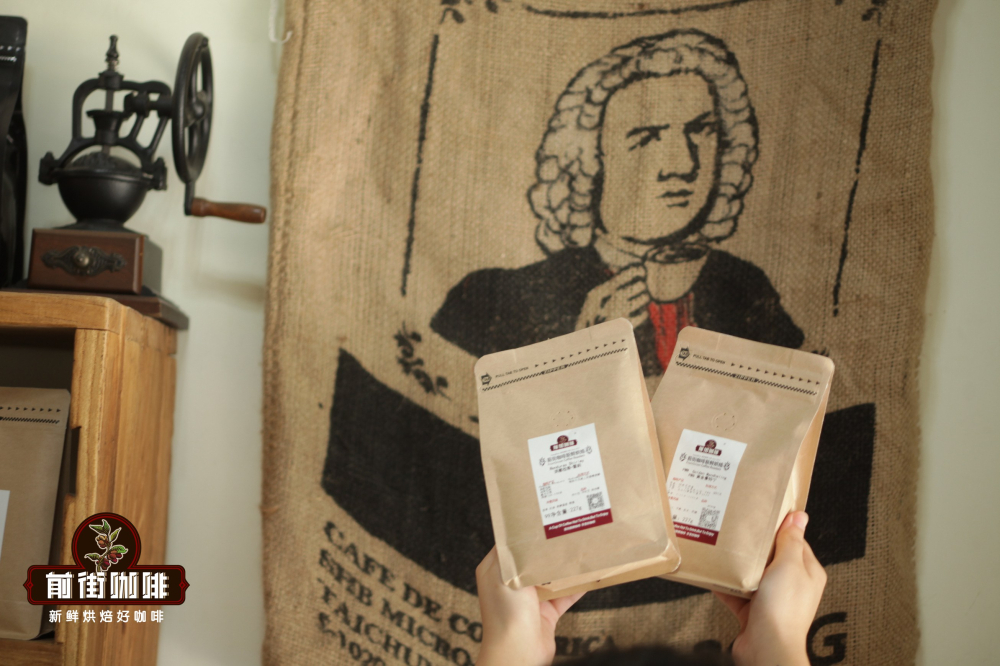
Here’s a practical brewing example: using Costa Rica Mozart coffee beans, which feature notes of raisin, osmanthus, candied fruit, and white chocolate, with a prominent sweetness and suitability for various brewing methods. This recipe uses 18g of coffee grounds, ground to 90% through a #20 sieve (approximately equivalent to EK43s setting 7), with 200ml of hot water (roughly a 1:11 ratio), water temperature controlled at 90°C, and using the inversion (upside-down) method for brewing.
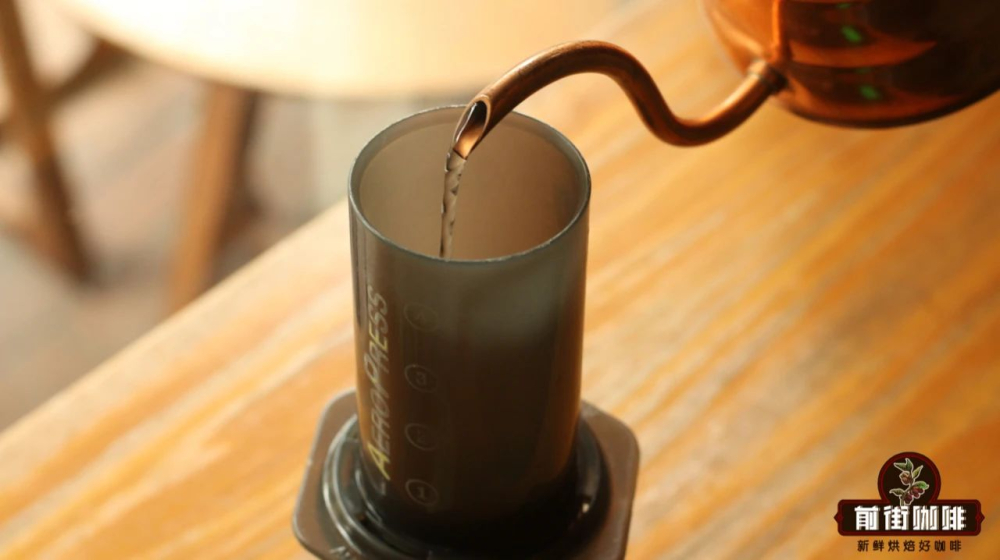
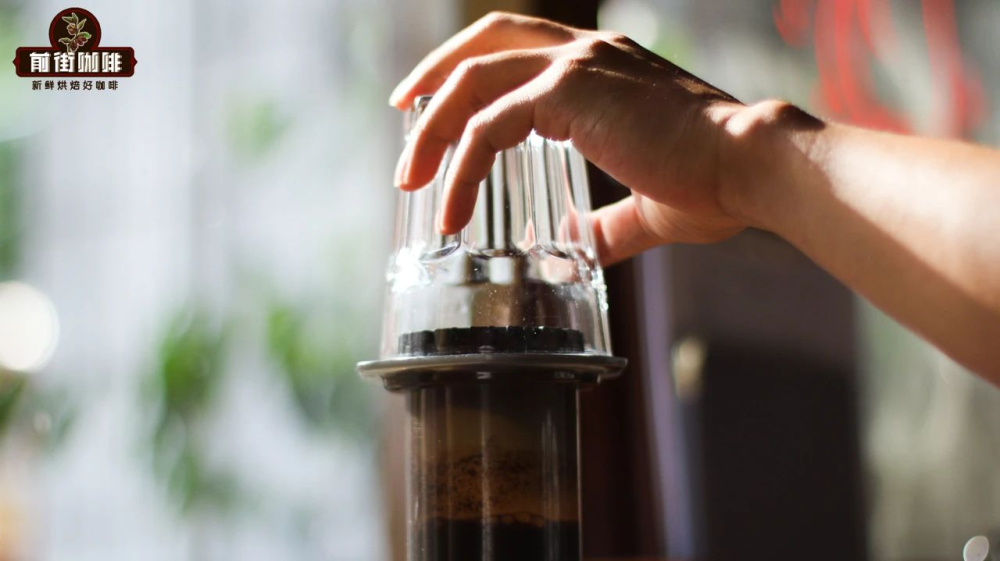
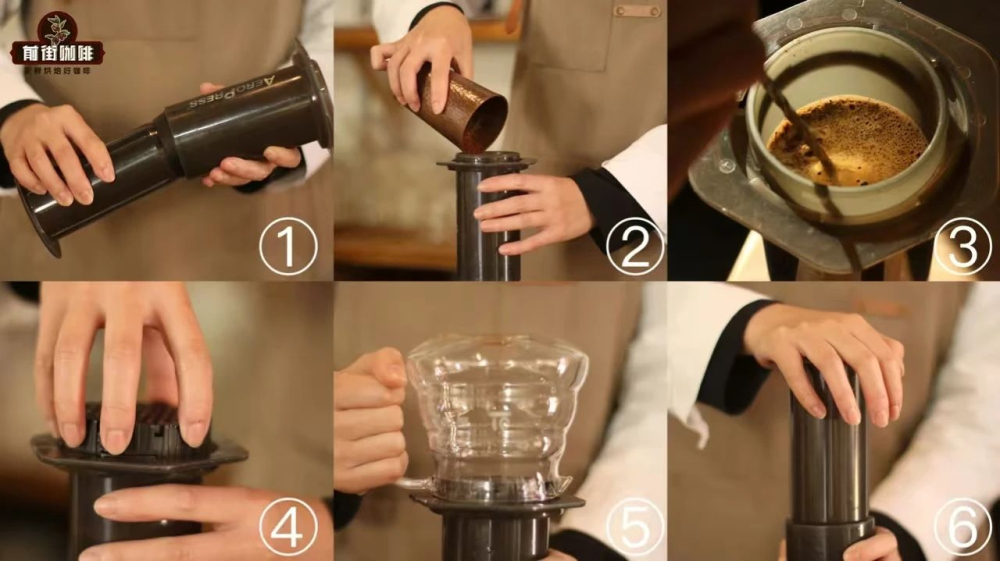
The specific steps are as follows: first, assemble the plunger and chamber, pre-compress the plunger to mark ④, then invert the chamber; next, add the coffee grounds and pour an equal amount of hot water to start the timer; gently stir the slurry in slow circles for about 10 seconds to ensure even extraction; attach the filter cap with paper filter, and place the receiving vessel underneath; after waiting about one minute, flip the chamber upright and slowly press the plunger down to extract the coffee. This way, you can enjoy a richly aromatic and layered AeroPress coffee.
The final brew delivers intense floral and ripe berry aromas, with sweet layers of sweet orange, cream, raisins, and candied fruit on the palate. The finish is smooth with hints of chocolatey sweetness. The overall performance is impressive, making it a classic flavor combination that AeroPress users shouldn’t miss.

The above content is compiled by CoffeeHunters, a coffee news website.


