








Introduction:To create a successful latte art coffee, fine and stable milk foam is key. But in practice, you often encounter issues such as overly thick foam, coarse texture, or layering, which make it difficult to pour latte art patterns. This article delves into how to adjust suboptimal milk foam through techniques like shaking, tapping the pitcher, pouring between pitchers, and pre-infusion—so even with imperfect foam, you can still salvage it and pour beautiful designs.
To pour an aesthetically pleasing and delicate latte art, besides skilled hand movements, the quality of the milk foam is the decisive factor for success. However, even experienced baristas can occasionally face poor foam conditions—sometimes due to operational mistakes, overly coarse or thick foam, or even layering, all of which make latte art more challenging and result in less-than-ideal patterns.
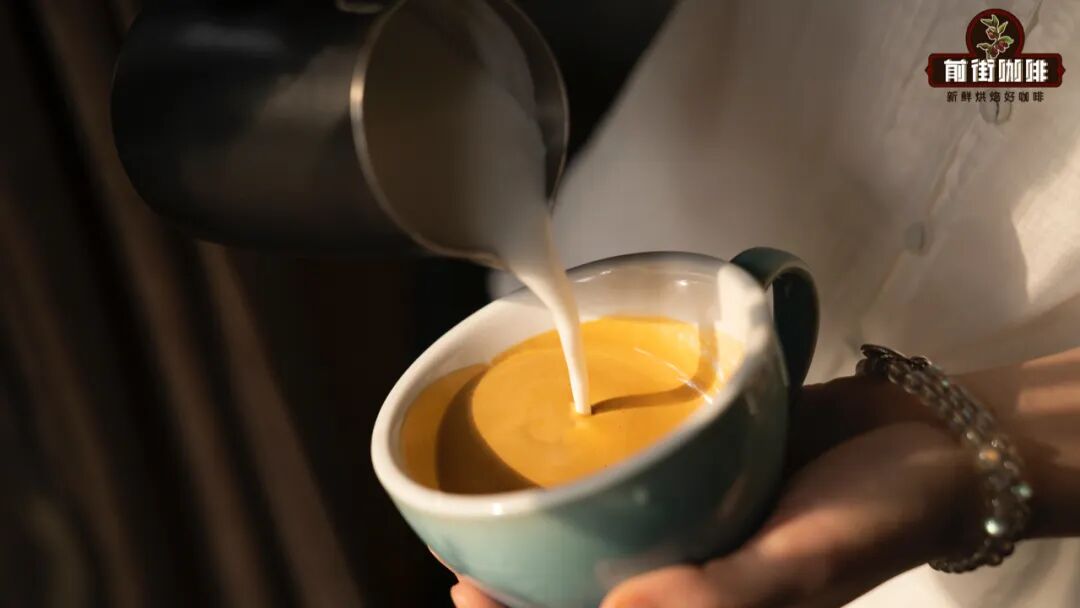
Faced with such foam, many people’s first reaction might be to discard it and start over. But in fact, by mastering just a few simple techniques, you can effectively “remedy” the foam’s condition and restore it to a texture suitable for latte art. Next, we’ll go through common milk foam problems and practical adjustment methods to help you complete professional-level latte art even with less-than-perfect foam.
First, when you notice slight agitation or layering between the milk foam and milk, resulting in poor fluidity, you can try two simple yet very effective actions: “shaking” and “tapping the pitcher.” These two techniques can improve the integration of foam and milk, enhance overall fluidity, and thereby improve the appearance of your latte art.
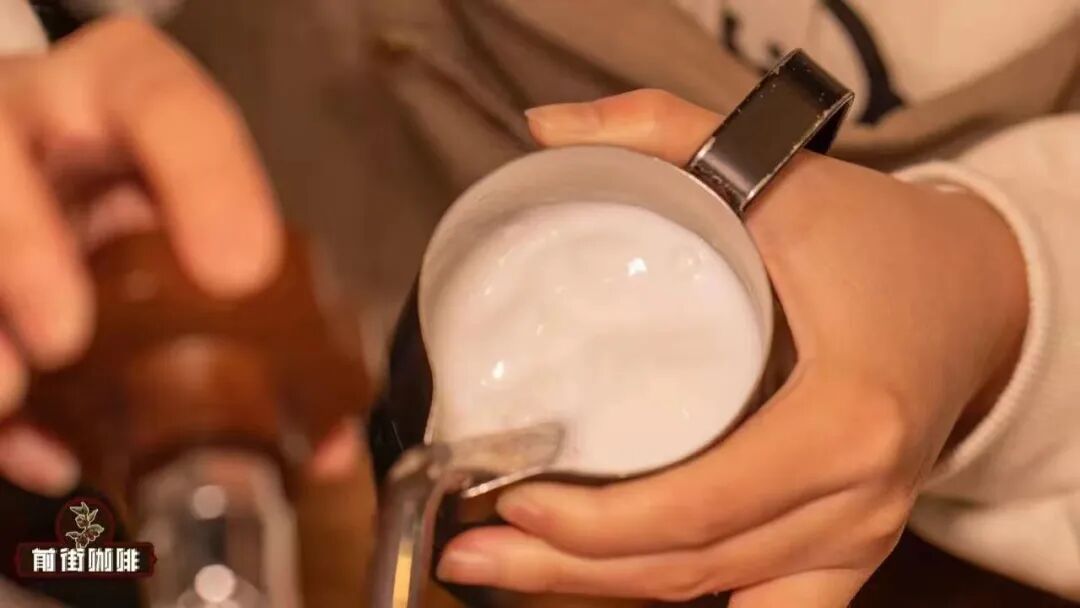
“Shaking” refers to gently shaking the milk pitcher before pouring, allowing the foam and milk inside to remix. This action evenly distributes the foam, improves fluidity, and is especially suitable when the foam is slightly layered but not severely deteriorated. Shake until a slight shine appears on the foam surface, indicating good integration.Remember not to shake too vigorously to avoid reintroducing too many bubbles.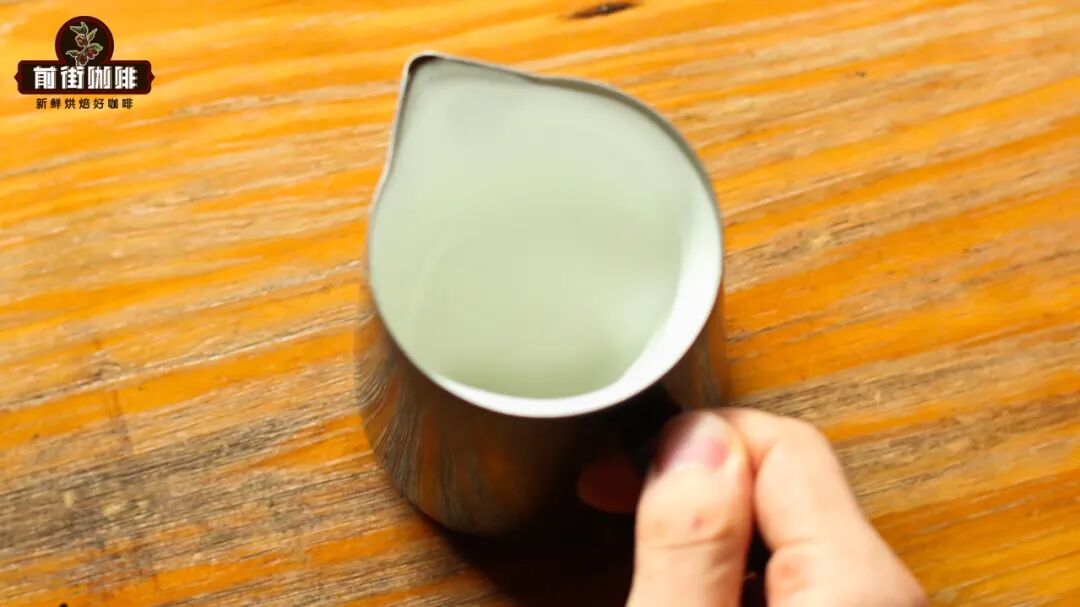
“Tapping the pitcher” involves lightly tapping the bottom or sides of the milk pitcher to break up any remaining large air bubbles in the foam. Sometimes during the frothing process, some larger bubbles aren’t fully incorporated into the vortex and eliminated, floating on the surface or mixed within the foam. This can affect the fineness of your latte art patterns. With moderate tapping, these disruptive elements can be effectively removed. However,tapping the pitcher will accelerate the separation of foam and milk, so it’s recommended to gently shake again afterward to re-integrate them.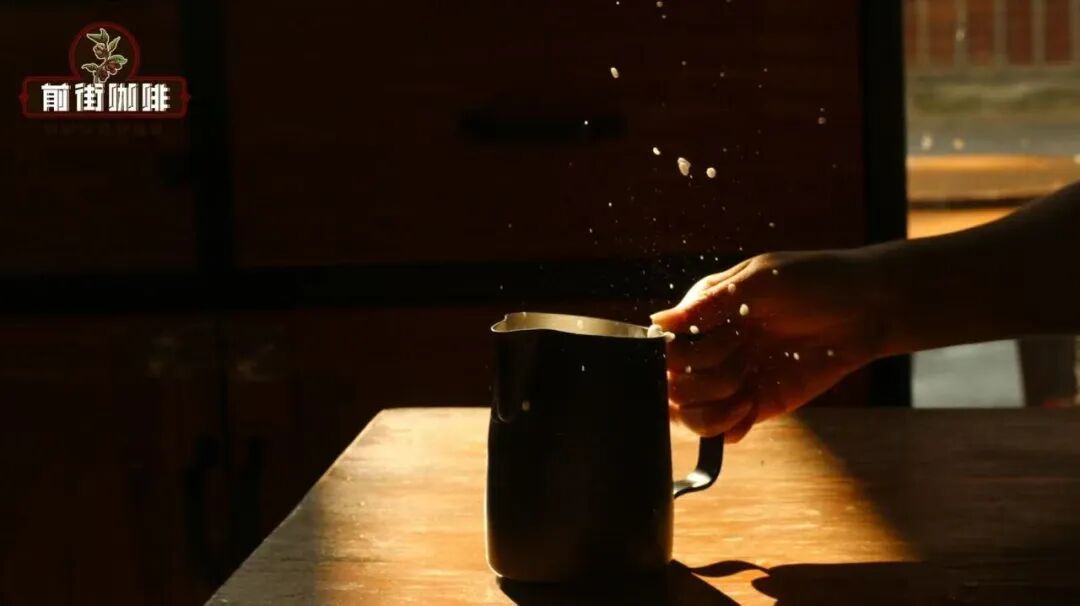
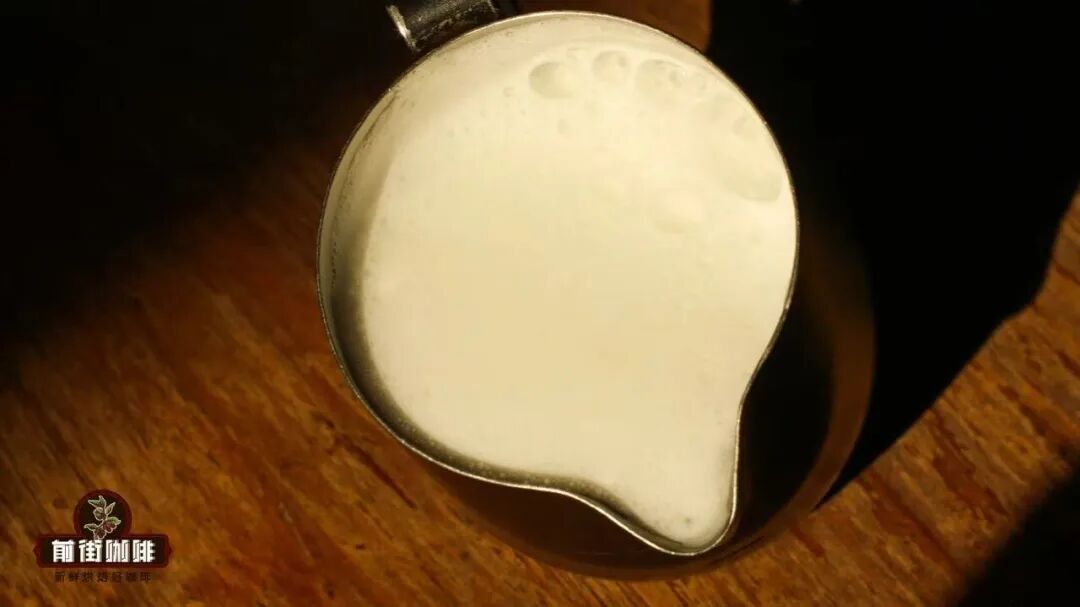
If you find the foam too thick, it may be because too much air was incorporated during frothing, resulting in an excessively thick foam layer and poor fluidity. In this case, you can use a spoon or a specialized tool to carefully scoop off the excess foam. This method can quickly thin the foam layer and restore better fluidity, making it suitable for foam that is somewhat thick but not coarse. However, scooping foam requires control over force and frequency to avoid affecting the overall milk volume and temperature.After scooping, it’s also recommended to shake again to maintain uniform integration of foam and milk.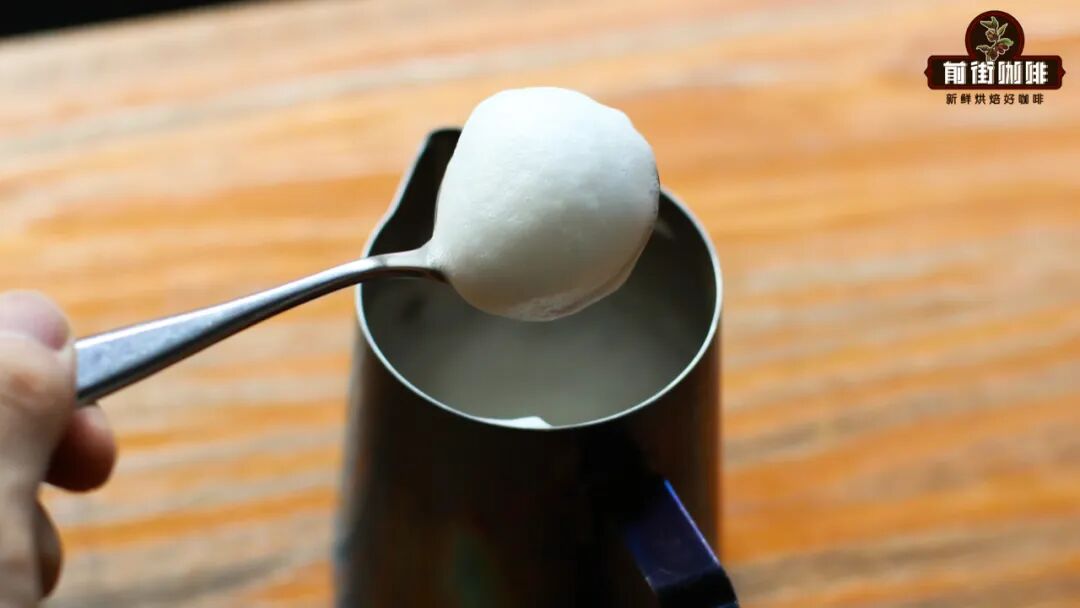
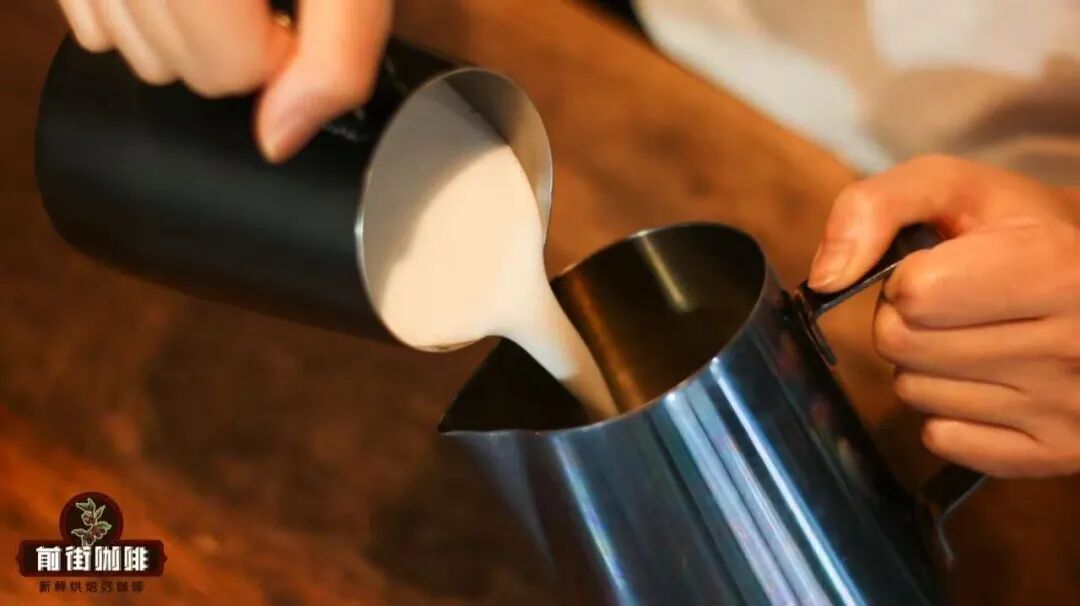
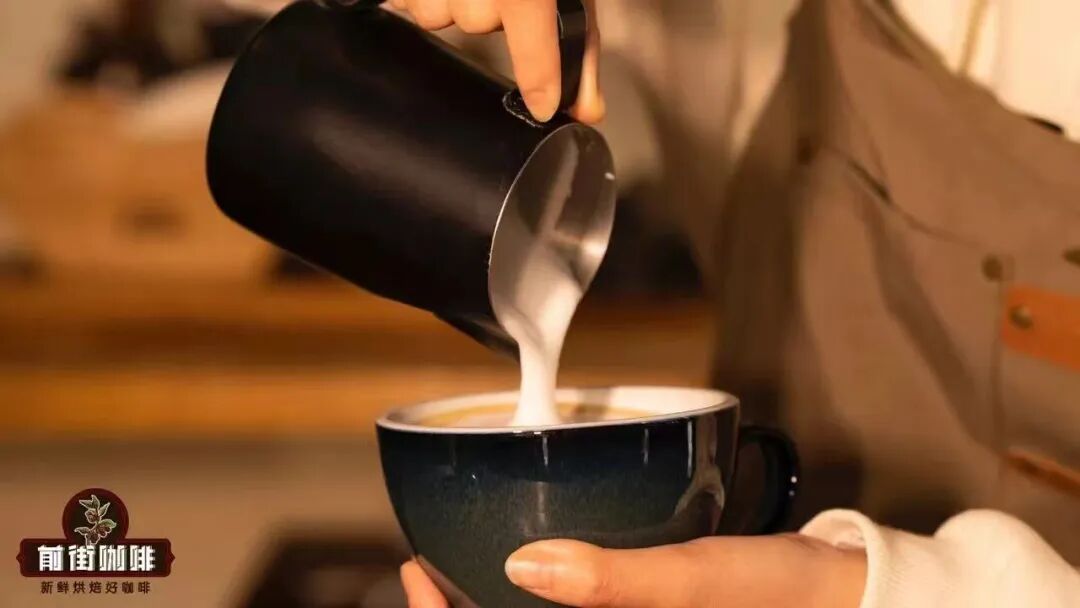
Another practical technique is “pouring between pitchers,” which means transferring the milk foam from one pitcher to another. Though seemingly simple, this action can effectively enhance the fineness and fluidity of the foam. During the pouring process, the foam and milk collide and integrate more tightly, and some overly large bubbles will naturally break apart upon impact, resulting in a more uniform overall texture.
Additionally, pouring between pitchers can address situations where a large pitcher prevents the steam wand from being fully submerged in the milk, leading to suboptimal frothing. Many professional baristas choose to froth the milk in a smaller latte pitcher first, then transfer it to a larger one. This not only improves foam quality but also makes it easier to control the pouring angle and output.However, after pouring between pitchers, foam and milk can still easily separate again. It’s recommended to use the milk promptly and ensure the target pitcher is pre-warmed to avoid temperature loss affecting foam stability.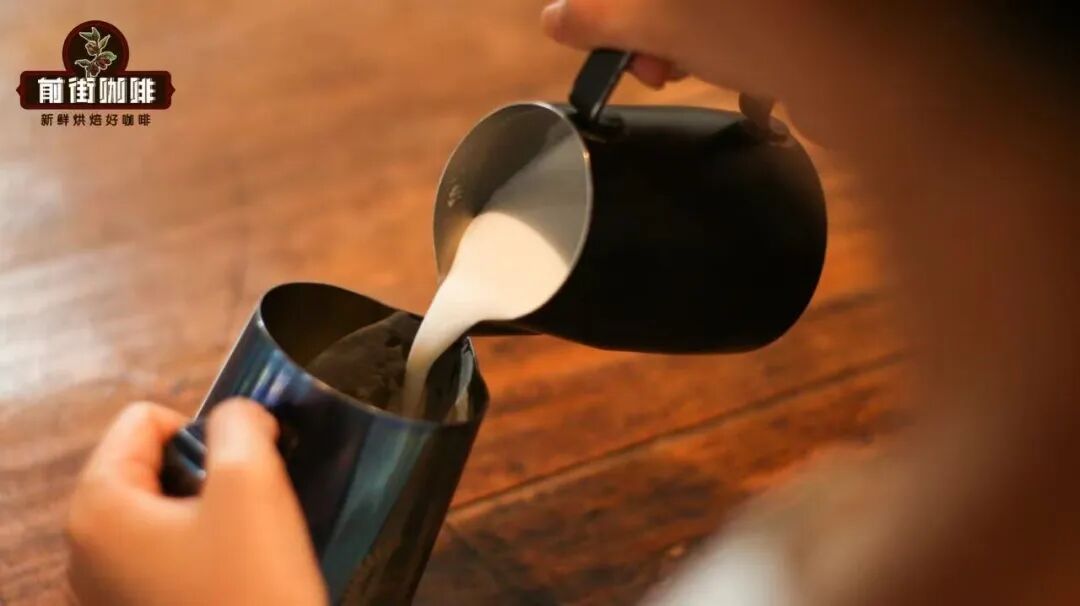
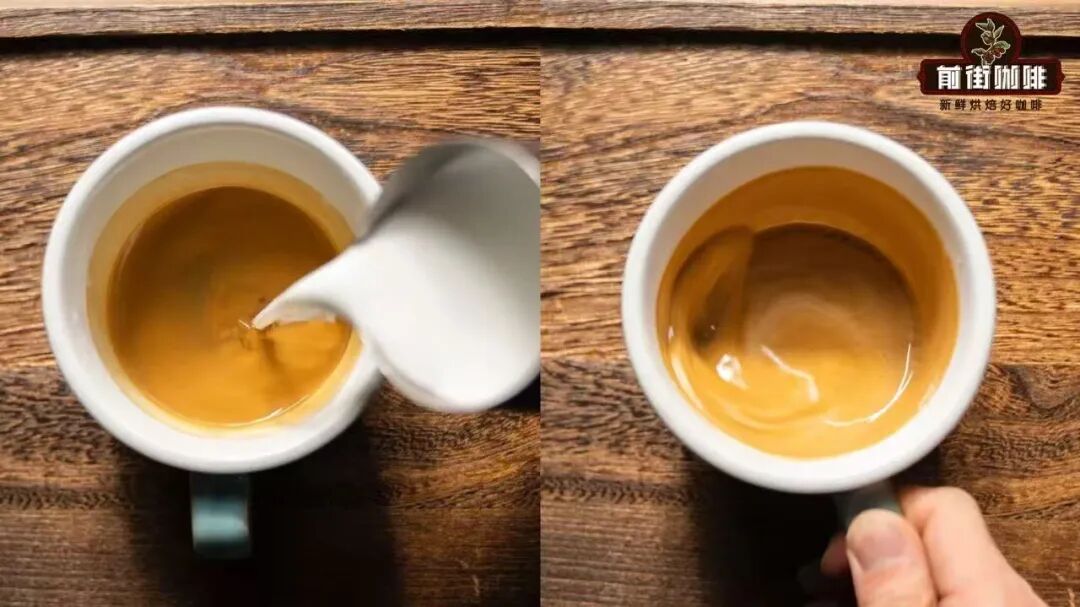
What if the foam is too thin? Actually, as long as it’s not as thin as flat white foam, there’s still a chance to pour latte art. However, thin foam has higher fluidity, which may not be conducive to pattern setting. In this case, you can use the “pre-infusion” technique—before officially pouring latte art, pour a small amount of milk into the coffee and gently shake the cup to let the milk and espresso integrate first.
This action reduces the overall fluidity of the liquid surface, minimizes the impact of uneven crema distribution, and allows thin foam to successfully draw patterns. Although pre-infusion involves more details, it’s actually an important technique suitable for both beginner and advanced latte artists.To learn more about the principles and steps of pre-infusion, you can refer to articles on advanced latte art integration techniques.
In summary, even if the foam condition is not as expected, with appropriate adjustment techniques, you can still restore it to a texture suitable for latte art. Shaking, tapping the pitcher, pouring between pitchers, and pre-infusion are all practical and easy-to-use solutions. Making good use of these methods can greatly enhance your adaptability in various unexpected situations, ensuring every latte art pour is as perfect as possible.
Of course, everyone’s operational habits and equipment may vary slightly. Coffee enthusiasts are welcome to explore the most suitable adjustment methods through hands-on practice, and feel free to share your experiences and tips in the comments below.


The above content is compiled by CoffeeHunters, a coffee news website.


