







Introduction:The AeroPress, with its unique design and flexible brewing methods, has become an experimental favorite among many coffee enthusiasts. This article starts with the design philosophy of the tool, then explains the full steps of inverted brewing in detail, covering coffee bean selection, grind size, coffee-to-water ratio, and water temperature recommendations, along with practical operation illustrations. Whether you're a beginner or an advanced coffee enthusiast looking to refine your skills, you can quickly master the key techniques and brew a cup of coffee with distinct layers and balanced flavors.
Among the many manual coffee tools, the AeroPress stands out with its syringe-like shape. It is not only widely loved by coffee enthusiasts but has also inspired its own dedicated competition, showcasing its versatility and fun. This article will take you deep into the design origins and basic principles of the AeroPress, and guide you step-by-step through inverted brewing—from assembling the tool, handling the coffee grounds, controlling water temperature, to the final extraction—providing concrete and practical reference parameters.
Perhaps you’ve once set aside the small accessories that come with the AeroPress, or never even considered what kind of coffee this “syringe” could make. Interestingly, it’s not just for brewing—it even has its own competition system, which makes one wonder: how does this seemingly simple tool produce coffee with such rich flavor?
The AeroPress was invented in 2005 by Alan Adler, a mechanical engineering lecturer at Stanford University in the United States. He was dissatisfied with the coffee brewing tools available at the time, believing they still had room for improvement in terms of ease of use and extraction control. Drawing on years of invention experience, Alan spent two years testing and refining until he finally created this tool that combines both immersion and pressure brewing methods.
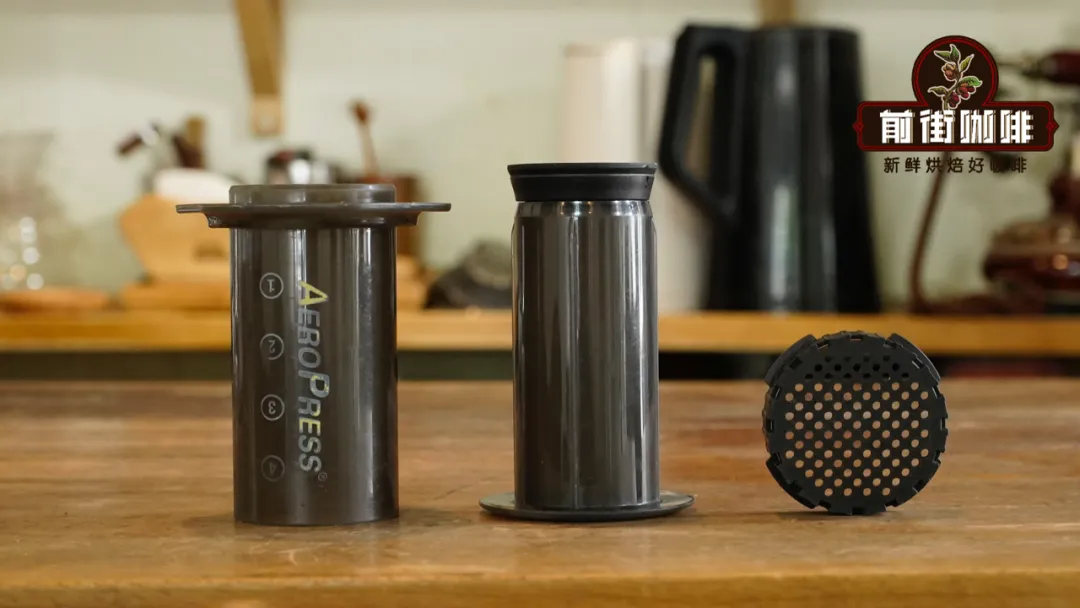
The AeroPress mainly consists of three parts: a pressure-resistant brewing chamber, a movable plunger, and a filter cap (which requires the use of paper or metal filters). This design allows it to work well with coffee beans of various roast levels and grind sizes. The brewing method blends the immersion concept of pour over with the pressurized technique of espresso—first allowing the coffee grounds and hot water to blend evenly, then using the plunger to apply pressure and extract a rich and balanced coffee liquid.
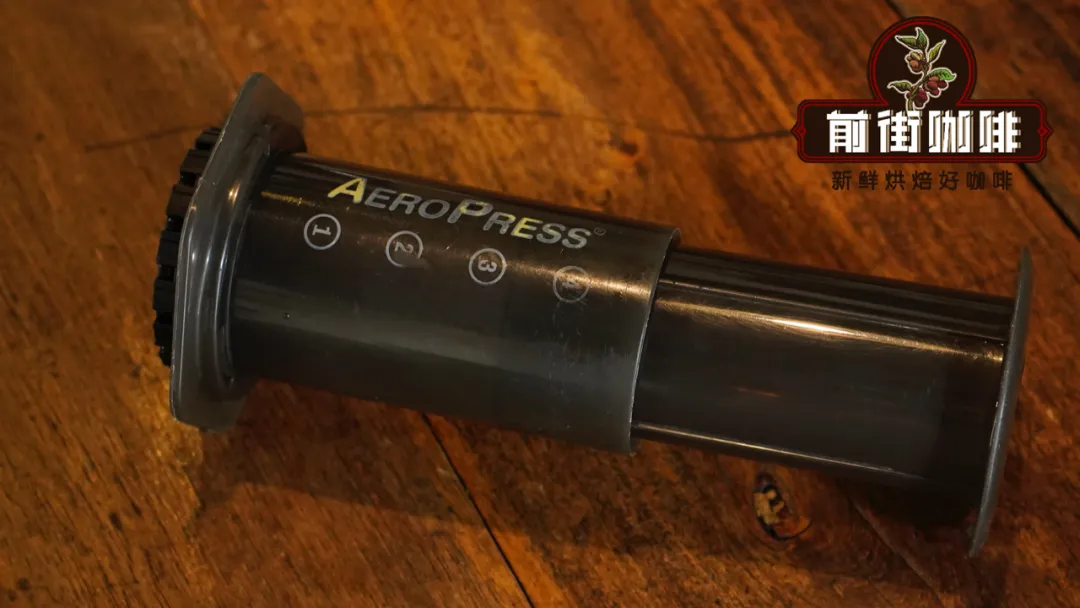
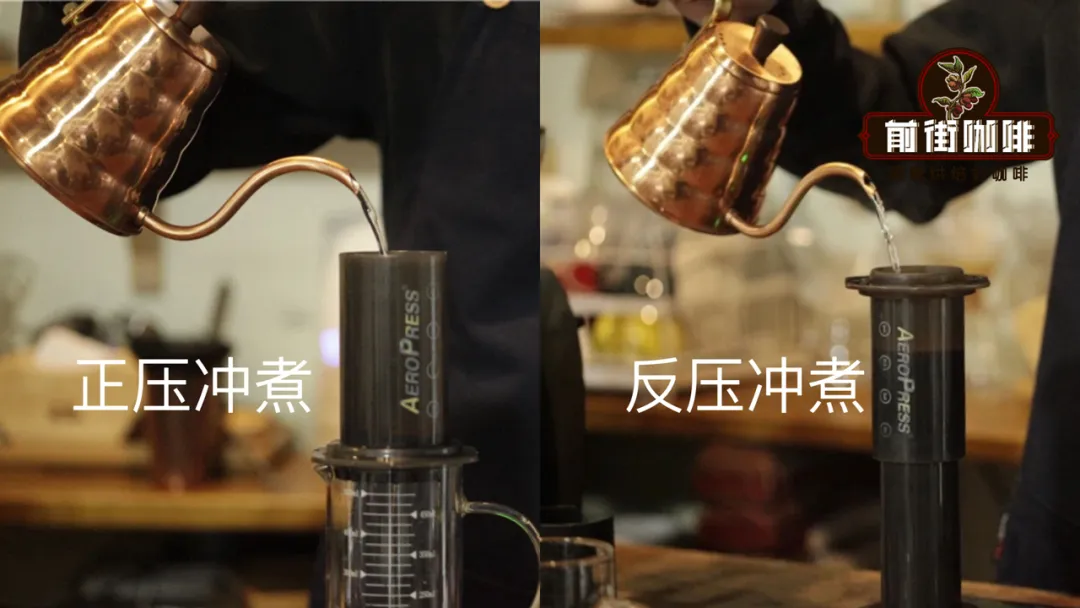
There are two main brewing methods with the AeroPress: regular (right-side up) and inverted. The regular method involves attaching the filter cap to the bottom of the chamber, adding coffee grounds and water, stirring, and then inserting the plunger to press. However, this method can lead to water seeping from the edges of the filter cap due to uneven pressure during pouring, affecting extraction stability. The inverted method, on the other hand, flips the process: first combine the plunger and the chamber so the plunger acts as the base, then add the coffee grounds and stir, finally place the filter cap on top, invert the whole setup into a cup, and then press to extract. This article will focus on the inverted method because its steps are simpler and more stable, making it very suitable for beginners to master.
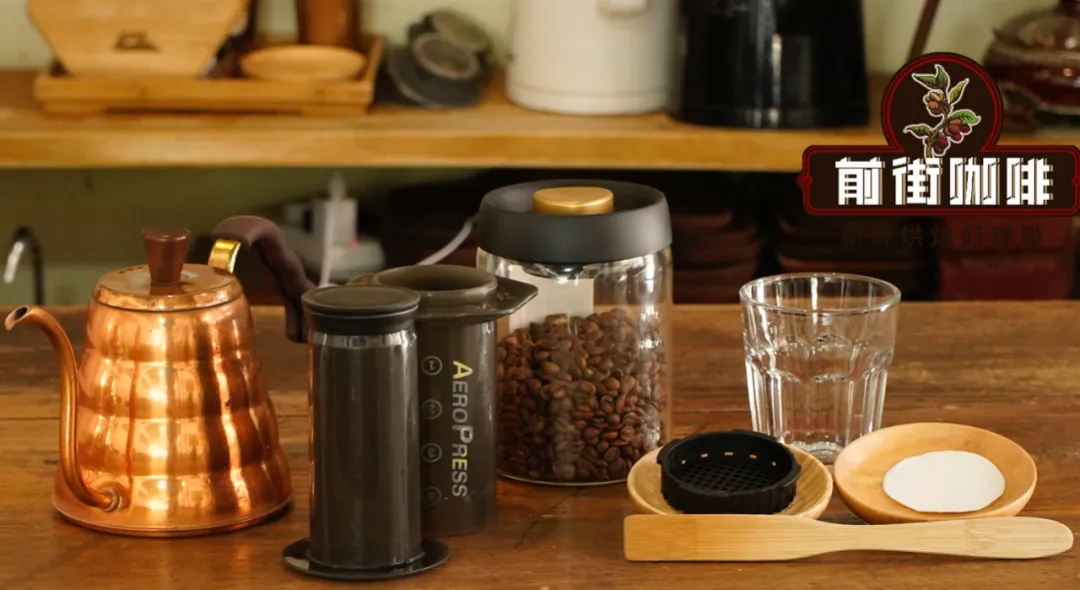
Before you start, prepare the following tools: an AeroPress unit, freshly roasted coffee beans, hot water, a cup that can withstand pressure, a stirring tool, and suitable circular filter paper. It is recommended to use thicker filter paper, which helps filter out fine particles and improves taste purity.

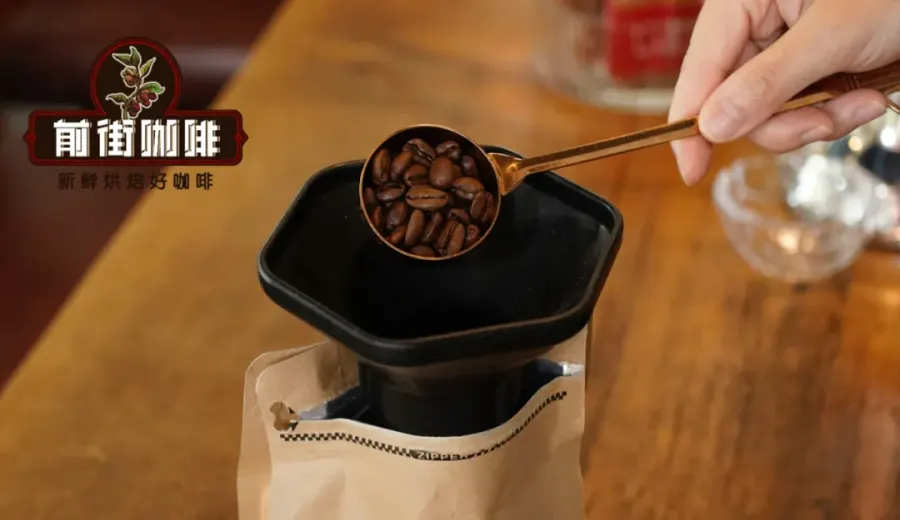
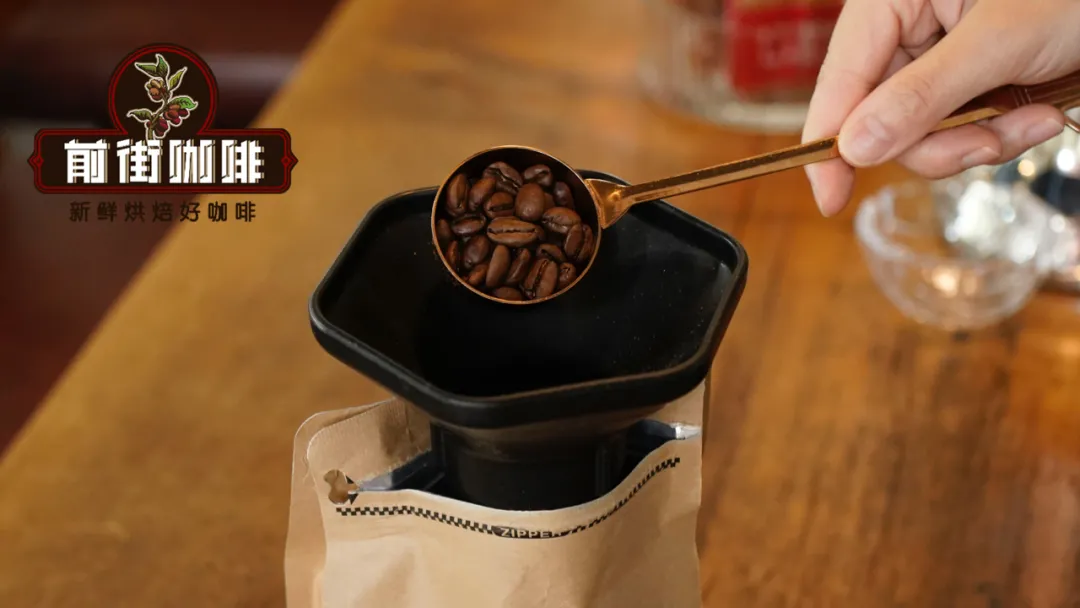
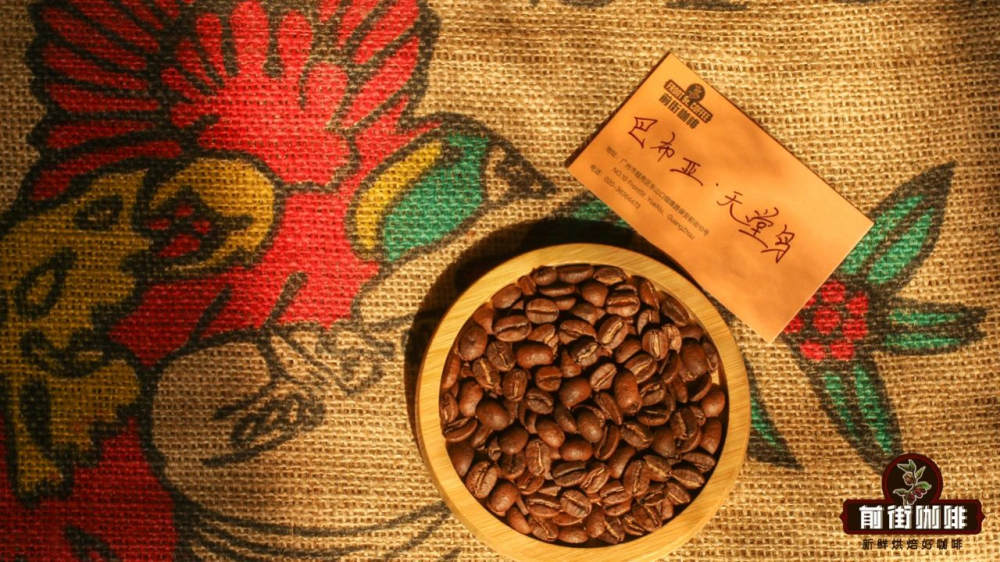
The coffee beans used in this demonstration are medium roasted, featuring distinct nutty notes, gentle acidity, and a smooth aftertaste, making them well-suited to showcase the extraction characteristics of the AeroPress. These coffee beans can be found at most specialty coffee retailers, and it is recommended to choose recently roasted batches for the best flavor performance.
It is recommended to use a grind size slightly finer than standard pour over—based on a #20 standard sieve, aim for about a 90% pass-through rate, similar in texture to superfine sugar. The coffee-to-water ratio is 1:16, meaning 15 grams of coffee beans to 240 milliliters of hot water, achieving a balance between richness and smooth mouthfeel. The water temperature should be controlled between 90–93°C, which helps fully release the aroma and sweetness of the coffee without causing over-extraction due to excessive heat.
The step-by-step process for inverted (reverse) brewing is as follows:
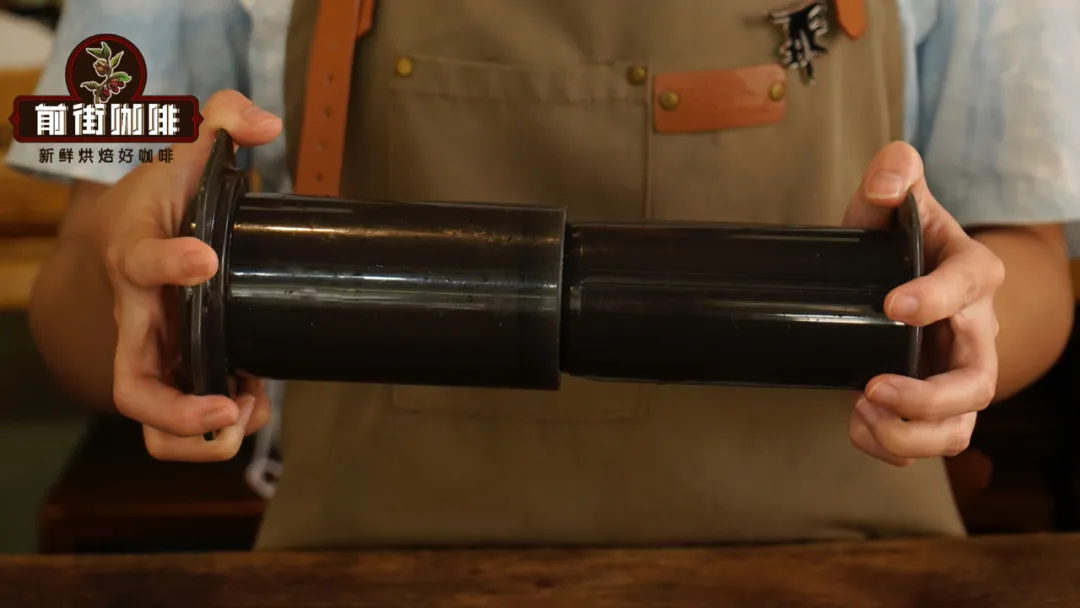
① First, fully push the plunger into the chamber to leave the bottom open, then place the chamber upside down with the plunger facing downward.
② Add the pre-weighed coffee grounds, and start the timer. It is recommended to use a digital scale to help monitor the amount of coffee and the timing.
③ Use a stirring stick to evenly mix the coffee grounds and hot water, ensuring all coffee grounds are saturated. It is recommended to first pour a portion of the hot water to wet the grounds initially, then add the rest to reach the full amount, which helps achieve uniform extraction.
④ After about 1 minute, attach the moistened filter paper and filter cap that now adhere to the chamber wall, then immediately place the prepared cup upside down on top of the filter cap. Carefully flip the entire setup—the chamber will now be on the top, and the pressure will directly act on the coffee bed.
⑤ Finally, slowly apply pressure to push the coffee liquid into the cup. It is recommended to complete the entire extraction within 1 minute and 30 seconds. Going too long may lead to over-extraction and affect flavor balance.
And there you have it—a cup of coffee brewed using the AeroPress inverted method is complete. If you’d like to try an iced version, adjust the coffee-to-water ratio to 1:8, and after brewing, add about 100 grams of ice. This will rapidly cool the coffee while preserving its rich flavor and layered complexity.
The above content is compiled by CoffeeHunters, a coffee news website.


